Watch it draw itself · tap to replay
How to Draw a Manhole Cover
Draw a manhole cover in 12 easy steps, about 9 minutes. Free, with a printable worksheet.
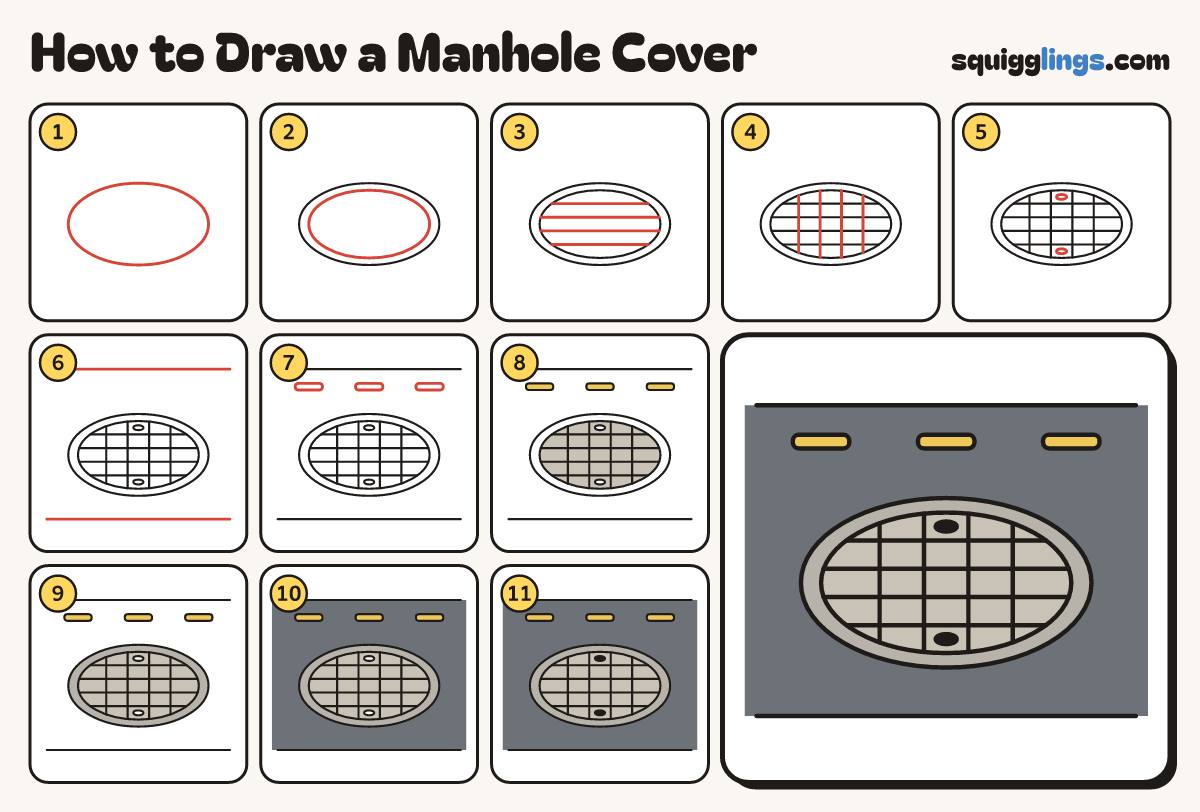
Each picture adds one red line. Draw that line, then scroll to the next picture. Rub out any dashed helper lines at the end. First up: the cover.
Step 1: The cover
A little below the middle of your paper draw a big oval, wider than it is tall.
Tip Workers lift this heavy iron lid to climb down to the pipes.
Step 2: Thick rim
Draw a second oval inside the first, a finger in all the way round, for the thick rim.
Step 3: Middle bumps
Across the middle of the cover draw a row of 4 little boxes with round corners, evenly spaced.
Tip The raised bumps stop feet and tyres from slipping.
Step 4: More bumps
Draw a row of 3 bumps above and a row of 3 below, each bump over a gap.
Step 5: Two lifting holes
Inside the rim, above the top bumps and below the bottom bumps, draw a small flat oval hole.
Step 6: The road
Draw a line across near the top. From it draw 2 slanted lines down and out to the paper's sides.
Tip The road looks narrow far away and wide up close.
Step 7: Lane dashes
Down the middle of the road draw 3 dashes: 2 small ones above the cover and a big one below.
Step 8: Yellow dashes, stone cover
Go over your lines. Colour the dashes yellow and the cover's middle stone grey, leaving the 2 holes white.
Step 9: Grey rim
Colour the thick rim grey, all the way around the stone middle.
Step 10: Green grass
Colour the 2 corners beside the road green for the grass.
Step 11: Slate road
Colour the road slate grey, going around the cover and the yellow dashes.
Step 12: Black holes
Colour the 2 lifting holes black. Your manhole cover is done!
Your finished drawing
Follow the steps above and this is where you end up: a manhole cover, drawn by you.
Every step in one picture