Watch it draw itself · tap to replay
How to Draw a Lotus Root
Draw a lotus root in 10 easy steps, about 8 minutes. Free, with a printable worksheet.
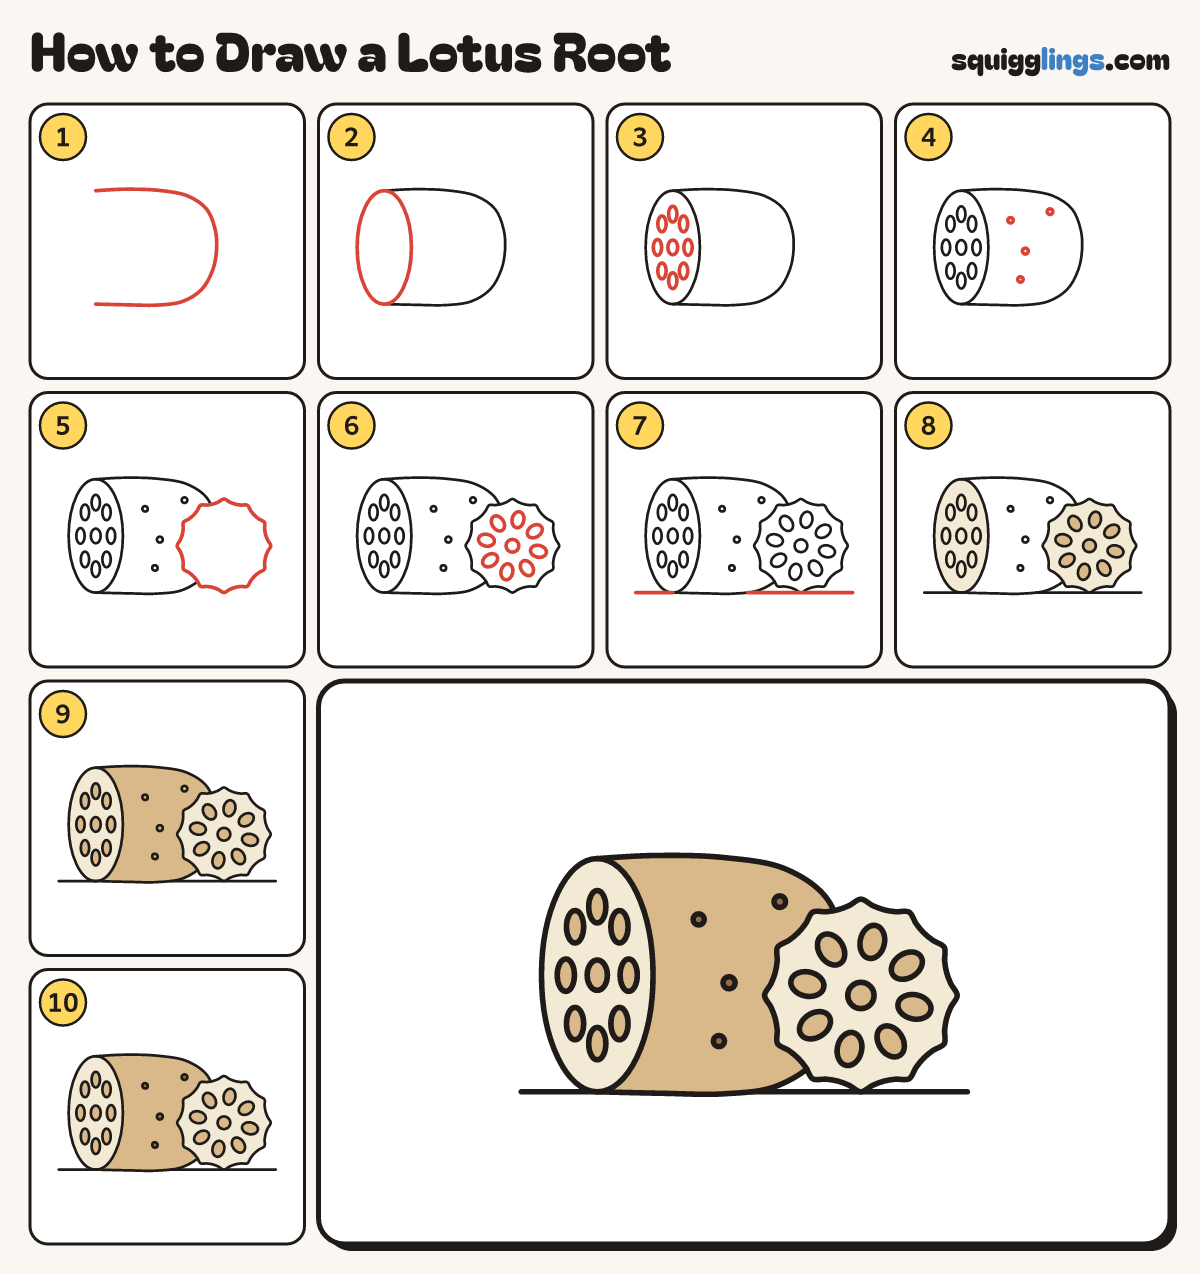
Each picture adds one red line. Draw that line, then scroll to the next picture. Rub out any dashed helper lines at the end. First up: the root.
Step 1: The root
Start at the top left and draw a fat barrel root round the right end, stopping at the bottom left.
Tip Leave the left end open for the cut face.
Step 2: The cut end
Close the left end with a tall oval standing on end, for the cut face where the root snapped.
Step 3: Cut end holes
Draw an oval hole in the middle of the cut face, then 8 more the same size in a ring.
Step 4: Skin pores
Dot 4 tiny circles on the root, spread about, never 2 side by side.
Step 5: The slice
In front of the right end draw a big round slice standing up, palm-sized, with a bumpy flower edge.
Tip Rub out the root lines inside the slice.
Step 6: Holes in the slice
On the slice draw a small round hole in the middle, then a ring of 8 oval holes pointing inwards.
Step 7: The ground
Draw a long ground line from left to right, just touching the bottoms of the root and the slice.
Step 8: Cream slice and end
Go over your lines. Colour the slice and cut end cream around the holes, then the slice holes tan.
Step 9: Tan holes and root
Colour the cut end's holes tan, then the root tan around the slice, the cut end and the pores.
Step 10: Brown pores
Colour the little pores on the root brown, and your lotus root is done!
Your finished drawing
Follow the steps above and this is where you end up: a lotus root, drawn by you.
Every step in one picture