Watch it draw itself · tap to replay
How to Draw a Lemon Tree
Draw a lemon tree in 12 easy steps, about 9 minutes. Free, with a printable worksheet.
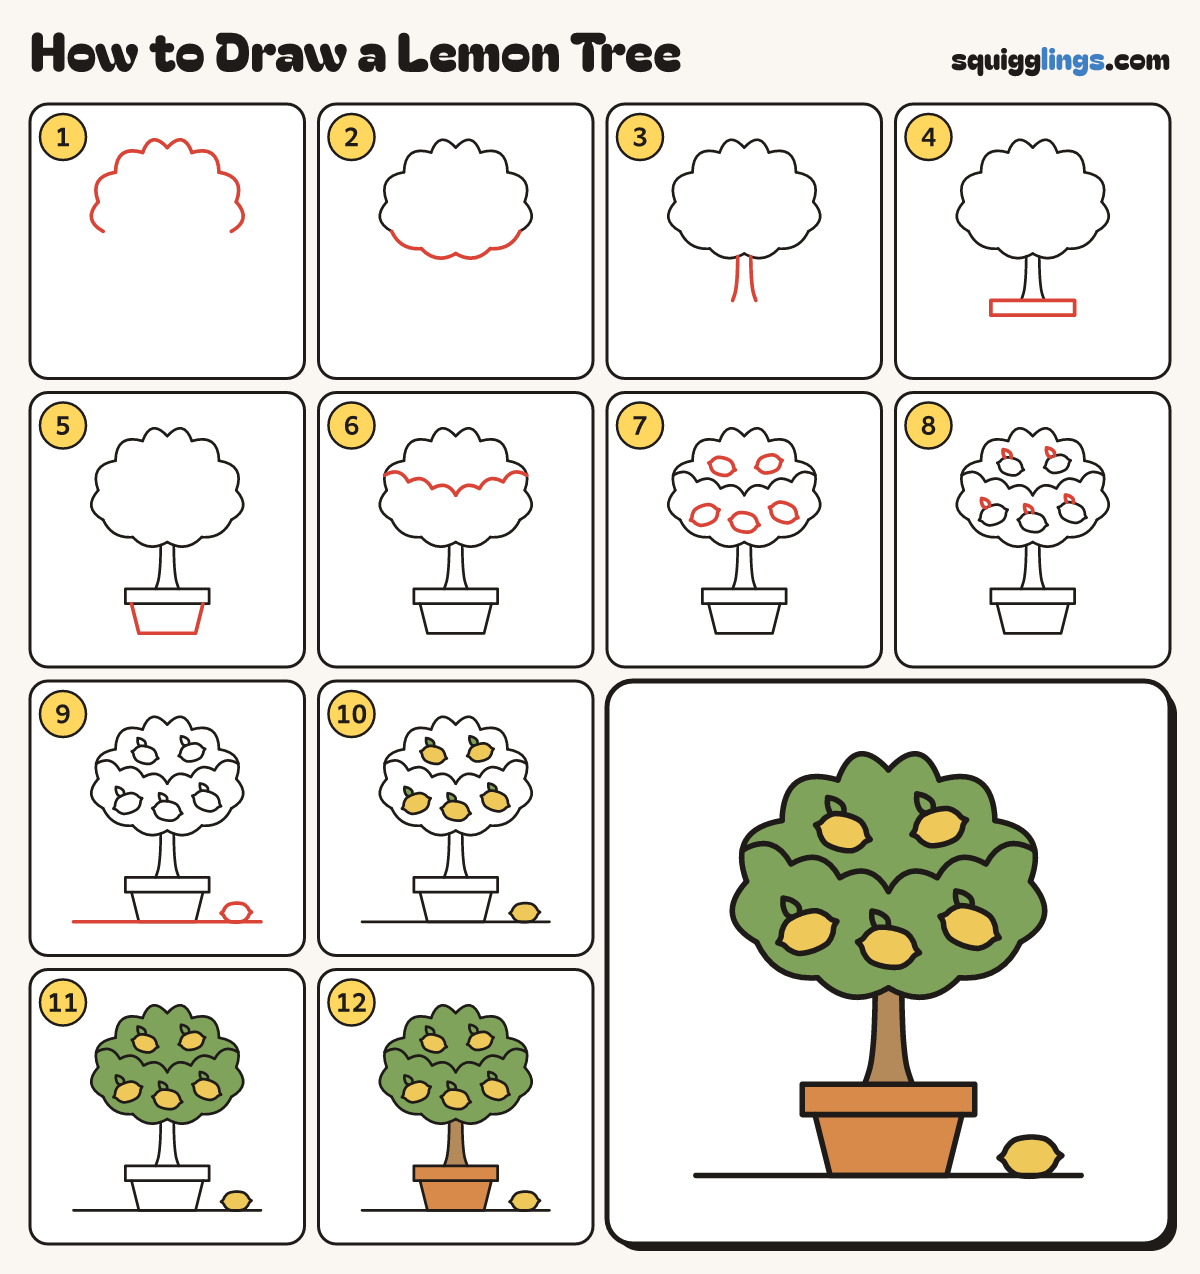
Each picture adds one red line. Draw that line, then scroll to the next picture. Rub out any dashed helper lines at the end. First up: the leafy top.
Step 1: The leafy top
Start on the left, above the middle. Draw a big rainbow of soft bumps; stop level on the right.
Step 2: Bumps underneath
Start where the rainbow ended. Draw 4 shallow bumps hanging down and across until you meet the other end.
Step 3: The trunk
Start under the leaves. Draw 2 lines down, a thumb apart, curving out, and stop a hand above the bottom.
Step 4: The pot rim
Under the trunk draw a wide flat box for the rim of a flower pot, as wide as your hand.
Step 5: The pot
Start under the rim, in from the left. Draw down leaning in, across, and back up to the rim.
Step 6: Leafy hills
Halfway up the leafy top draw 3 hill bumps from each edge, sloping down to meet in the middle.
Step 7: Lemons
Draw 5 fat lemon ovals in the leaves, each with a point at both ends, 2 high and 3 low.
Step 8: Lemon leaves
On top of each lemon draw a small pointed leaf sticking up, like a little flame.
Step 9: Table and lemon
Draw a long table line along the bottom of the pot. On the table draw 1 more lemon lying down.
Step 10: Yellow lemons
Colour all 6 lemons yellow and their small leaves green.
Step 11: Green leaves
Colour the whole leafy top leaf green, going round the lemons.
Step 12: Wood trunk, ginger pot
Colour the trunk wood brown and the pot ginger. Go over your lines and your lemon tree is done!
Your finished drawing
Follow the steps above and this is where you end up: a lemon tree, drawn by you.
Every step in one picture