Watch it draw itself · tap to replay
How to Draw a Pumpkin Life Cycle
Draw a pumpkin life cycle in 13 easy steps, about 10 minutes. Free, with a printable worksheet.
Each picture adds one red line. Draw that line, then scroll to the next picture. Rub out any dashed helper lines at the end. First up: a pumpkin seed.
Step 1: A pumpkin seed
At the top of your paper draw a seed: an egg with a pointed top. Draw a smaller one inside.
Tip Leave lots of room below: four more pictures go in a ring.
Step 2: The sprout
On the right draw a low hill of soil. From its top draw a short stem straight up.
Step 3: Seed leaves
At the top of the stem draw 2 fat oval leaves, opening like a V.
Step 4: Star flower
Lower down on the right draw a star flower with 5 pointed petals. Put a small circle in its middle.
Step 5: Vine and leaf
From under the flower draw a thin vine down and along to the left. Add a heart leaf above it.
Tip Join the leaf to the vine with a line down its middle.
Step 6: Small pumpkin
Lower down on the left draw a small pumpkin: a tall oval, a C on each side and a stalk.
Tip A baby pumpkin grows where the flower was.
Step 7: Big pumpkin
Higher on the left draw a big tall oval. Add a fat C on each side of it.
Step 8: Outer bumps and stalk
Add a slim C outside each side bump. Draw a thick stalk on top.
Step 9: Arrows around
Draw 5 curved arrows round the ring: seed to sprout, to flower, to small pumpkin, to big pumpkin, to seed.
Tip Each arrow ends in a little V.
Step 10: Cream and yellow
Colour the seed cream. Colour the 5 petals of the flower yellow.
Step 11: Orange pumpkin
Colour the big pumpkin orange. Colour the middle of the flower orange too.
Step 12: Green parts
Colour the sprout, the vine, the leaf, the small pumpkin and both stalks green.
Step 13: Brown soil
Go over your lines. Colour the little hill of soil brown.
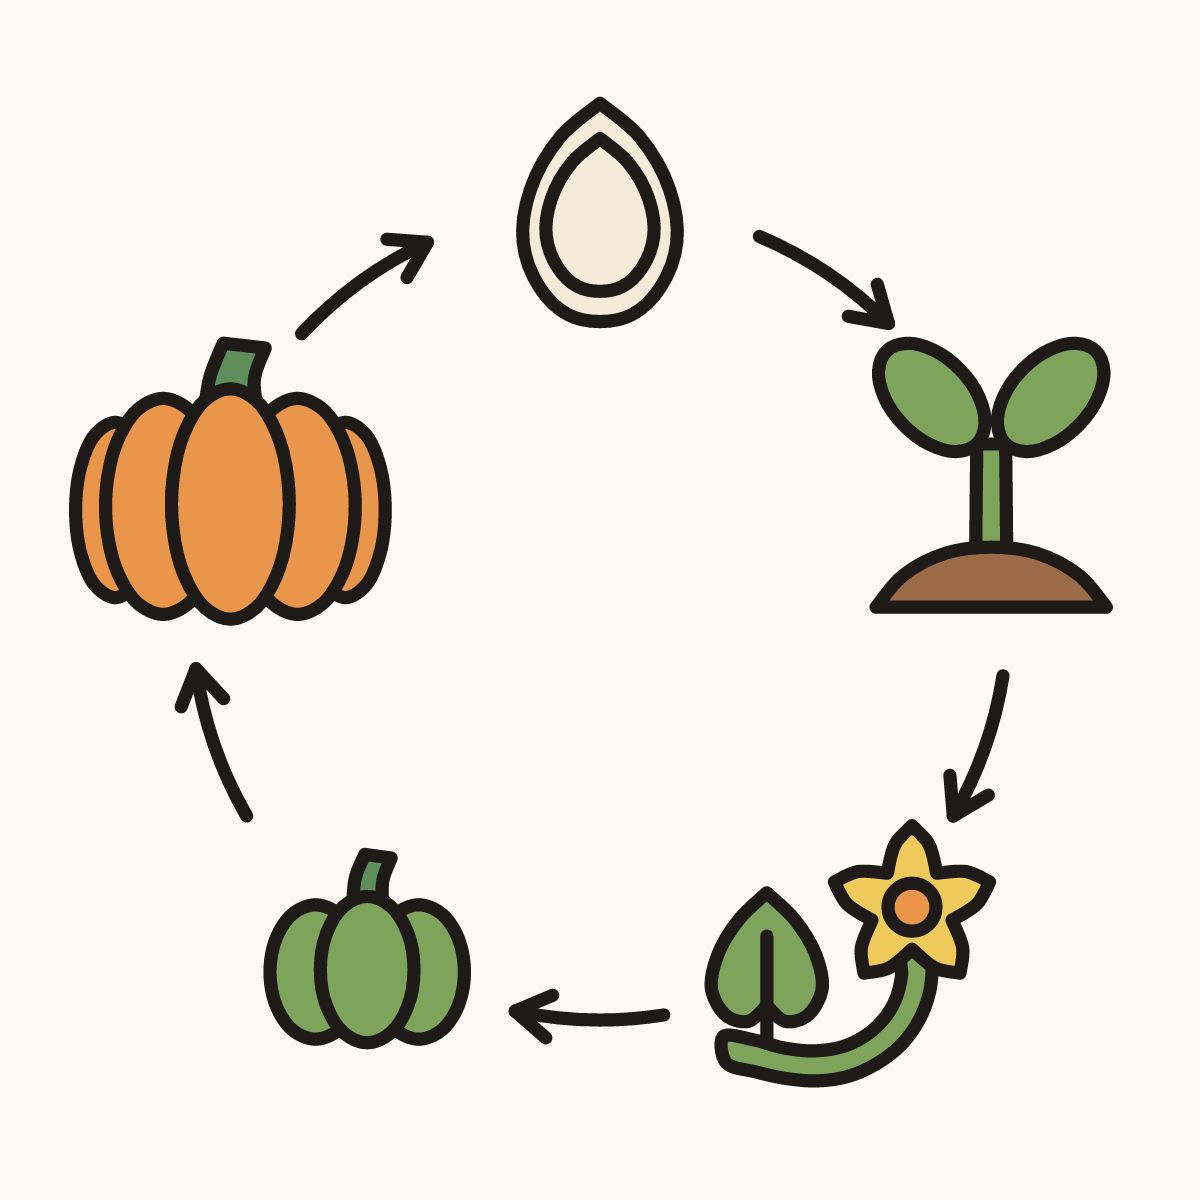
Your finished drawing
Follow the steps above and this is where you end up: a pumpkin life cycle, drawn by you.
Every step in one picture