Watch it draw itself · tap to replay
How to Draw a Kawaii Mushroom
Draw a kawaii mushroom in 11 easy steps, about 8 minutes. Free, with a printable worksheet.
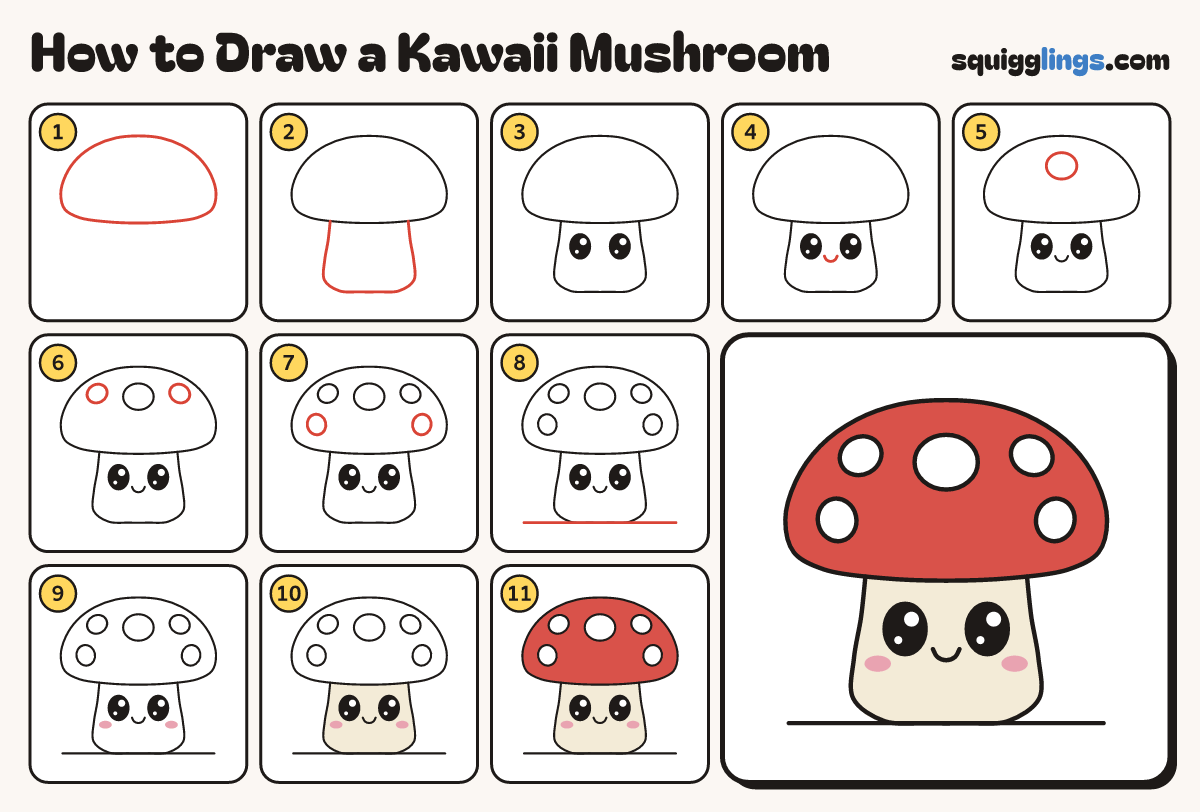
Each picture adds one red line. Draw that line, then scroll to the next picture. Rub out any dashed helper lines at the end. First up: round cap.
Step 1: Round cap
Near the top draw a big wide cap like a puffy bun. Curve its bottom edge gently down.
Tip Make the cap much wider than it is tall.
Step 2: Chunky stem
Start on the cap edge, left of the middle. Draw a fat stem down and round. Stop on the cap.
Tip The stem is more than half as wide as the cap.
Step 3: Big shiny eyes
On the stem draw 2 tall oval eyes. Colour them black, but leave 2 white shines in each.
Tip Put the big shine at the top right of both eyes.
Step 4: Tiny smile
Between the eyes, a little lower, draw a tiny U smile.
Tip A small mouth between big eyes makes it kawaii.
Step 5: Big top spot
At the top of the cap, in the middle, draw 1 big round spot.
Tip Keep every spot clear of the cap edge.
Step 6: Upper spots
On each side of the big spot, a little higher, draw 1 smaller round spot.
Step 7: Lower spots
Low on each side of the cap draw 1 more spot, standing up like an egg.
Step 8: Ground line
Draw a flat ground line under the stem, from the left to the right.
Step 9: Rosy cheeks
Colour a small pink oval on each cheek, just below the eyes.
Step 10: Cream stem
Colour the stem cream, around the eyes and the pink cheeks.
Tip Leave the white shines in the eyes.
Step 11: Red cap
Colour the cap red around the spots. Leave the spots white. Your kawaii mushroom is done!
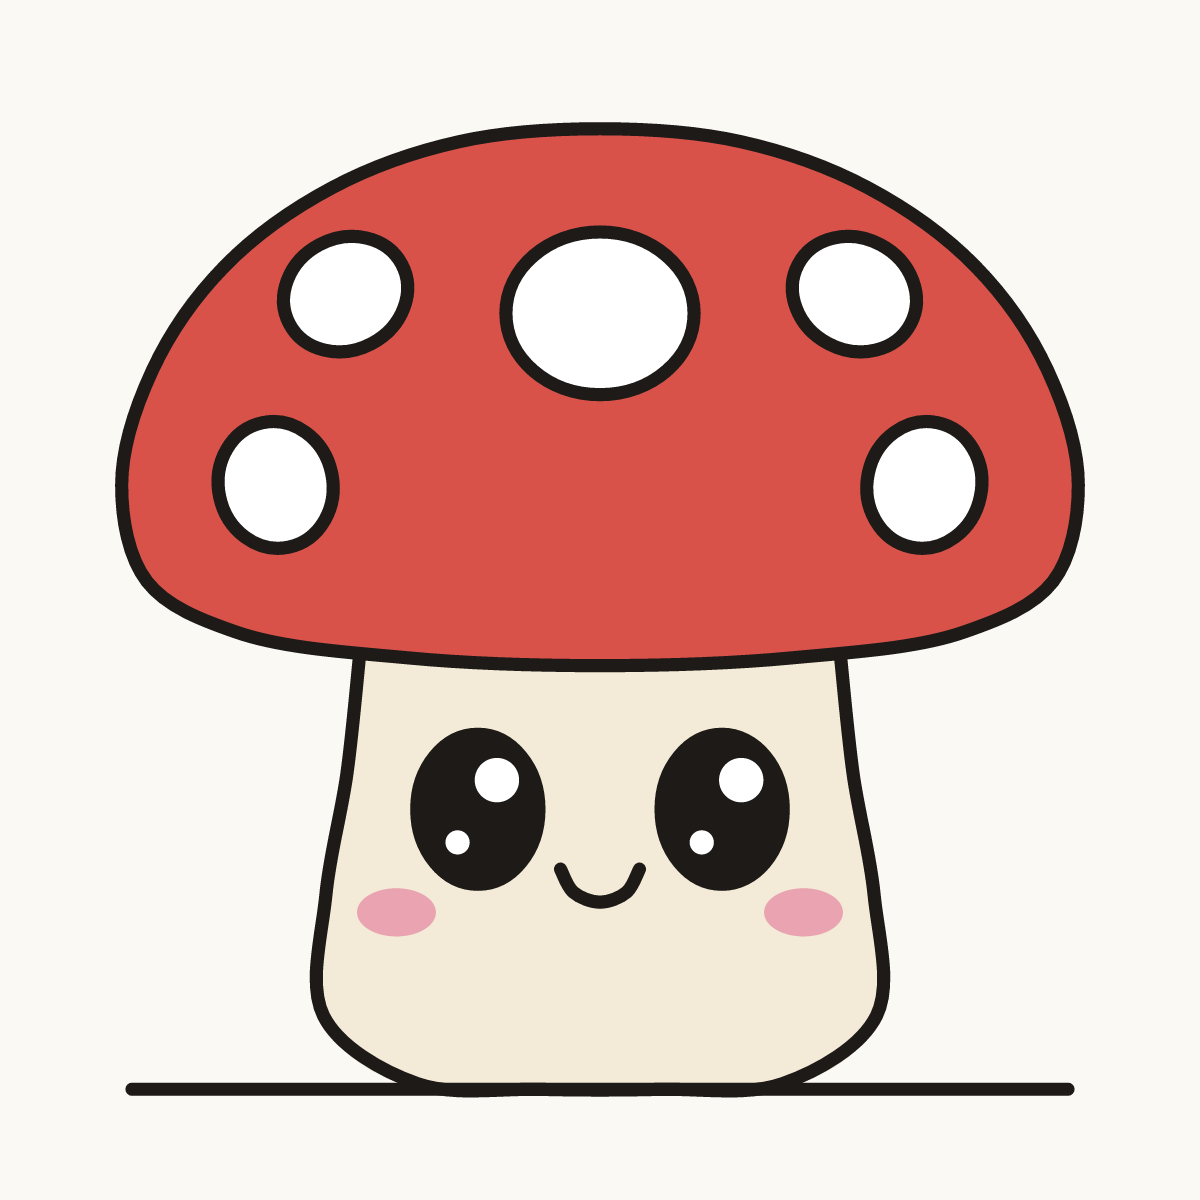
Your finished drawing
Follow the steps above and this is where you end up: a kawaii mushroom, drawn by you.
Every step in one picture