Watch it draw itself · tap to replay
How to Draw a Hydroplane
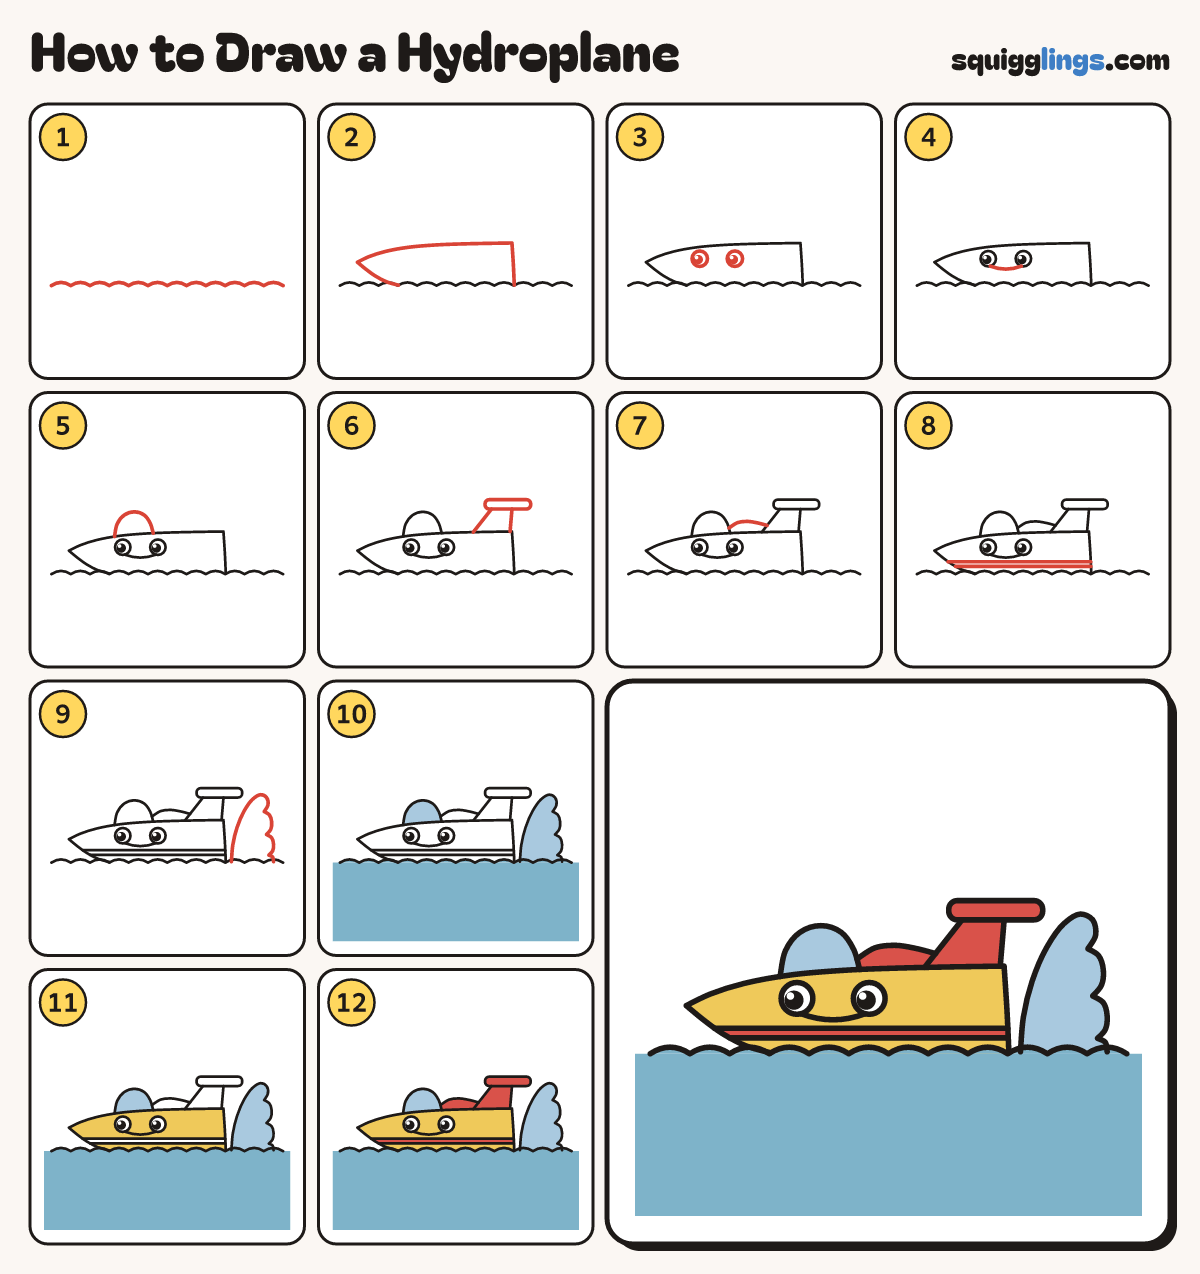
Draw a hydroplane in 12 easy steps, about 9 minutes. Free, with a printable worksheet.
Each picture adds one red line. Draw that line, then scroll to the next picture. Rub out any dashed helper lines at the end. First up: the waves.
Step 1: The waves
Below the middle of your paper, draw gentle wave bumps right across the page.
Tip Little hills, not spikes, about 12 of them all the same size.
Step 2: Long flat hull
From the waves, curve up to a low pointy nose, back along a long flat top, down to the waves.
Tip Keep it long and low: this boat skims over the water.
Step 3: Porthole eyes
On the hull, draw 2 big round porthole eyes, one eye apart. Add a black dot and shine in each.
Step 4: The smile
Start under the left eye. Draw one big U smile across to the bottom of the right eye.
Step 5: Bubble cockpit
Start on the flat top, behind the nose. Draw a bubble dome up, over and down to the top again.
Step 6: Tail fin and wing
Start on the hull top. Draw a fin leaning back and stop on the hull. Add a wing across it.
Tip The wing sticks out past the back of the boat.
Step 7: Engine cover
Start on the back of the dome. Draw a long low hump back to the front of the fin.
Step 8: Racing stripe
Just above the waves, draw a thin stripe along the hull, from the front edge to the back edge.
Step 9: Rooster tail spray
Start on the waves behind the boat. Sweep a tall plume up, then down in 3 bumps to the waves.
Tip Racing boats throw up a huge fan of water called a rooster tail.
Step 10: Blue dome, spray, sea
Colour the dome and the spray light blue. Colour the sea darker blue, from the waves down to the bottom.
Step 11: Yellow hull
Colour the hull yellow, going around the eyes and the stripe. Leave the eyes white.
Step 12: Red tail and stripe
Go over your lines. Colour the stripe, the engine cover, the fin and the wing red.
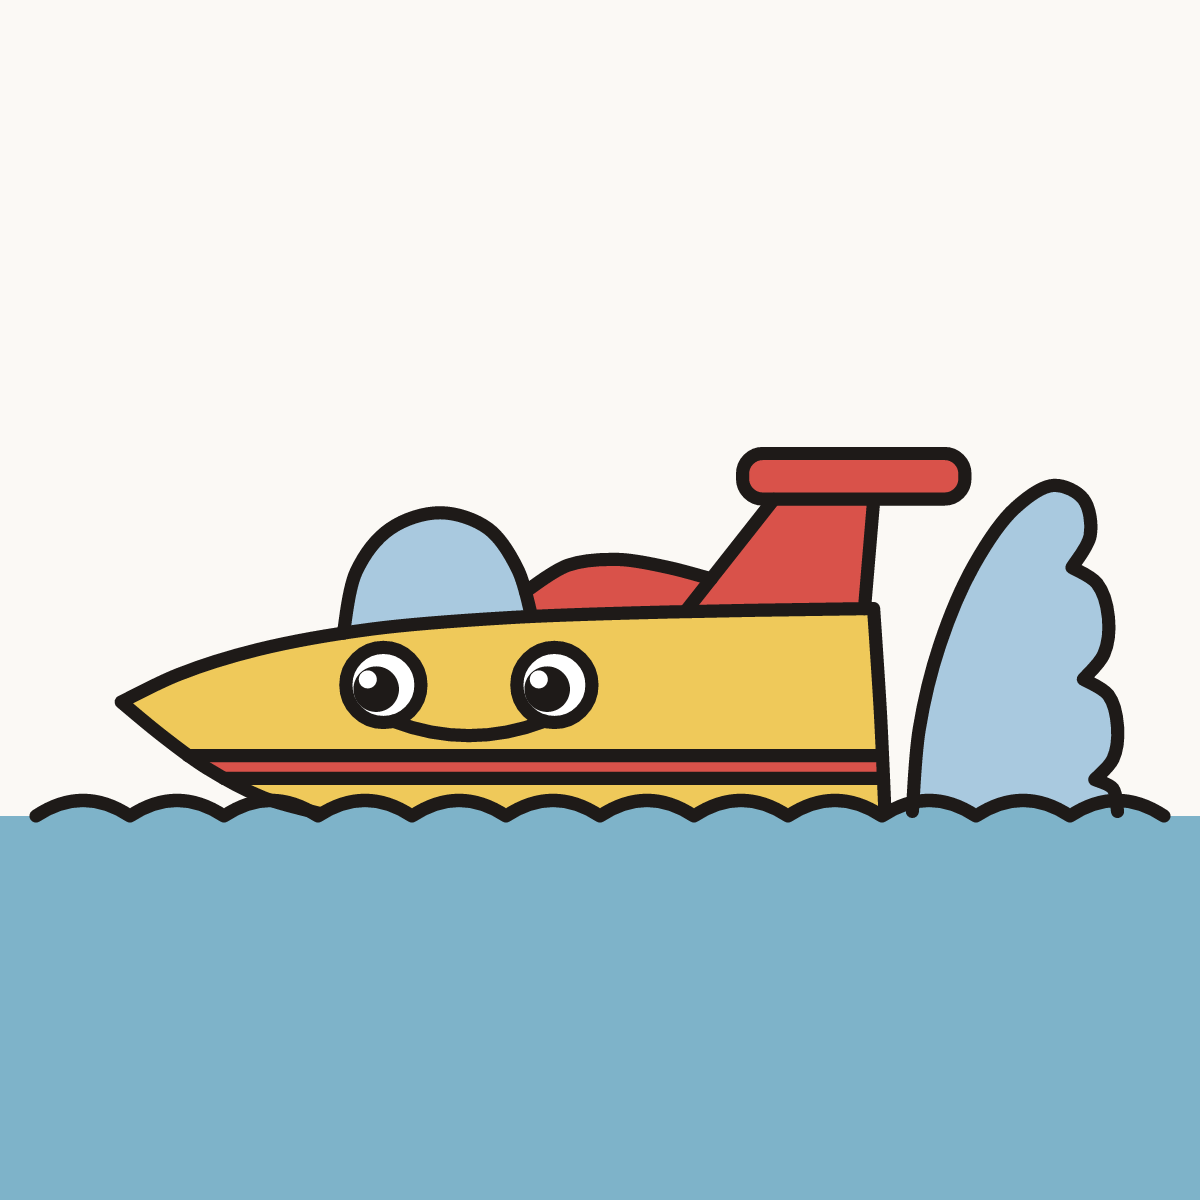
Your finished drawing
Follow the steps above and this is where you end up: a hydroplane, drawn by you.
Every step in one picture