Watch it draw itself · tap to replay
How to Draw a Helping Hand
Draw a helping hand in 11 easy steps, about 8 minutes. Free, with a printable worksheet.
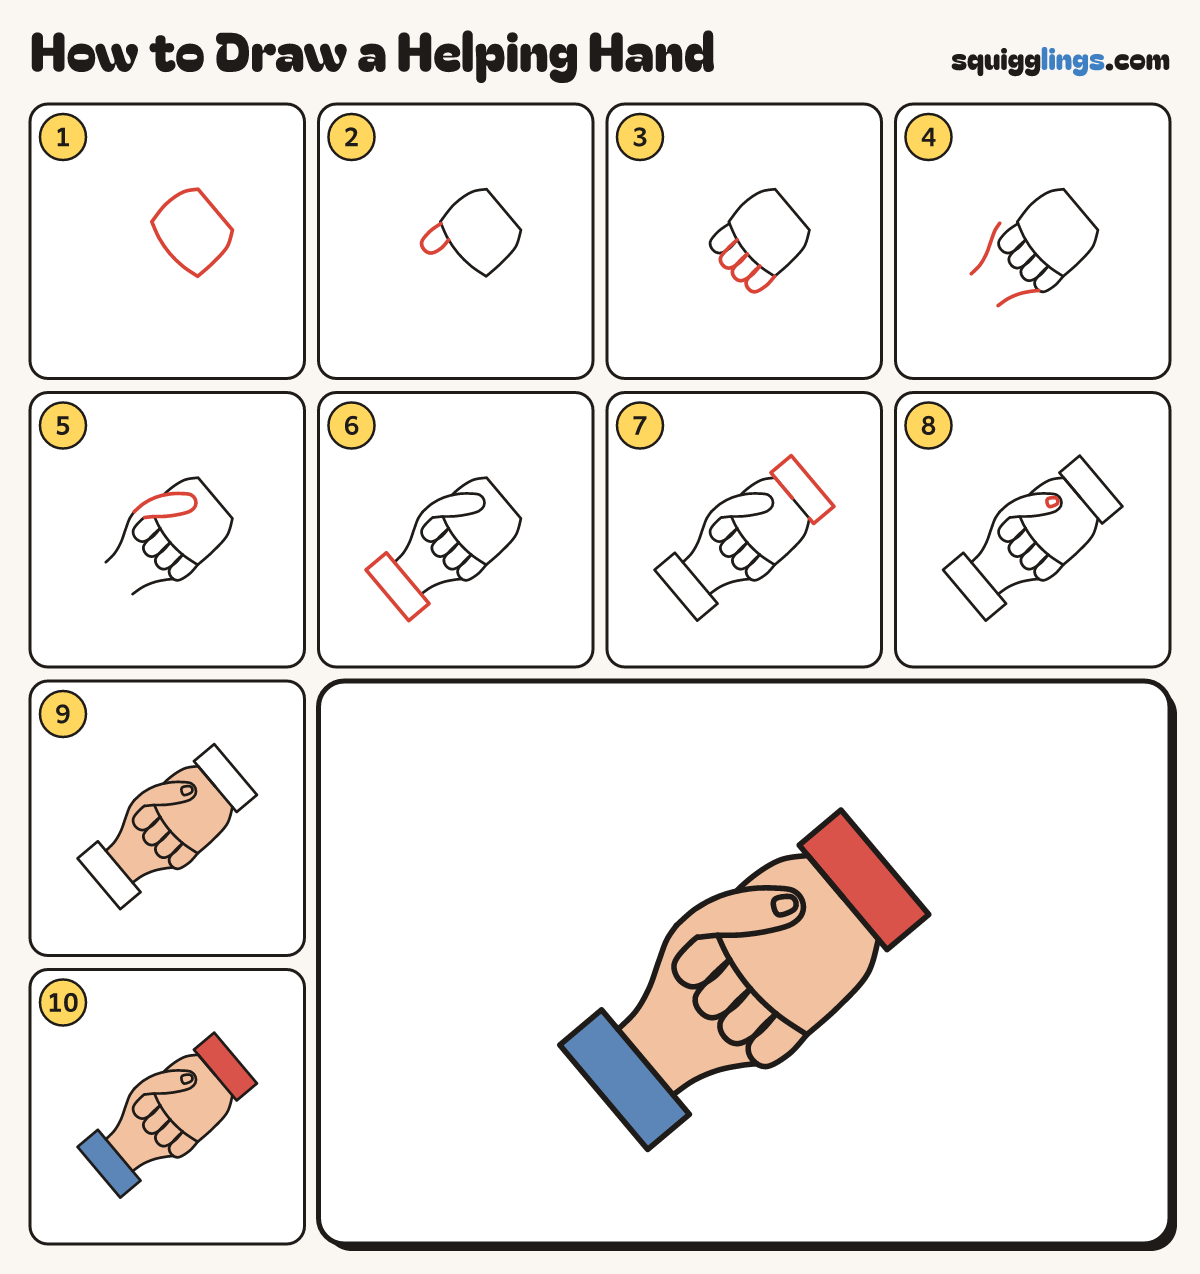
Each picture adds one red line. Draw that line, then scroll to the next picture. Rub out any dashed helper lines at the end. First up: the reaching hand.
Step 1: The reaching hand
Start at the bottom left. Draw a long soft mitten reaching up to the middle, round at the end, and back.
Tip Leave the bottom left end open. A sleeve goes there later.
Step 2: Its thumb
Start on the mitten's top edge. Draw a fat thumb pointing up right, past the round end, and back inside.
Tip Rub out the bit of the mitten's edge inside the thumb.
Step 3: Its fingers
Start on the round end. Draw 3 short lines back into the mitten for 4 fingers, and stop.
Step 4: The helper's fingers
Along the mitten's lower edge draw 4 fat sausage fingers, side by side, poking out past it.
Tip These belong to the helper's hand. They wrap round from behind.
Step 5: The helper's hand
Start on the thumb. Curve a hump up to the top right and stop. Add a line from the round end.
Tip The 2 lines come closer together at the top right, for the wrist.
Step 6: The blue cuff
Across the bottom left end of the arm draw a sleeve cuff: a long box, a little wider than the wrist.
Step 7: The red cuff
Across the top right end of the helper's arm draw another cuff box, the same size.
Step 8: A thumb nail
Near the thumb tip draw a small nail, round at the end like the tip.
Step 9: Peach helper
Colour the helper's hand and its 4 sausage fingers peach. Leave the reaching hand white for now.
Step 10: Brown hand
Colour the reaching hand and its thumb brown, nail too. Go around the 4 peach fingers.
Step 11: Blue and red sleeves
Colour the bottom left cuff blue and the helper's cuff red. Go over your lines and you are done!
Your finished drawing
Follow the steps above and this is where you end up: a helping hand, drawn by you.
Every step in one picture