Watch it draw itself · tap to replay
How to Draw a Harmonica
Draw a harmonica in 12 easy steps, about 9 minutes. Free, with a printable worksheet.
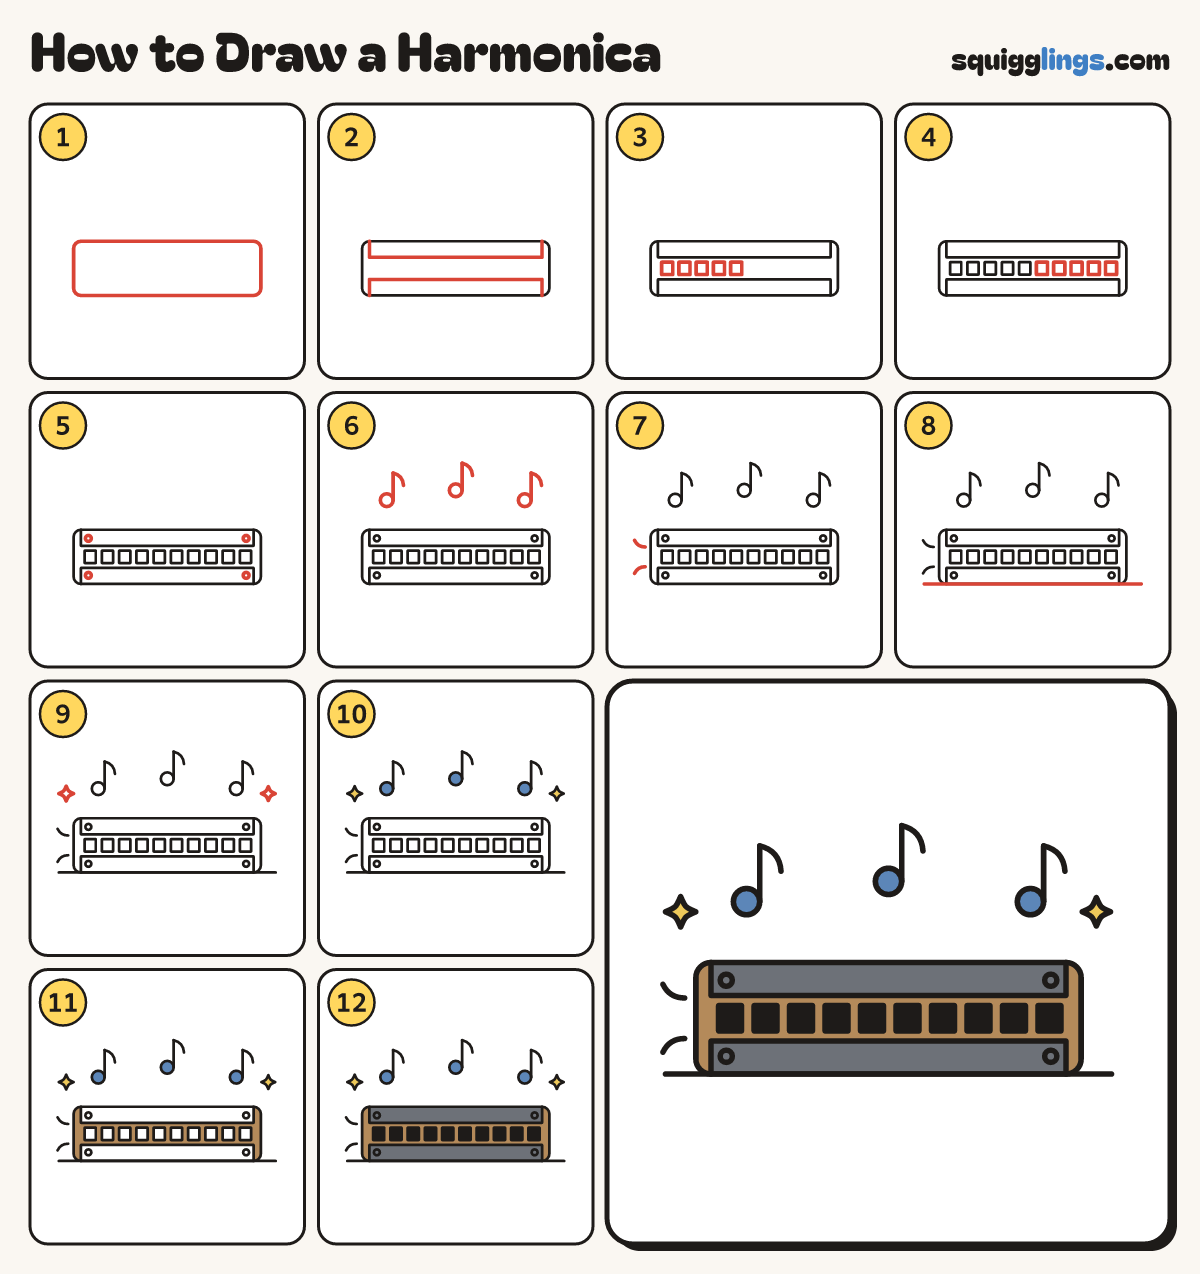
Each picture adds one red line. Draw that line, then scroll to the next picture. Rub out any dashed helper lines at the end. First up: the harmonica.
Step 1: The harmonica
A little below the middle of your paper, draw a long box with soft corners, 4 times wider than tall.
Tip Long and low, like a chocolate bar.
Step 2: Cover plates
Inside the box, draw a long thin strip along the top edge and another along the bottom edge.
Step 3: Five holes
In the middle gap draw 5 small square holes in a row, starting from the left, evenly spaced.
Step 4: Five more holes
Continue the row with 5 more square holes to the right end.
Step 5: Screws
Draw a tiny round screw in each corner of the cover plates, 4 in all.
Step 6: Music notes
Above the harmonica draw 3 music notes floating up: a round dot with a stem up and a little flag.
Step 7: Puffs of air
At the left end draw 2 tiny curved puff lines, for the air blowing in.
Step 8: The ground
Draw a ground line under the harmonica, from well past the left end to well past the right end.
Step 9: Sparkles
Draw a sparkle star high on each side, out past the outer notes.
Step 10: Yellow and blue
Colour the sparkles yellow and the round note heads blue.
Step 11: Wood brown
Colour both ends and the middle strip wood brown, around the 10 holes.
Step 12: Slate and black
Go over your lines, then colour the plates slate grey and the 10 holes black. Ready to play!
Your finished drawing
Follow the steps above and this is where you end up: a harmonica, drawn by you.
Every step in one picture