Watch it draw itself · tap to replay
How to Draw a Kiln
Draw a kiln in 13 easy steps, about 10 minutes. Free, with a printable worksheet.
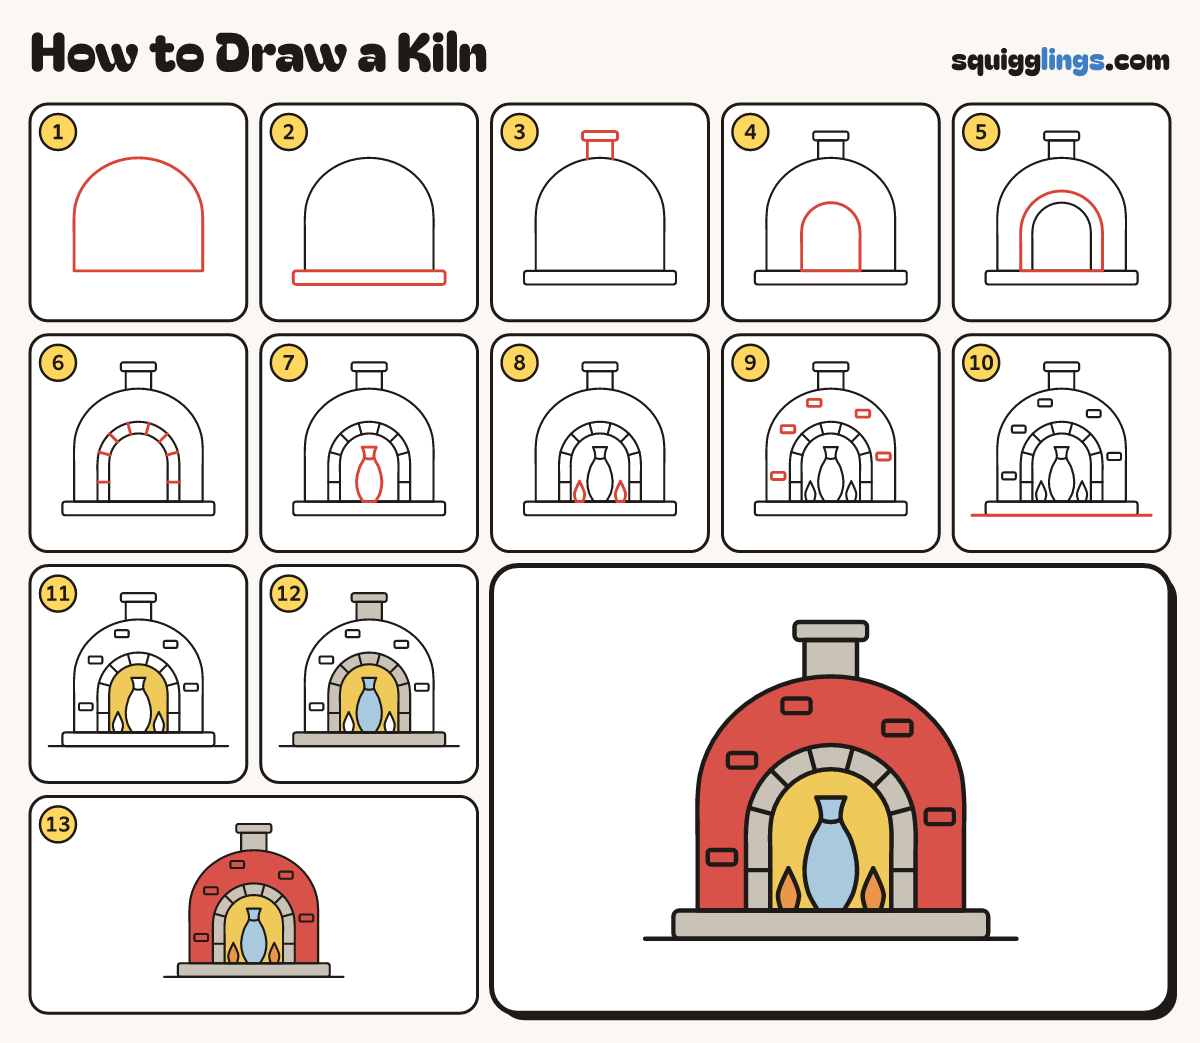
Each picture adds one red line. Draw that line, then scroll to the next picture. Rub out any dashed helper lines at the end. First up: the kiln.
Step 1: The kiln
Draw a big arch like a beehive: up the left side, round over the top, and down the right.
Tip Make it about as wide as it is tall.
Step 2: Stone base
Under the arch draw a long flat slab, a little wider than the kiln.
Tip The slab sticks out the same amount on both sides.
Step 3: The chimney
On the very top draw a short chimney with a flat cap on it.
Step 4: Arch door
In the middle of the kiln draw a tall arch door standing on the base.
Tip Leave the same gap on the left and the right.
Step 5: Brick arch
Draw a bigger arch around the door, from the base, over the top, and back to the base.
Step 6: Arch bricks
Draw short lines across the brick arch to split it into bricks, all the way round.
Tip Point each line at the middle of the door.
Step 7: A vase inside
Inside the door draw a tall vase on the floor: a thin neck, a fat tummy, a small foot.
Tip A kiln is a very hot oven that bakes clay pots hard.
Step 8: Two flames
On each side of the vase draw a small flame, pointed at the top.
Tip Keep the flames shorter than the vase.
Step 9: Wall bricks
Draw 5 little bricks dotted about the kiln wall, outside the arch.
Tip Scatter them at different heights so they look like bricks, not eyes.
Step 10: The ground
Draw a ground line under the base, from one side of the paper to the other.
Step 11: Yellow glow
Colour inside the door yellow, around the vase and the flames.
Step 12: Blue vase, grey stone
Colour the vase light blue. Colour the brick arch, the base and the chimney grey.
Step 13: Orange flames, red kiln
Colour the flames orange. Colour the kiln wall red around the arch, and your kiln is fired!
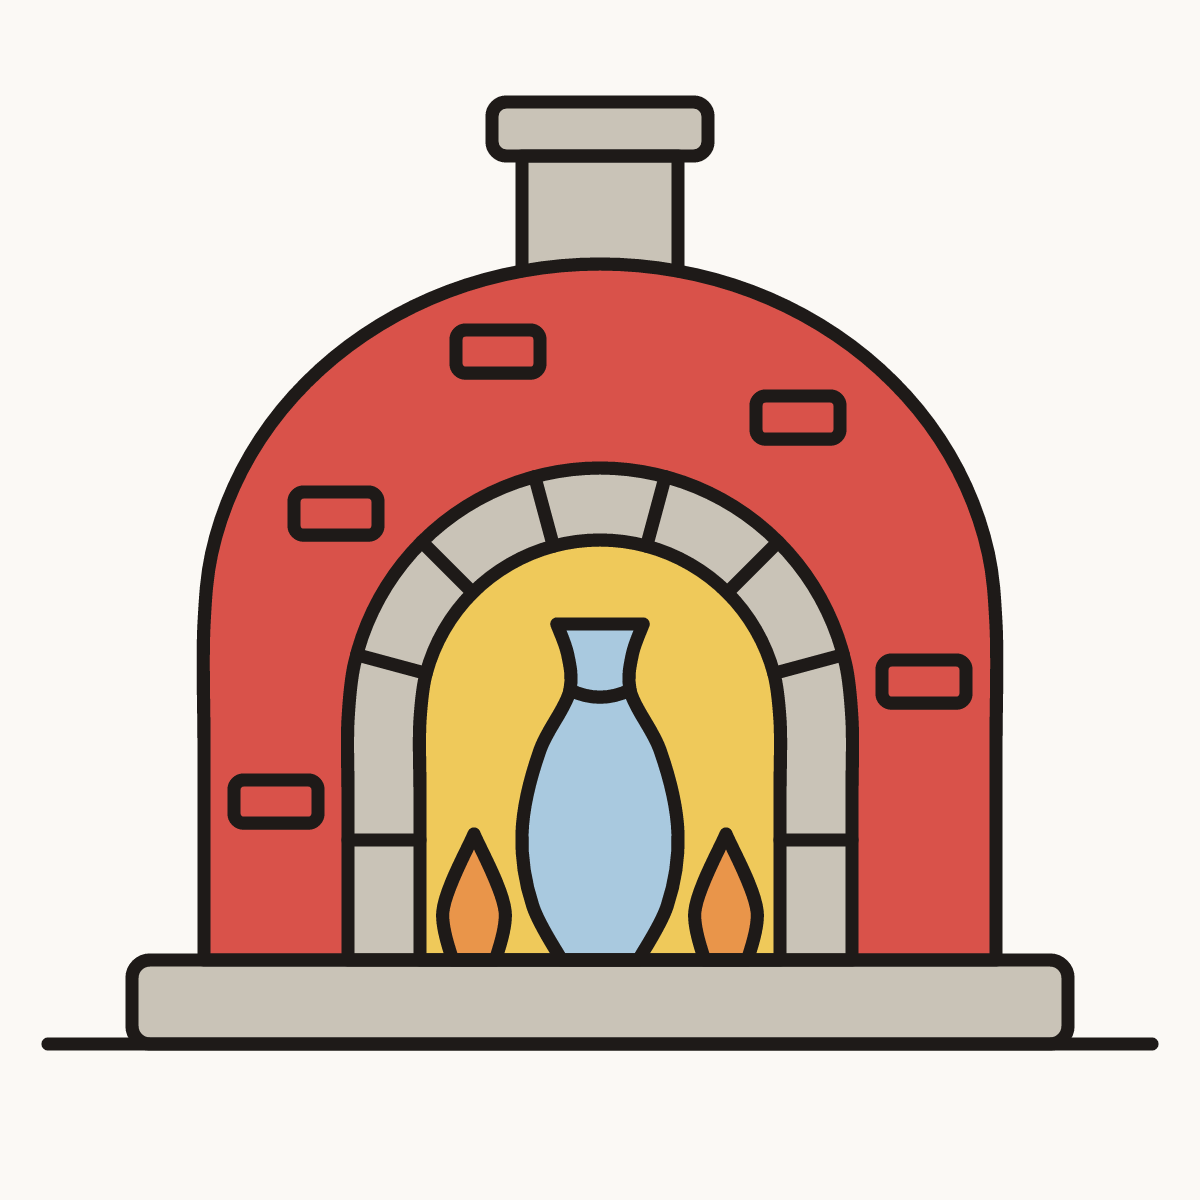
Your finished drawing
Follow the steps above and this is where you end up: a kiln, drawn by you.
Every step in one picture