Watch it draw itself · tap to replay
How to Draw a Bunsen Burner
Draw a bunsen burner in 12 easy steps, about 9 minutes. Free, with a printable worksheet.
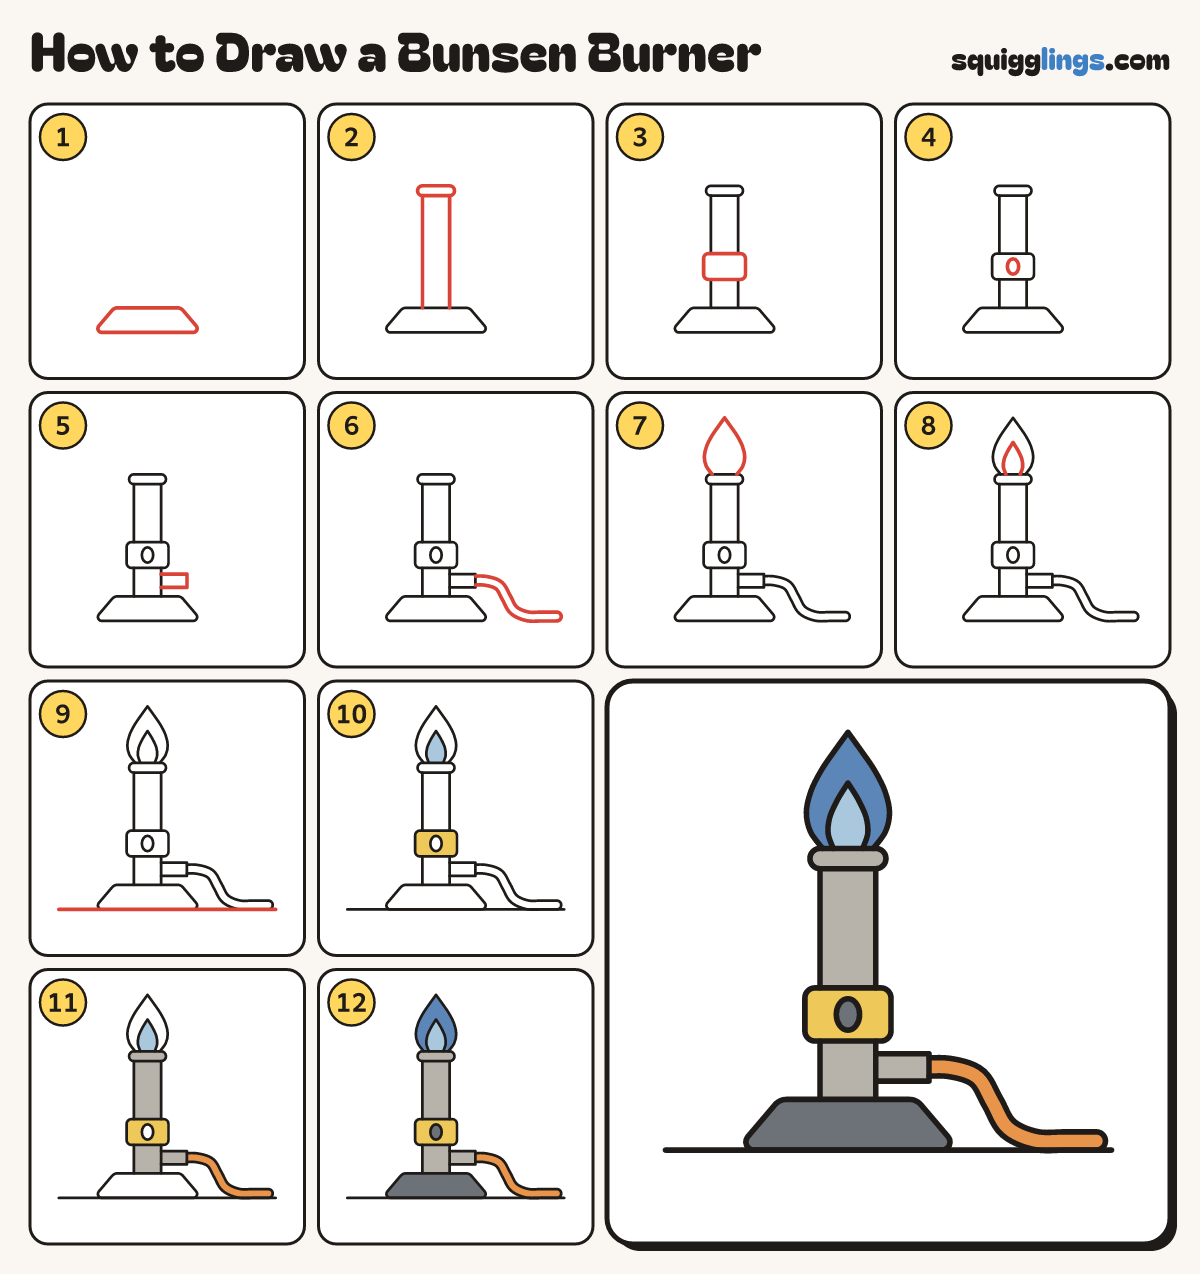
Each picture adds one red line. Draw that line, then scroll to the next picture. Rub out any dashed helper lines at the end. First up: the base.
Step 1: The base
Near the bottom of your paper draw a wide low base: flat on top, wider at the bottom.
Tip A heavy base stops the burner tipping over.
Step 2: The tube
From the top of the base draw 2 long lines straight up. Join them with a slightly wider rounded band.
Step 3: The collar
Low on the tube draw a rounded box, a little wider than the tube. Rub out the lines inside it.
Step 4: Air hole
In the middle of the collar draw a small upright oval for the air hole.
Step 5: Gas pipe
Start on the right of the tube, under the collar. Draw a short box sticking out; stop on the tube.
Step 6: The hose
From the end of the pipe draw a hose. It curves down to the table, then runs to the right.
Tip Keep the 2 sides of the hose the same distance apart.
Step 7: The flame
Start left on the top band. Draw a tall teardrop flame up to a point. Stop on the right.
Step 8: Inner flame
Inside the flame draw a smaller pointed flame, standing on the band too.
Step 9: The table
Draw a straight table line under the base and the hose, from left to right.
Step 10: Sky blue and yellow
Go over your lines. Colour the inner flame sky blue and the collar yellow, around the air hole.
Step 11: Grey and orange
Colour the tube, the band on top and the gas pipe grey. Colour the hose orange.
Step 12: Blue and dark grey
Colour the big flame blue around the inner flame. Colour the base and the air hole dark grey.
Tip A hot burner flame is blue, not orange.
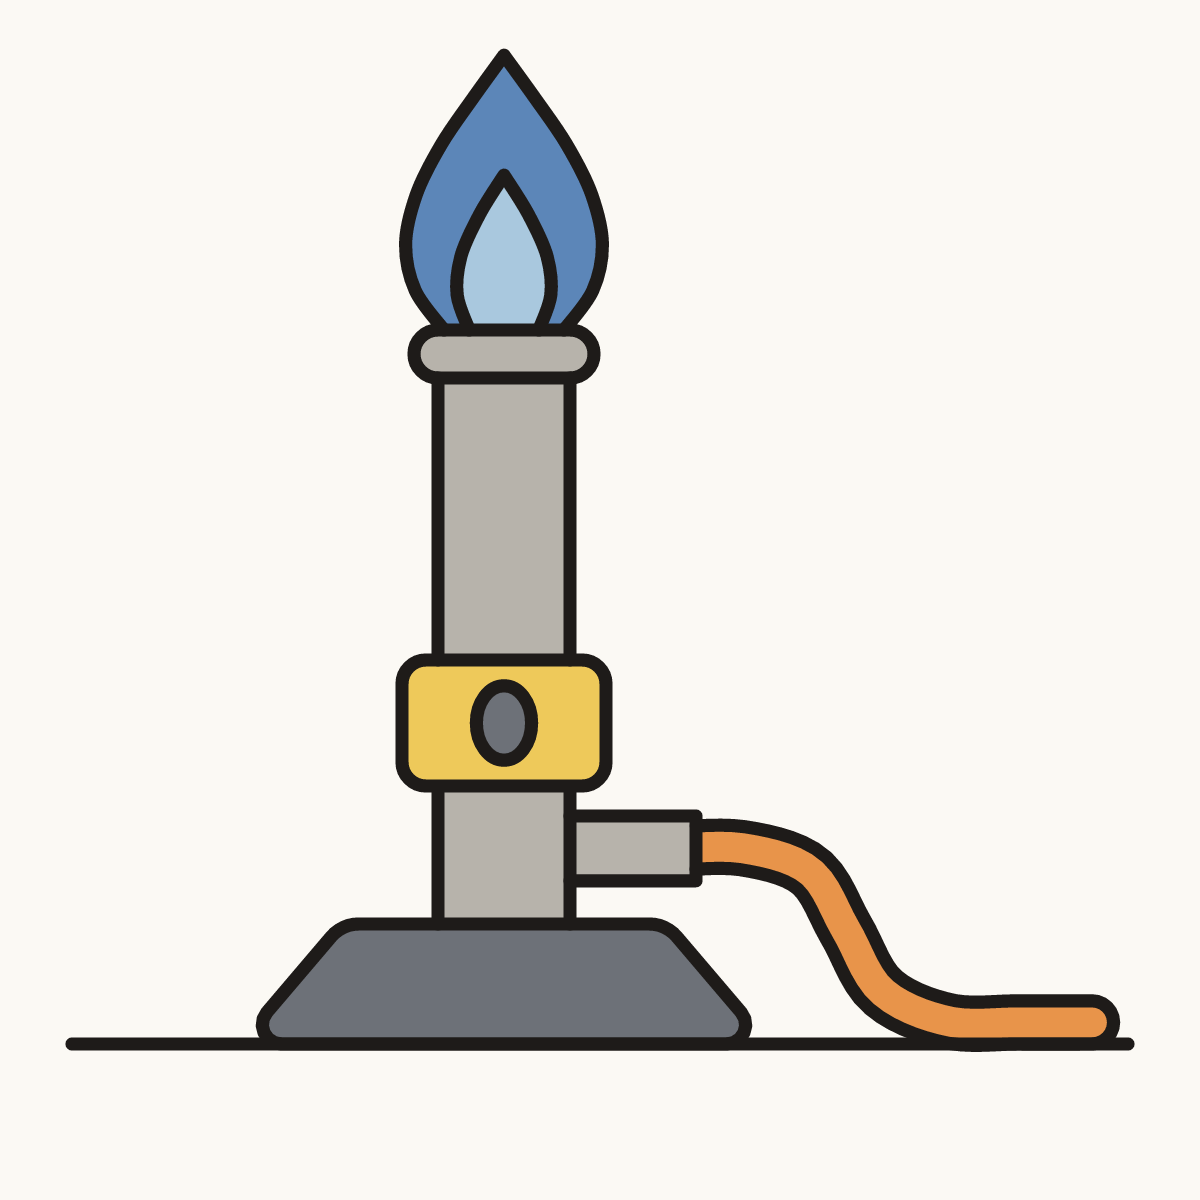
Your finished drawing
Follow the steps above and this is where you end up: a bunsen burner, drawn by you.
Every step in one picture