Watch it draw itself · tap to replay
How to Draw a Giraffe Print
Draw a giraffe print in 10 easy steps, about 8 minutes. Free, with a printable worksheet.
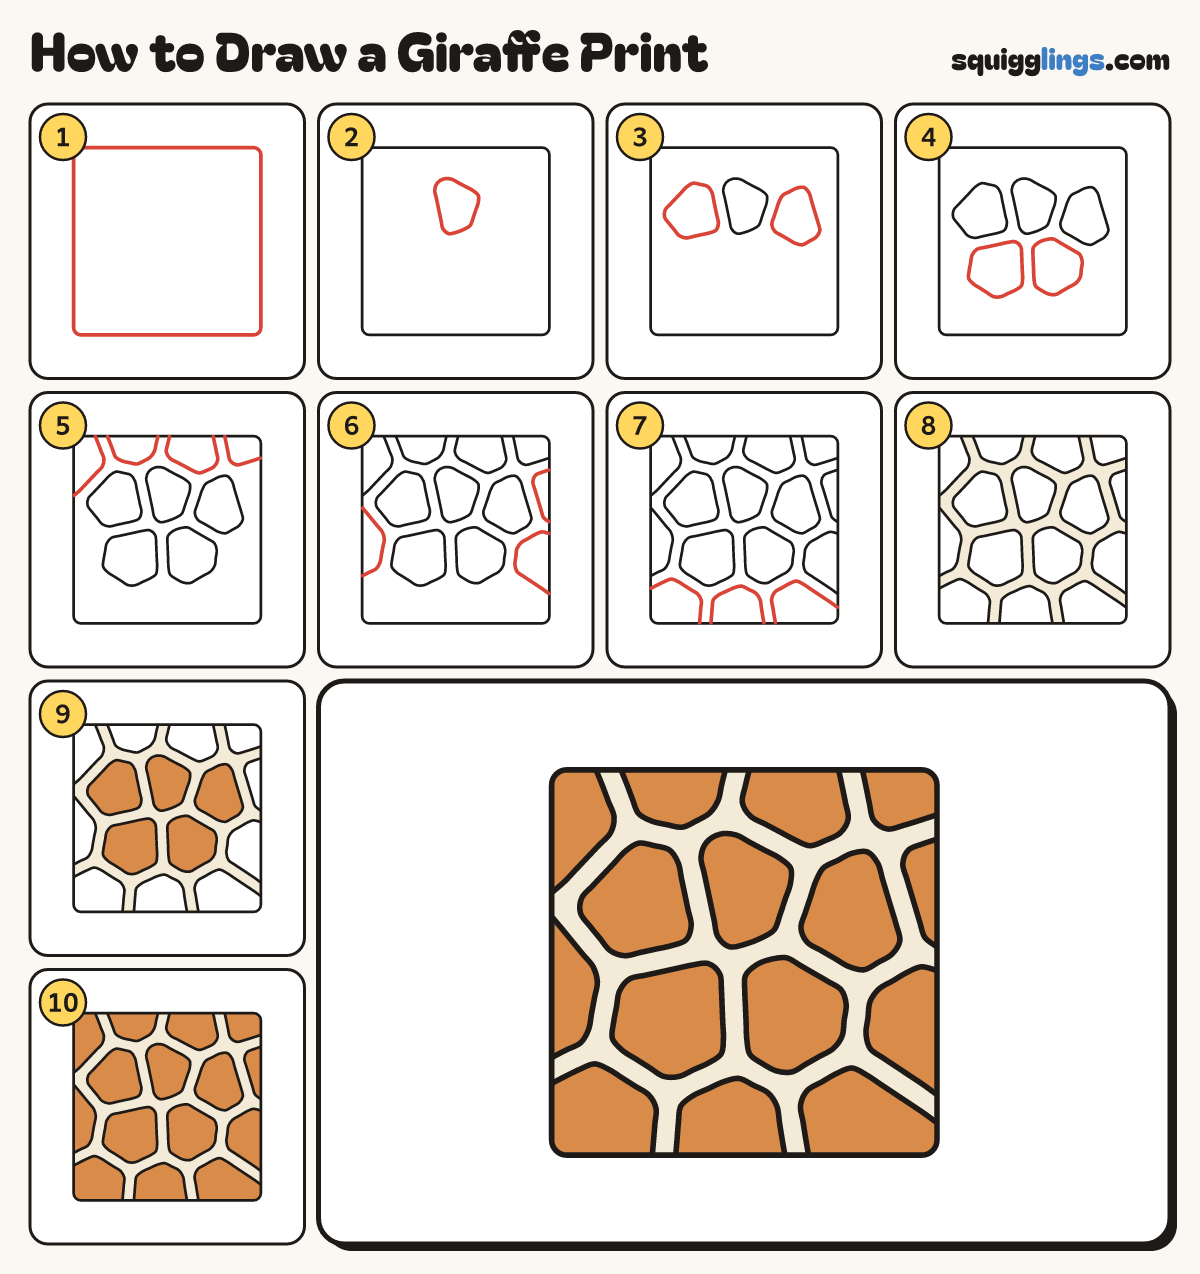
Each picture adds one red line. Draw that line, then scroll to the next picture. Rub out any dashed helper lines at the end. First up: the square.
Step 1: The square
In the middle of your paper draw a big square with softly rounded corners, nearly as big as your page.
Step 2: Middle patch
In the middle, a little above halfway, draw a big patch with 5 or 6 sides. Round every corner.
Tip Giraffe patches look like stones in a path, not round spots.
Step 3: Two neighbours
Draw a patch on its left and a patch on its right. Leave an even gap between them.
Tip Keep the gap as wide as your finger, everywhere.
Step 4: Two patches below
Below them draw 2 more big patches. Their tops fit into the gaps above, like puzzle pieces.
Step 5: Top patches
Start on the top edge. Draw 4 patches that hang down from it, each back to the edge.
Step 6: Side patches
Start on the left edge, draw a patch and stop on the same edge. Draw 2 on the right edge.
Step 7: Bottom patches
Start on the bottom edge. Draw 3 patches standing on it, each back to the bottom edge.
Tip The patches at the edges look cut off. That makes it a pattern.
Step 8: Cream gaps
Colour all the gaps between the patches cream. Keep the patches white for now.
Step 9: Orange middle patches
Go over your lines. Colour the 5 middle patches orange-brown, right up to their edges.
Step 10: Orange all over
Colour all the edge patches orange-brown too. Your giraffe print is done!
Tip Try it again in a long strip to make a giraffe neck.
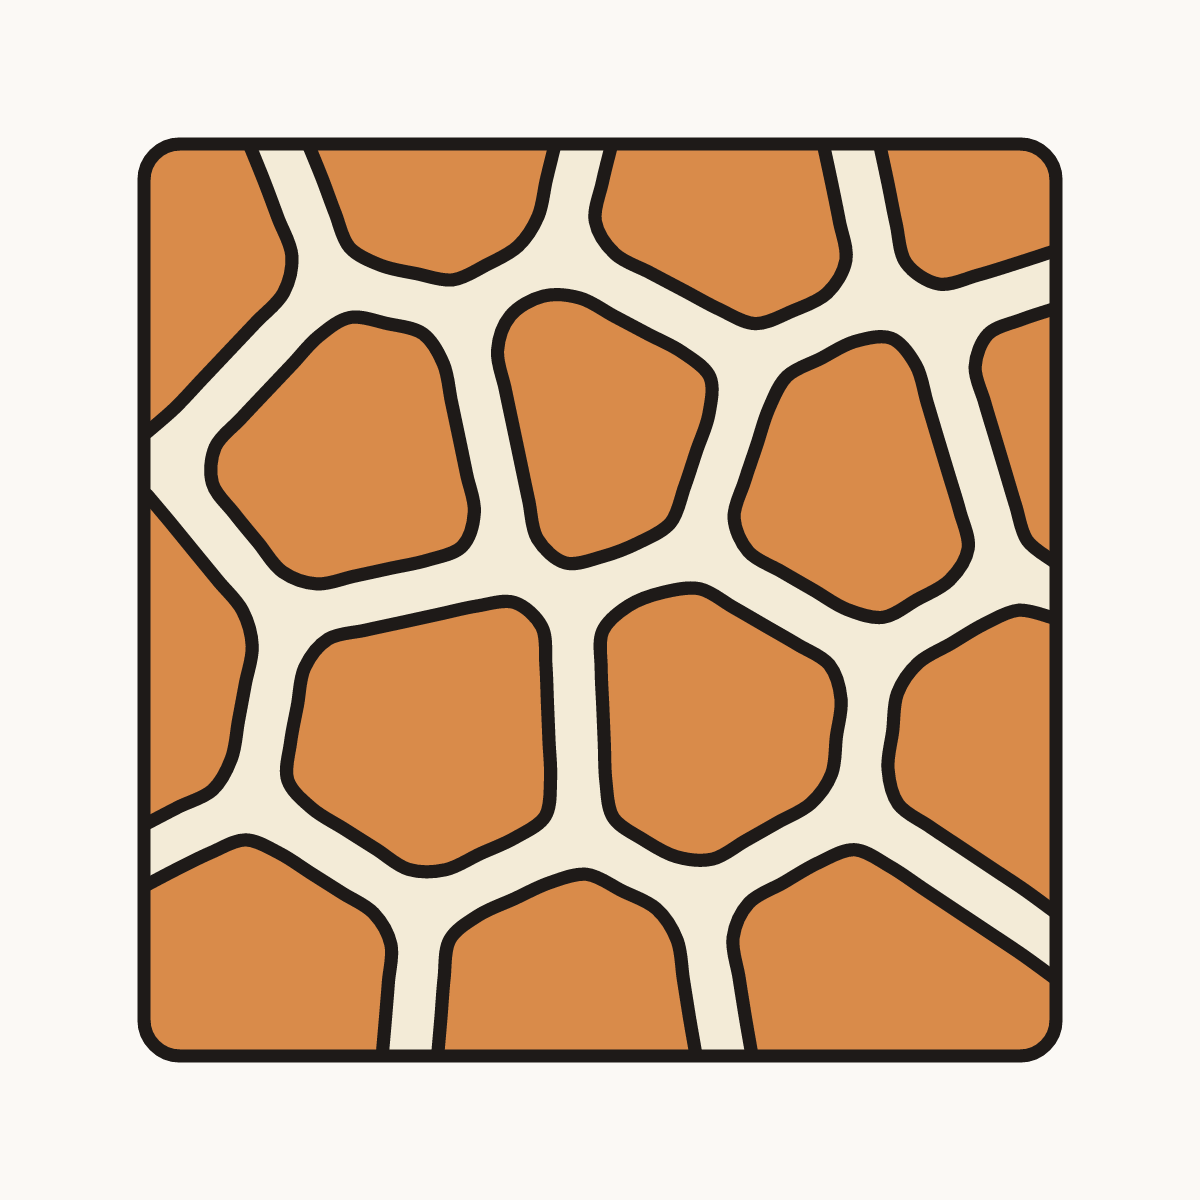
Your finished drawing
Follow the steps above and this is where you end up: a giraffe print, drawn by you.
Every step in one picture