Watch it draw itself · tap to replay
How to Draw a Leopard Print
Draw a leopard print in 10 easy steps, about 8 minutes. Free, with a printable worksheet.
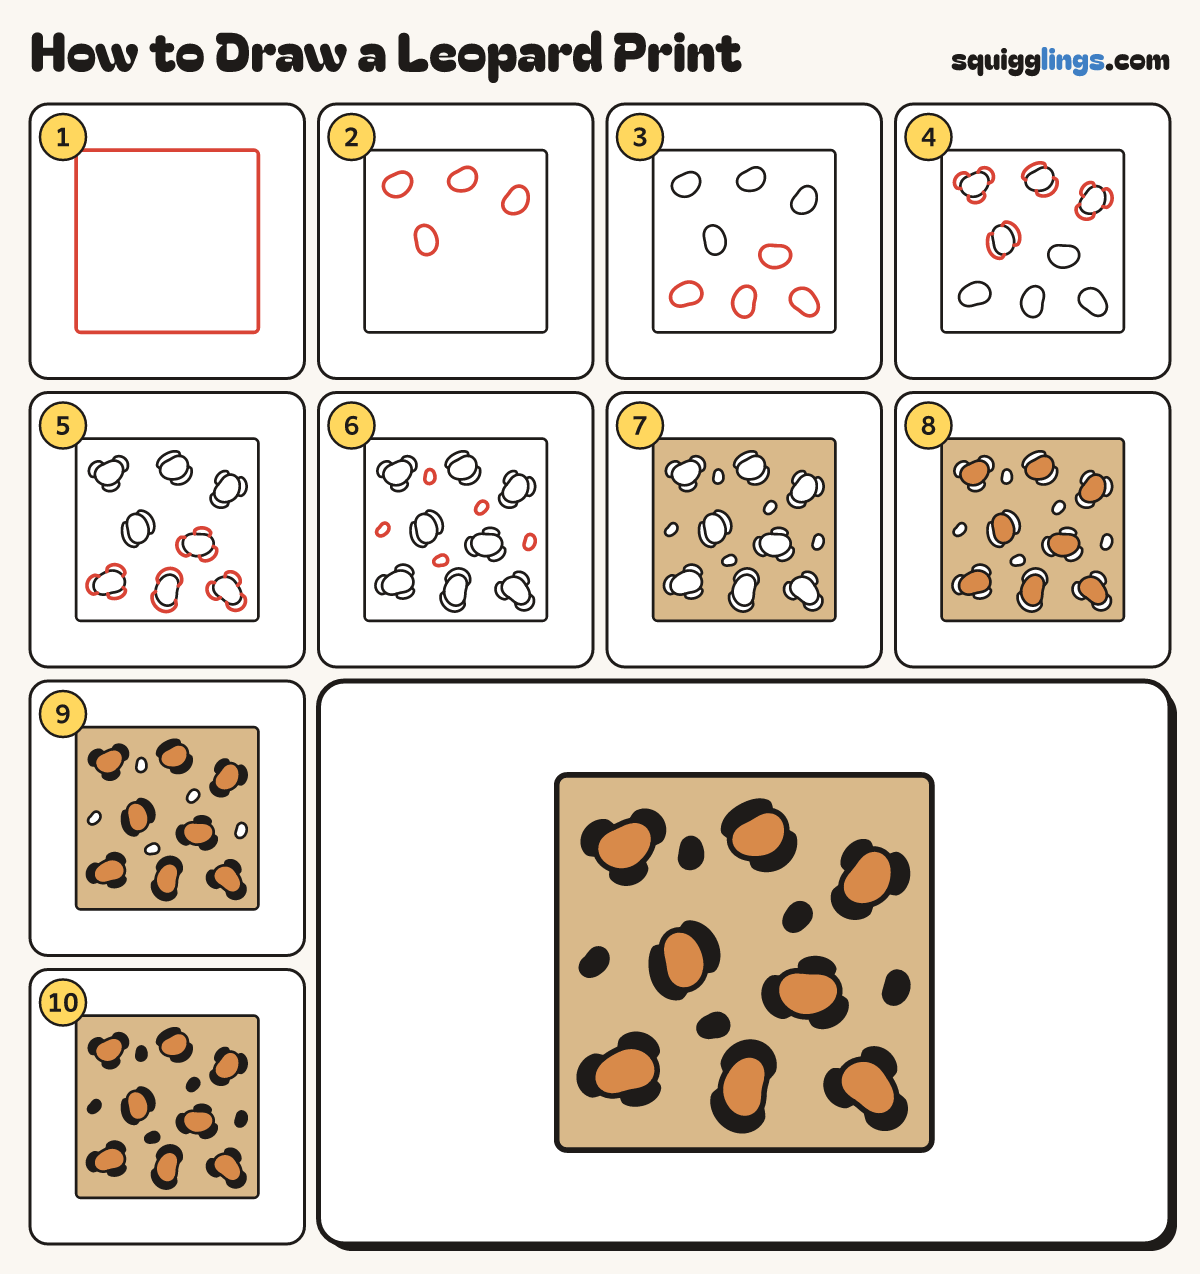
Each picture adds one red line. Draw that line, then scroll to the next picture. Rub out any dashed helper lines at the end. First up: the square.
Step 1: The square
In the middle of your paper draw a big square with softly rounded corners, nearly as big as your page.
Step 2: Four beans
In the top half of the square draw 4 small wobbly beans, well apart from each other.
Tip Leopard spots are wobbly. No two are the same.
Step 3: Four more beans
Draw 4 more wobbly beans in the bottom half, so the 8 beans are spread all over.
Step 4: Fat C shapes
Round each top bean draw 2 or 3 fat C shapes hugging it. Each starts and stops on the bean.
Tip Leave a gap between the C shapes, so the ring is broken.
Step 5: More C shapes
Do the same round the 4 bottom beans: 2 or 3 fat C shapes, starting and stopping on the bean.
Step 6: Small spots
In the biggest gaps between the rings draw 5 small wobbly spots.
Step 7: Sandy fur
Go over your lines. Colour the square light sandy brown, round every bean, C shape and small spot.
Step 8: Orange middles
Colour the 8 beans orange.
Step 9: Black rings
Colour all the fat C shapes black.
Step 10: Black spots
Colour the 5 small spots black. Your leopard print is done!
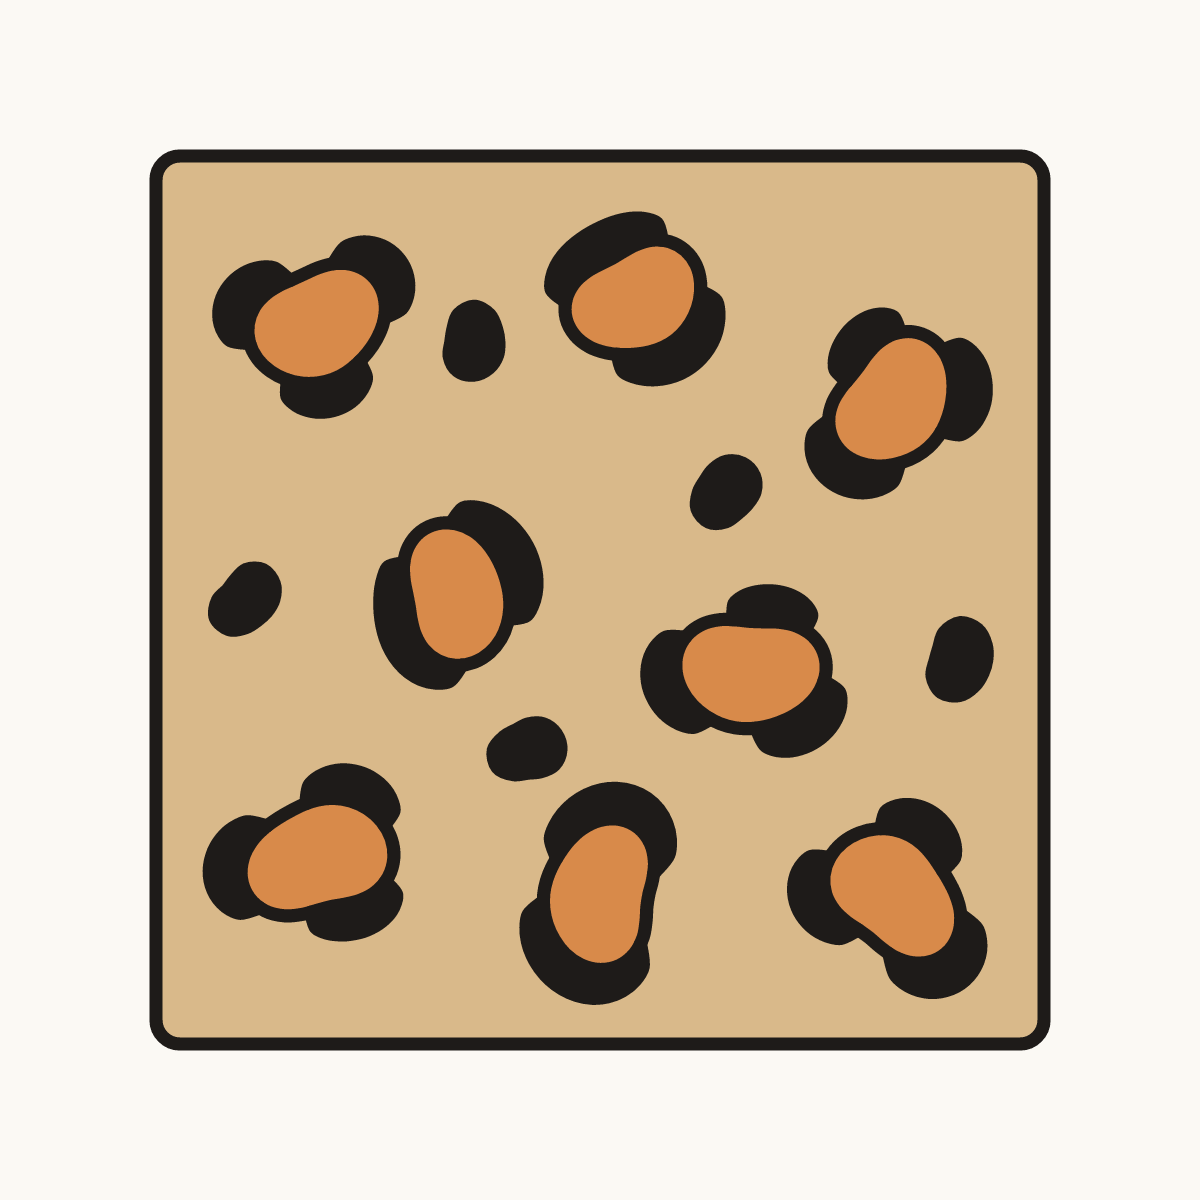
Your finished drawing
Follow the steps above and this is where you end up: a leopard print, drawn by you.
Every step in one picture