Watch it draw itself · tap to replay
How to Draw a Gas Can
Draw a gas can in 11 easy steps, about 8 minutes. Free, with a printable worksheet.
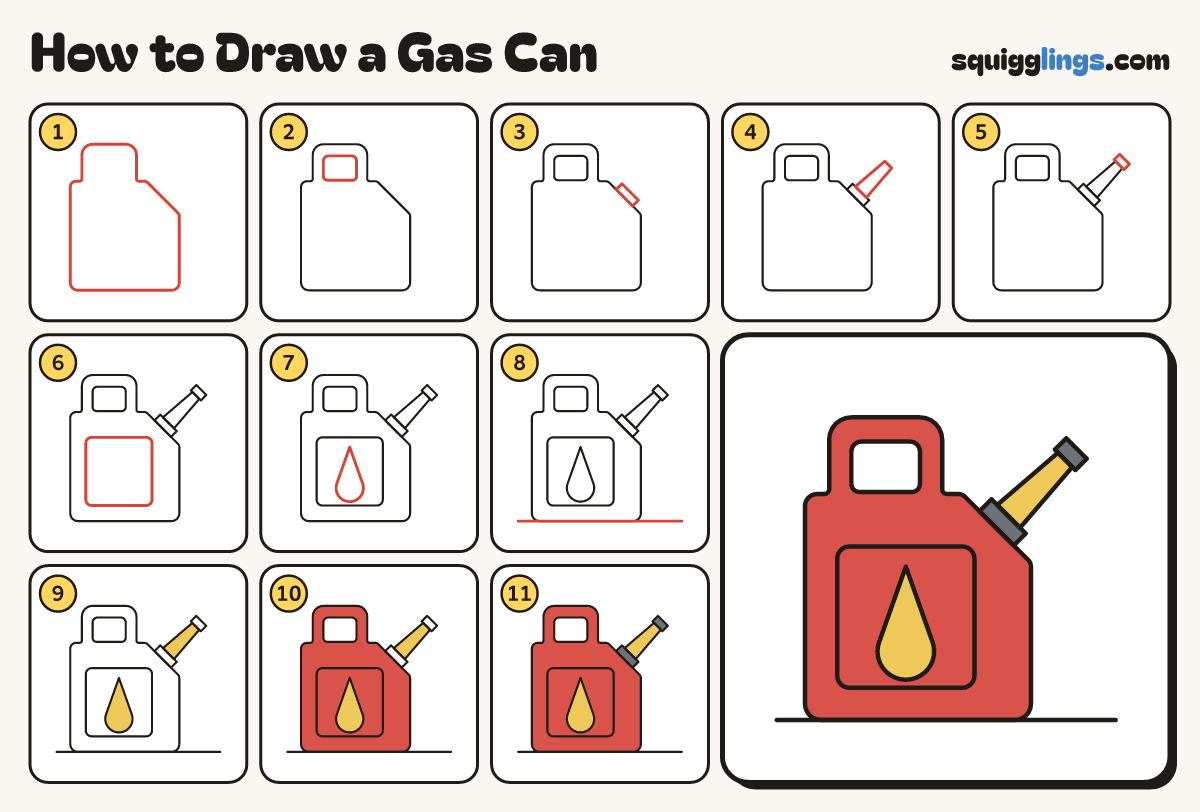
Each picture adds one red line. Draw that line, then scroll to the next picture. Rub out any dashed helper lines at the end. First up: the can.
Step 1: The can
Draw a big box with a slanted top right corner. Give it a tall round bump on the top left.
Tip The bump is half as wide as the box. It becomes the handle.
Step 2: The handle hole
Inside the bump draw a smaller box with round corners. Now the bump is a loop handle.
Tip Leave a thick band of handle all the way round the hole.
Step 3: The collar
On the middle of the slanted corner draw a short flat block that tilts the same way.
Step 4: The spout
From the block draw a long tube slanting up to the right, getting a little thinner.
Tip Keep the spout as long as the handle is wide.
Step 5: The spout tip
On the end of the spout draw a tiny block for the tip.
Step 6: The front panel
On the front of the can draw a big box with round corners, a finger in from the edges.
Step 7: A fuel drop
In the middle of the panel draw a big drop: a point at the top and a round bottom.
Tip Leave space between the drop and the panel line.
Step 8: Ground line
Draw a long flat ground line under the can, from the left side to the right side.
Step 9: Yellow spout
Colour the long spout yellow. Colour the fuel drop yellow too.
Tip Yellow is the lightest colour, so it goes first.
Step 10: Red can
Colour the can and its handle red, around the yellow drop. Leave the handle hole empty.
Step 11: Dark grey parts
Colour the collar and the spout tip dark grey. Your gas can is done!
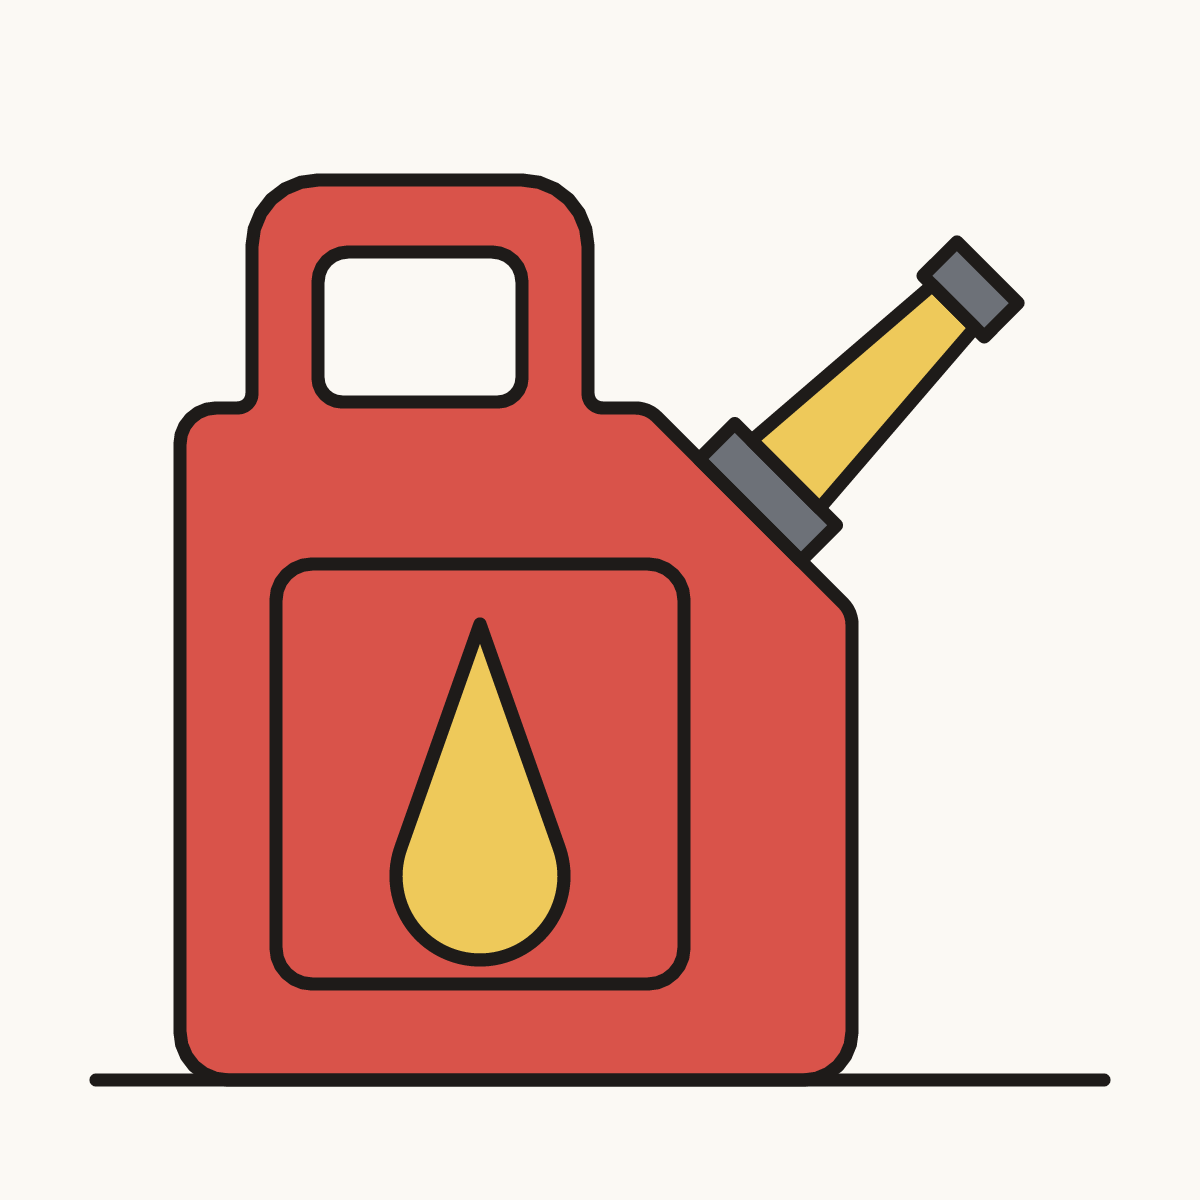
Your finished drawing
Follow the steps above and this is where you end up: a gas can, drawn by you.
Every step in one picture