Watch it draw itself · tap to replay
How to Draw a Garland
Draw a garland in 12 easy steps, about 9 minutes. Free, with a printable worksheet.
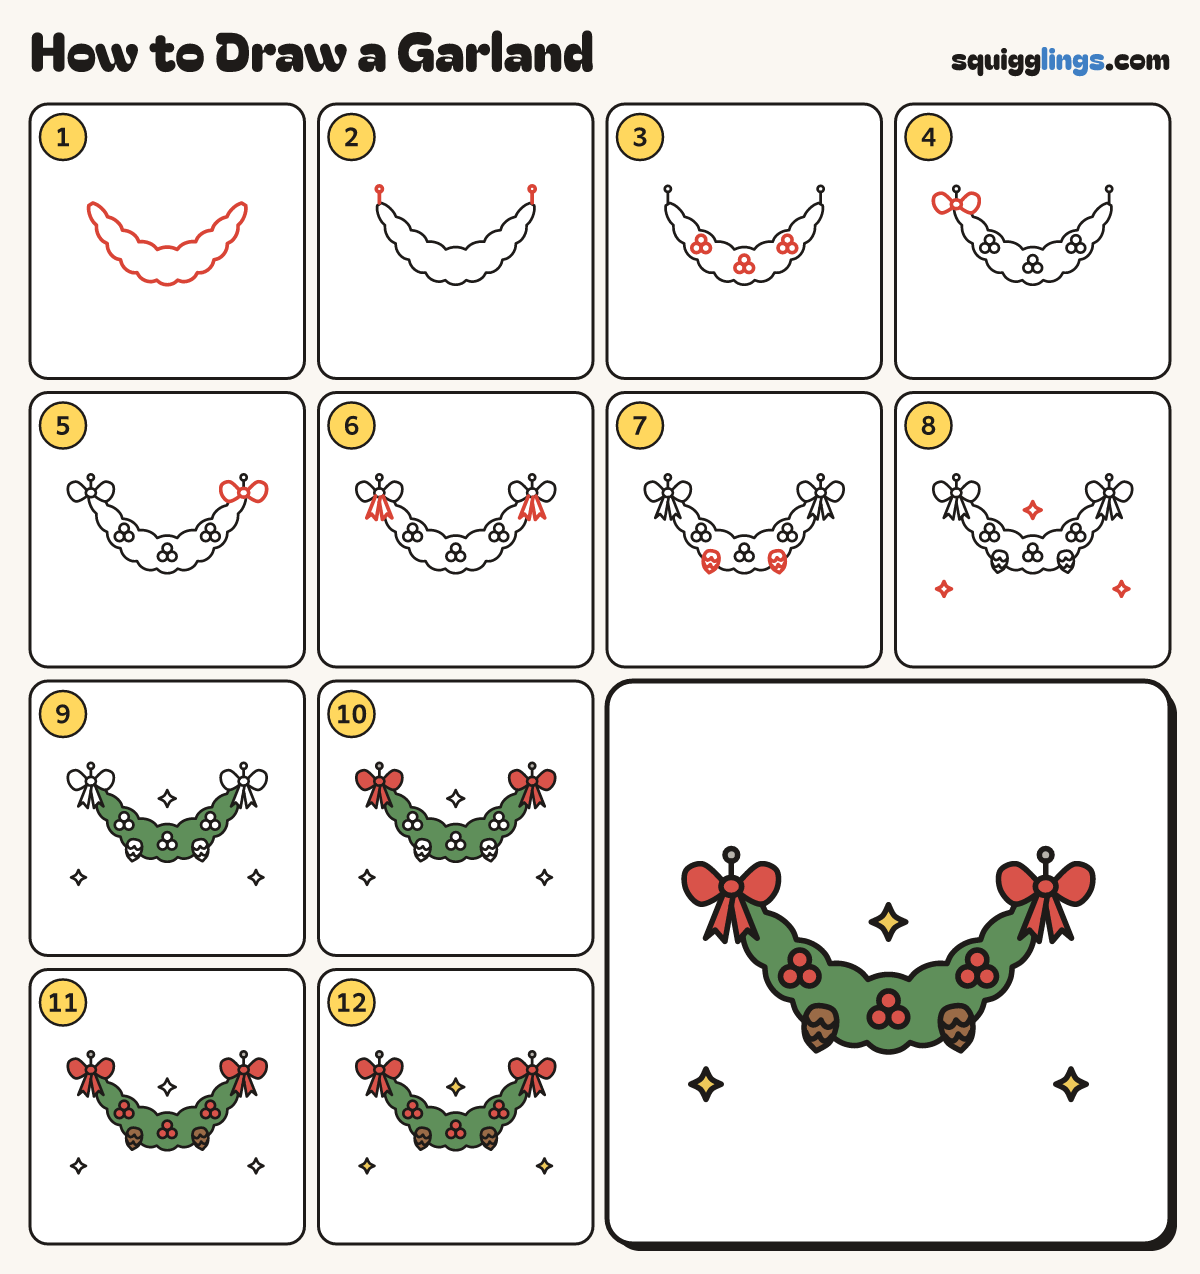
Each picture adds one red line. Draw that line, then scroll to the next picture. Rub out any dashed helper lines at the end. First up: the swag.
Step 1: The swag
From high on the left, droop a fat bumpy band down in a soft U and up to the right.
Tip Pointy at each end, fattest in the middle, like a fluffy caterpillar.
Step 2: Two nails
Draw a little round nail above each end. From each nail, draw a short string down to the band.
Step 3: Berries
Draw 3 berry clusters on the band, left, middle and right: 3 round berries touching in a little triangle.
Step 4: Left bow
Under the left nail, draw a bow: a small oval knot on the band's end with a loop each side.
Tip Like butterfly wings. Rub out the greenery inside the bow.
Step 5: Right bow
Do the same under the right nail: a small oval knot and a loop out to each side.
Step 6: Bow tails
Under each knot, draw 2 short ribbon tails hanging down, one leaning left and one right, each with a notch.
Tip Rub out the band's line inside the tails.
Step 7: Pine cones
Tuck a pine cone into the band's lower edge by each side cluster: a pointy egg with 2 bumpy rows.
Tip Rub out the band's line inside each cone.
Step 8: Sparkles
Draw a sparkle star under the band on each side, and one in the dip above the middle.
Step 9: Green garland
Colour the band green, going around the berries and the pine cones.
Step 10: Red bows, grey nails
Colour both bows and all four tails red, and the 2 nails grey.
Step 11: Red berries, brown cones
Colour the berries red and the pine cones brown.
Step 12: Yellow sparkles
Colour the sparkles yellow. Your garland is ready to hang!
Your finished drawing
Follow the steps above and this is where you end up: a garland, drawn by you.
Every step in one picture