Watch it draw itself · tap to replay
How to Draw a Forget-Me-Not
Draw a forget-me-not in 10 easy steps, about 8 minutes. Free, with a printable worksheet.
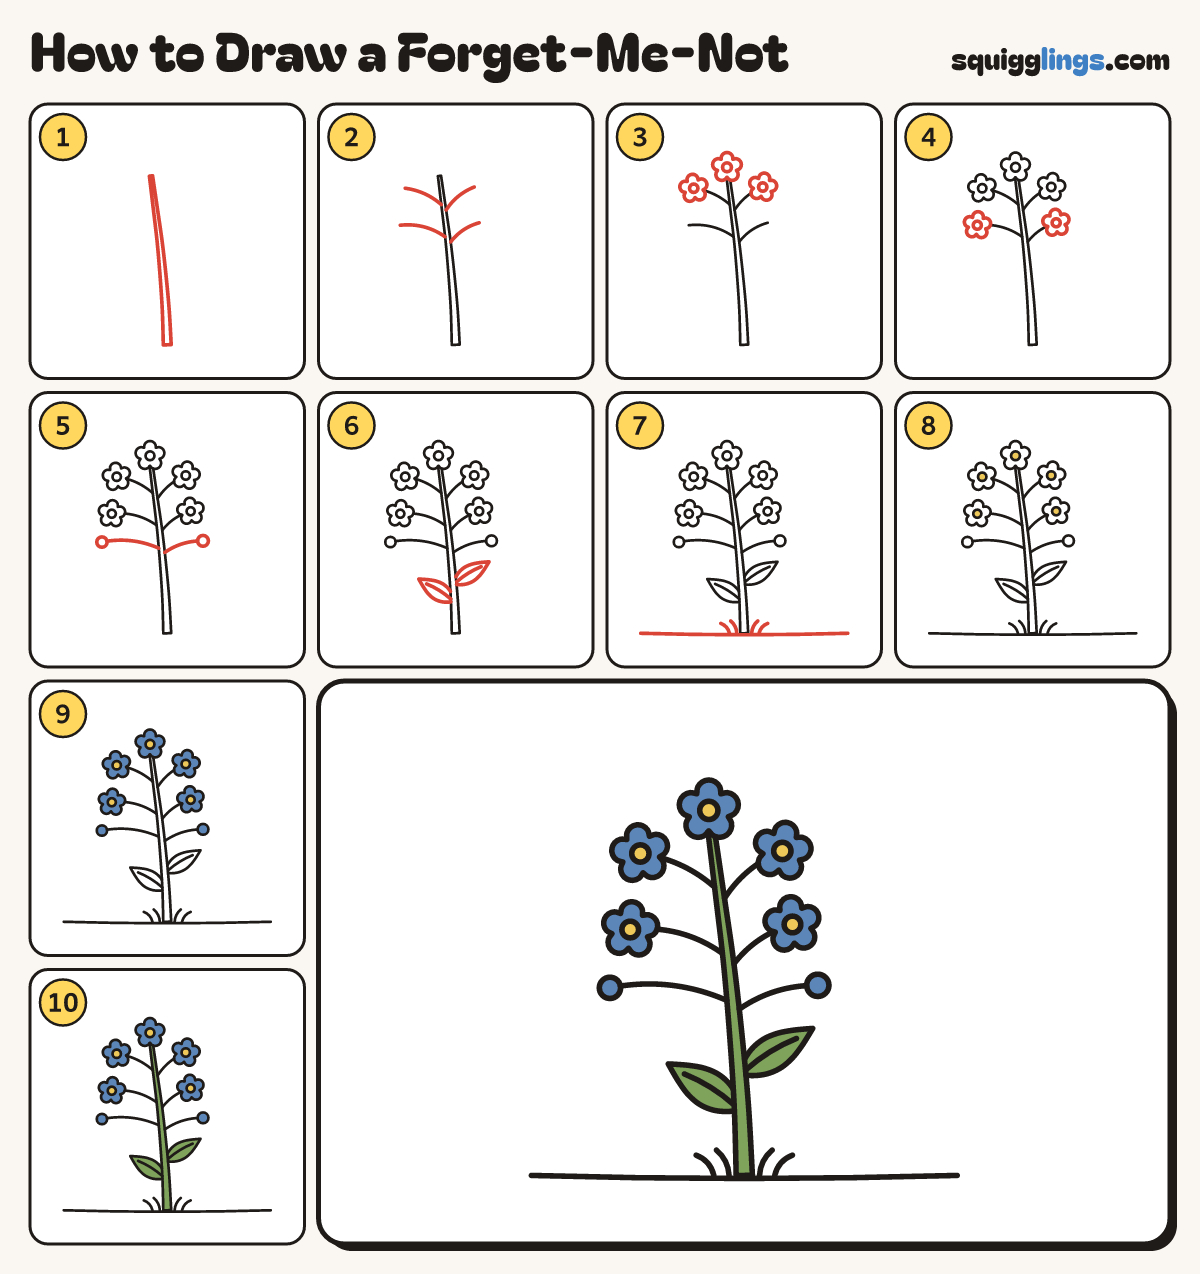
Each picture adds one red line. Draw that line, then scroll to the next picture. Rub out any dashed helper lines at the end. First up: the stem.
Step 1: The stem
From the bottom middle, draw a stem leaning left up to near the top, getting thinner as it goes.
Step 2: Little stalks
From the stem draw 4 thin stalks curving up, each ending two fingers out: a pair high, a pair lower.
Step 3: First flowers
On the stem top and the 2 high stalks draw a tiny flower: 5 round petals around a dot middle.
Tip Forget-me-nots are tiny: each flower is smaller than a fingernail.
Step 4: Two more flowers
On the 2 lower stalks draw the same tiny 5-petal flower with a dot middle.
Step 5: Buds
Start lower on the stem. Draw 2 thin stalks out far left and right, each ending in a round bud.
Step 6: Two leaves
Low on the stem draw a pointed leaf on the left and one higher on the right, each with a vein.
Step 7: Ground and grass
Draw a ground line from near the left edge to near the right. Flick up 2 grass blades each side.
Step 8: Yellow middles
Go over your lines. Colour the tiny middle circles yellow.
Step 9: Blue flowers
Colour all 5 flowers and the 2 buds sky blue, around the yellow middles.
Step 10: Green stem and leaves
Colour the stem and both leaves leaf green. Go over your lines and your forget-me-nots are done!
Your finished drawing
Follow the steps above and this is where you end up: a forget-me-not, drawn by you.
Every step in one picture