Watch it draw itself · tap to replay
How to Draw a Fish Skeleton
Draw a fish skeleton in 12 easy steps, about 9 minutes. Free, with a printable worksheet.
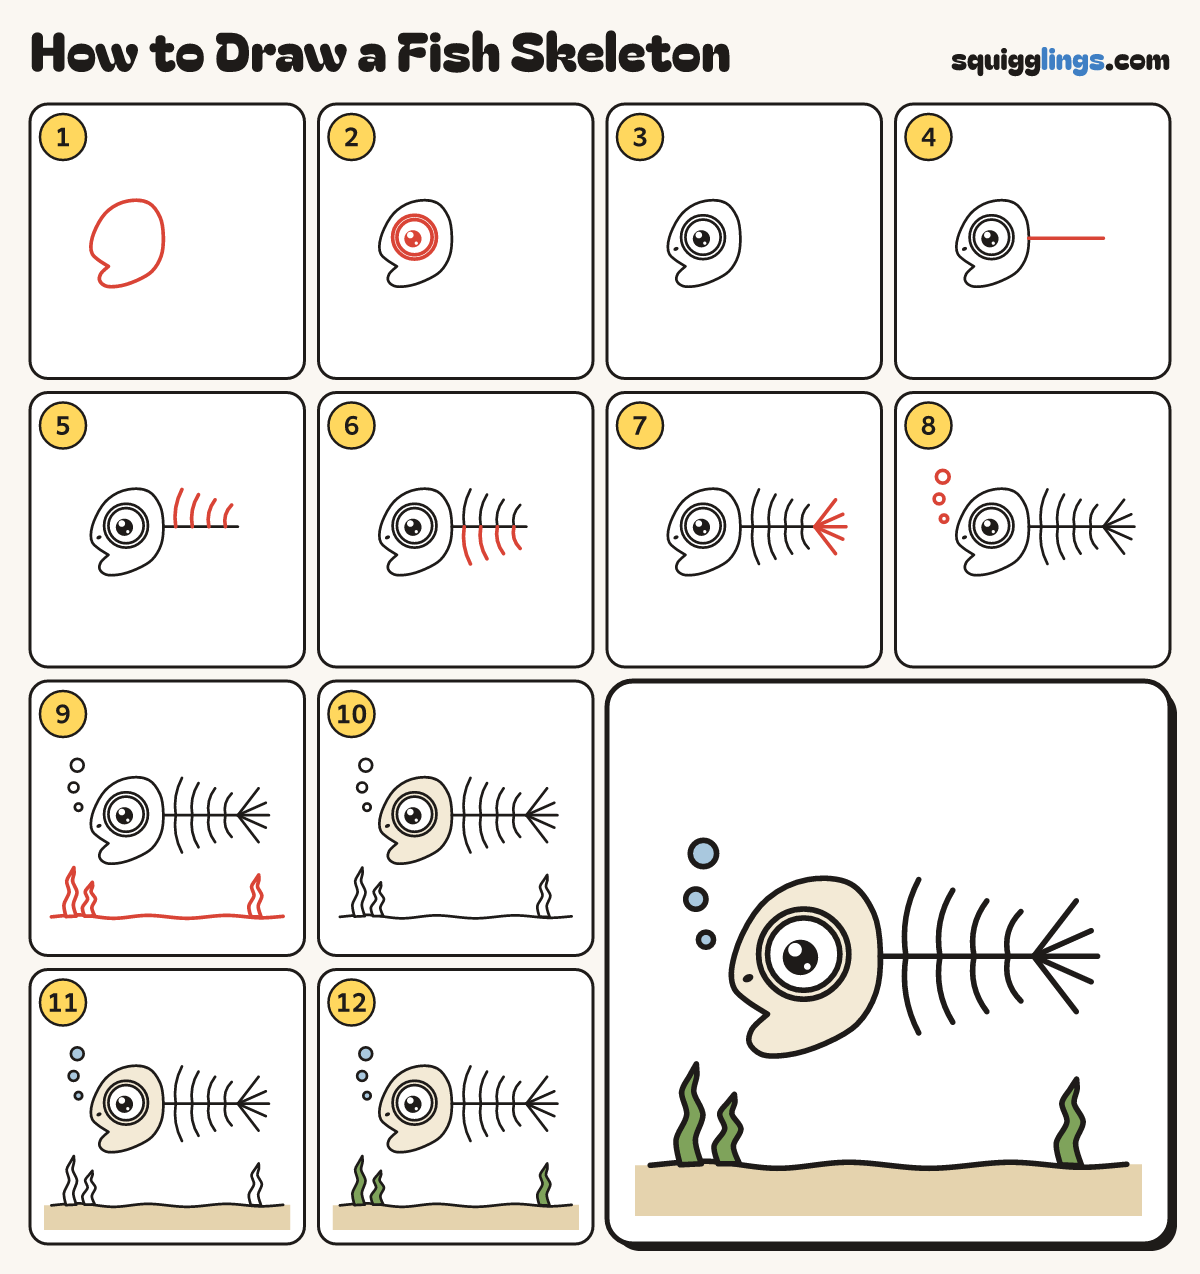
Each picture adds one red line. Draw that line, then scroll to the next picture. Rub out any dashed helper lines at the end. First up: the skull.
Step 1: The skull
On the left, draw an egg skull. Cut a small mouth notch into the front, like a bite.
Tip Only the skull is solid. The rest is bones.
Step 2: Big eye
Inside the skull draw one huge round eye with a black dot and a shine. Draw a ring around it.
Step 3: Nose hole
At the front of the skull, just above the mouth, draw a tiny dot for the nose hole.
Step 4: Backbone
Start at the back of the skull. Draw one long straight line to the right and stop before the edge.
Step 5: Ribs above
Start on the backbone and draw 4 ribs curving up. Each one behind is shorter. Stop below the top.
Step 6: Ribs below
Start on the backbone under each top rib. Draw 4 ribs curving down, each one shorter.
Step 7: Bony tail
From the end of the backbone draw 5 straight bones fanning out to the right.
Step 8: Bubbles
In front of the face draw 3 bubbles floating up. They get bigger as they go up.
Step 9: Sand and seaweed
Draw a wavy sand line right across the bottom. Grow 3 wavy seaweed leaves with pointy tips from it.
Step 10: Cream bones
Colour the skull cream like old bone, leaving the eye white.
Step 11: Sandy floor, blue bubbles
Colour the floor under the sand line sandy, then colour the bubbles light blue.
Step 12: Green seaweed
Colour the seaweed green. Go over your lines and your fish skeleton is done!
Your finished drawing
Follow the steps above and this is where you end up: a fish skeleton, drawn by you.
Every step in one picture