Watch it draw itself · tap to replay
How to Draw Mint Ice Cream
Draw mint ice cream in 10 easy steps, about 8 minutes. Free, with a printable worksheet.
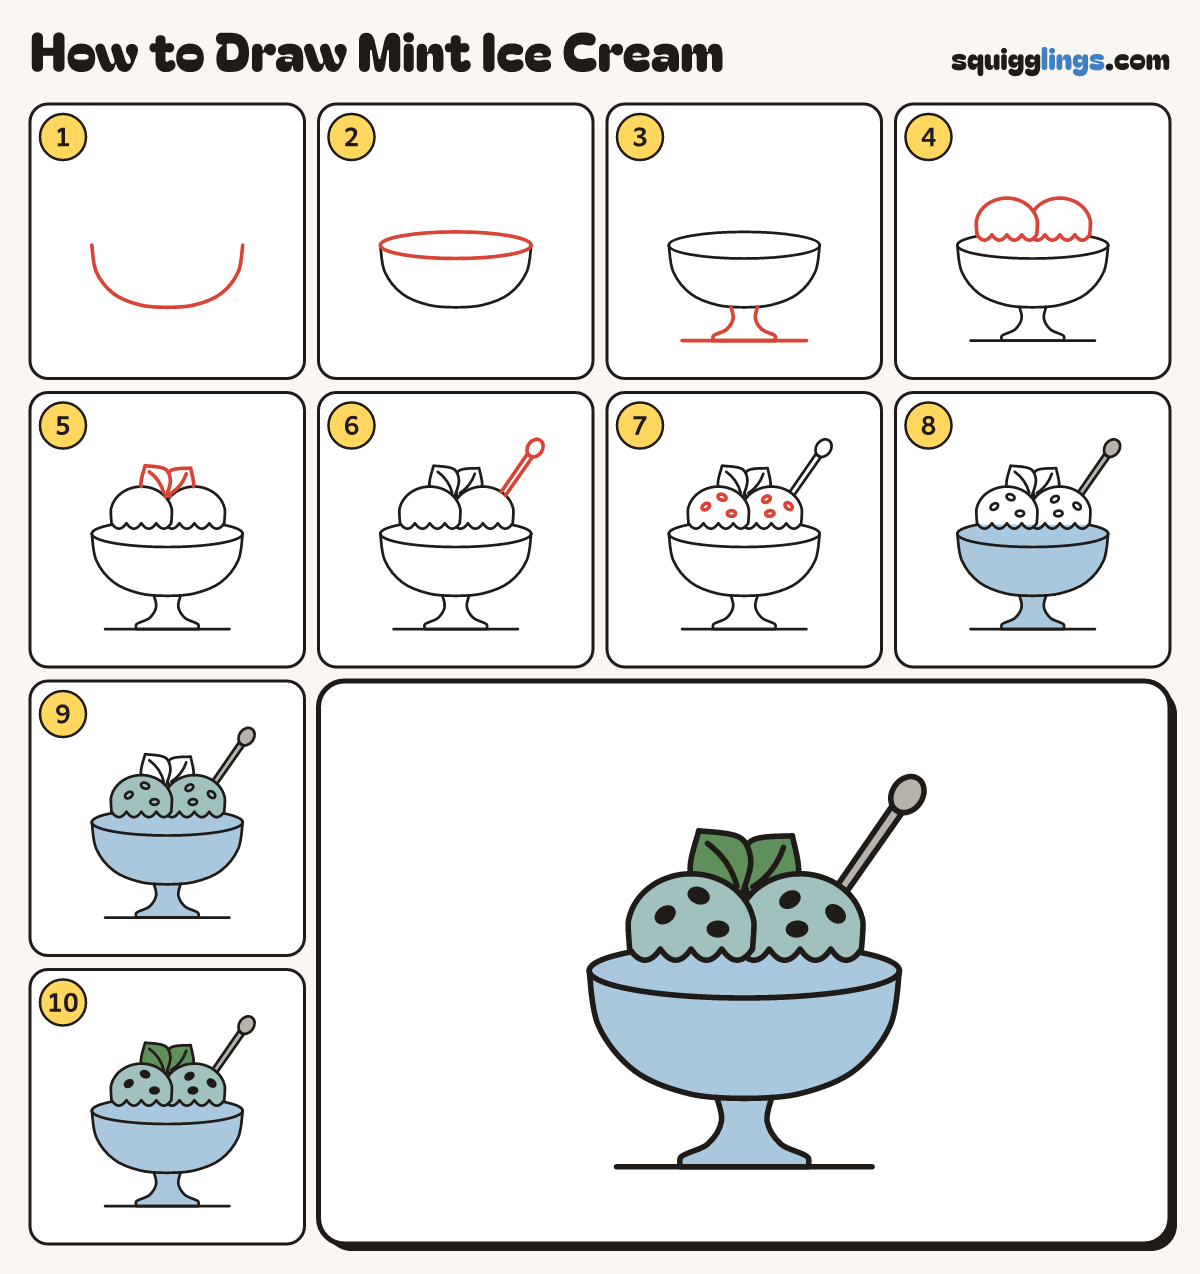
Each picture adds one red line. Draw that line, then scroll to the next picture. Rub out any dashed helper lines at the end. First up: the bowl.
Step 1: The bowl
Below the middle, start on the left. Draw a big shallow U, wide as your hand, up to the right.
Step 2: The rim
Join the top ends with a flat oval for the rim, going all the way round.
Step 3: Stem and table
From the bowl's bottom, draw 2 short lines flaring into a flat foot. Draw a table line under it.
Step 4: Two scoops
On the rim, draw 2 big round scoops side by side with drippy bottoms. The right one is behind.
Step 5: Mint leaves
Where the scoops meet at the top, draw 2 little leaves standing up, with a vein line each.
Step 6: A spoon
Poking up behind the right scoop, draw a spoon: a long thin handle leaning right, with an oval on top.
Step 7: Chocolate chips
Draw 3 tiny oval chips on each scoop, at different heights and away from the edges.
Step 8: Sky bowl, grey spoon
Colour the bowl and stem sky blue and the spoon grey.
Step 9: Mint scoops
Colour both scoops pale mint green, around the chips.
Step 10: Green leaves, dark chips
Colour the 2 mint leaves green, then colour the chocolate chips dark.
Your finished drawing
Follow the steps above and this is where you end up: mint ice cream, drawn by you.
Every step in one picture