Watch it draw itself · tap to replay
How to Draw an Easter Bonnet
Draw an Easter bonnet in 12 easy steps, about 9 minutes. Free, with a printable worksheet.
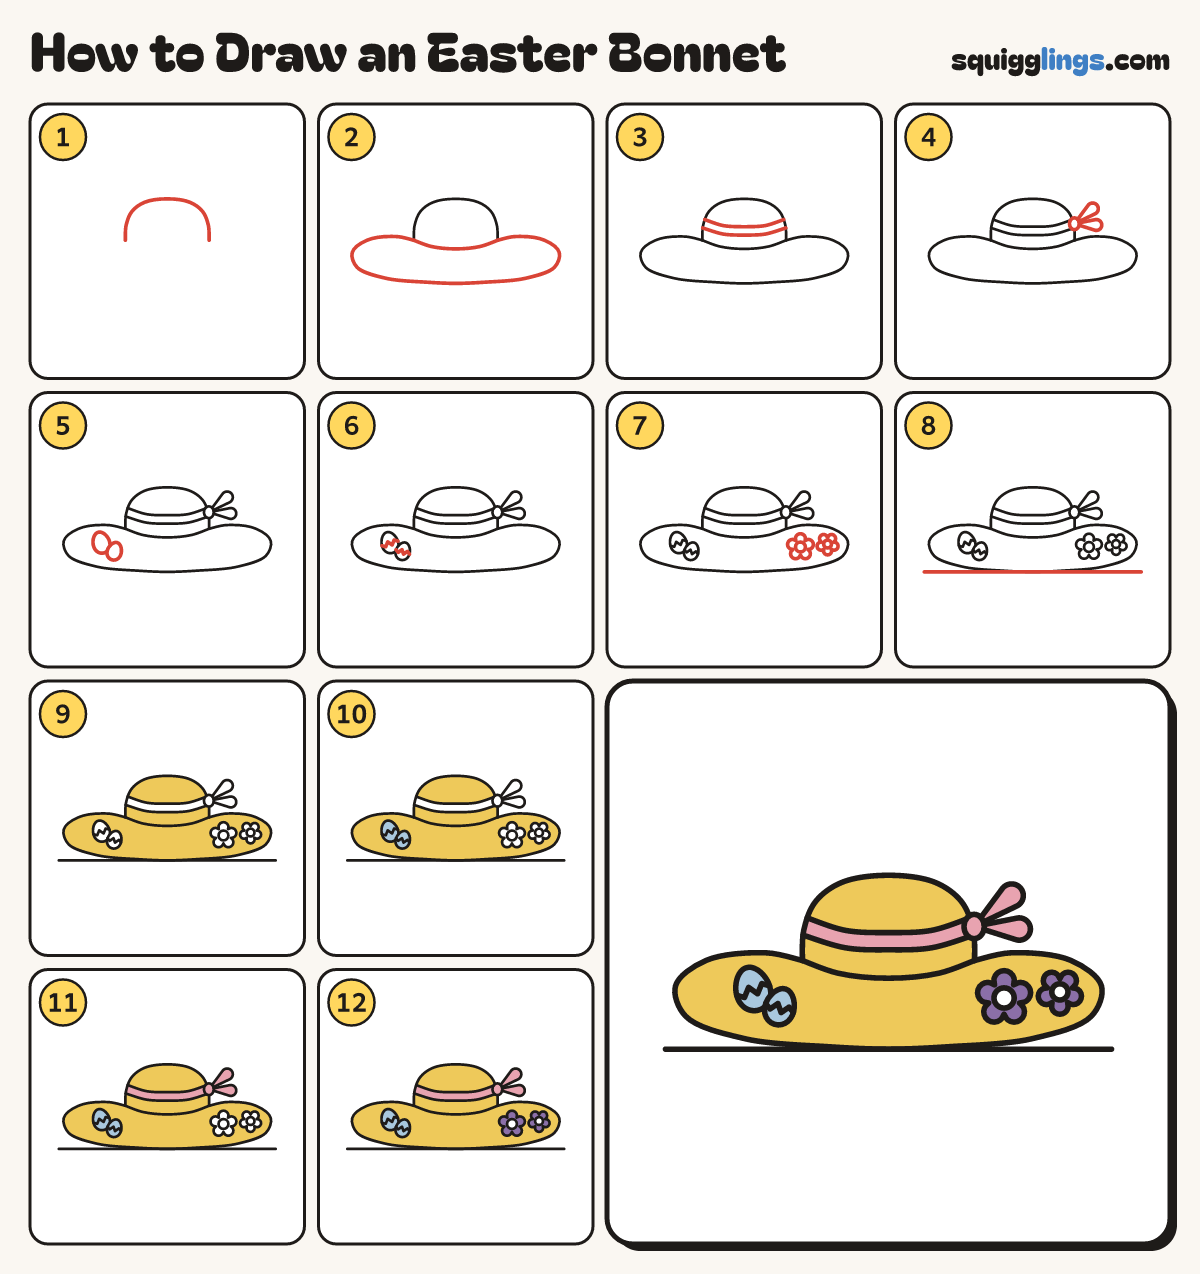
Each picture adds one red line. Draw that line, then scroll to the next picture. Rub out any dashed helper lines at the end. First up: the crown.
Step 1: The crown
Start left of the middle. Draw a low dome up and over, down to the same height on the right.
Tip An Easter bonnet is a big hat decorated with flowers and eggs.
Step 2: The wide brim
Start at the crown's left bottom. Swing a huge brim out and round the front, back to the right bottom.
Step 3: The ribbon band
Low on the crown, draw 2 curves a finger apart, starting on the left edge and stopping on the right.
Step 4: A bow
At the band's right end, draw a small oval knot with 2 fat teardrop loops sticking out to the right.
Step 5: Eggs on the brim
On the left of the brim draw a big egg leaning left, with a small egg tucked in front.
Step 6: Egg zigzags
Across the middle of each egg draw a zigzag stripe, from one side to the other.
Step 7: Flowers on the brim
On the right of the brim draw 2 flowers, each a small circle with 5 round petals around it.
Step 8: The ground
Draw a long ground line just touching the front of the brim.
Step 9: Yellow bonnet
Go over your lines, then colour the crown and brim yellow, going around the ribbon, eggs and flowers.
Step 10: Sky blue eggs
Colour both eggs sky blue.
Step 11: Pink ribbon
Colour the ribbon band and the bow pink.
Step 12: Purple flowers
Colour the flower petals purple and leave the middles white. Your Easter bonnet is done!
Your finished drawing
Follow the steps above and this is where you end up: an Easter bonnet, drawn by you.
Every step in one picture