Watch it draw itself · tap to replay
How to Draw an Oregon Map
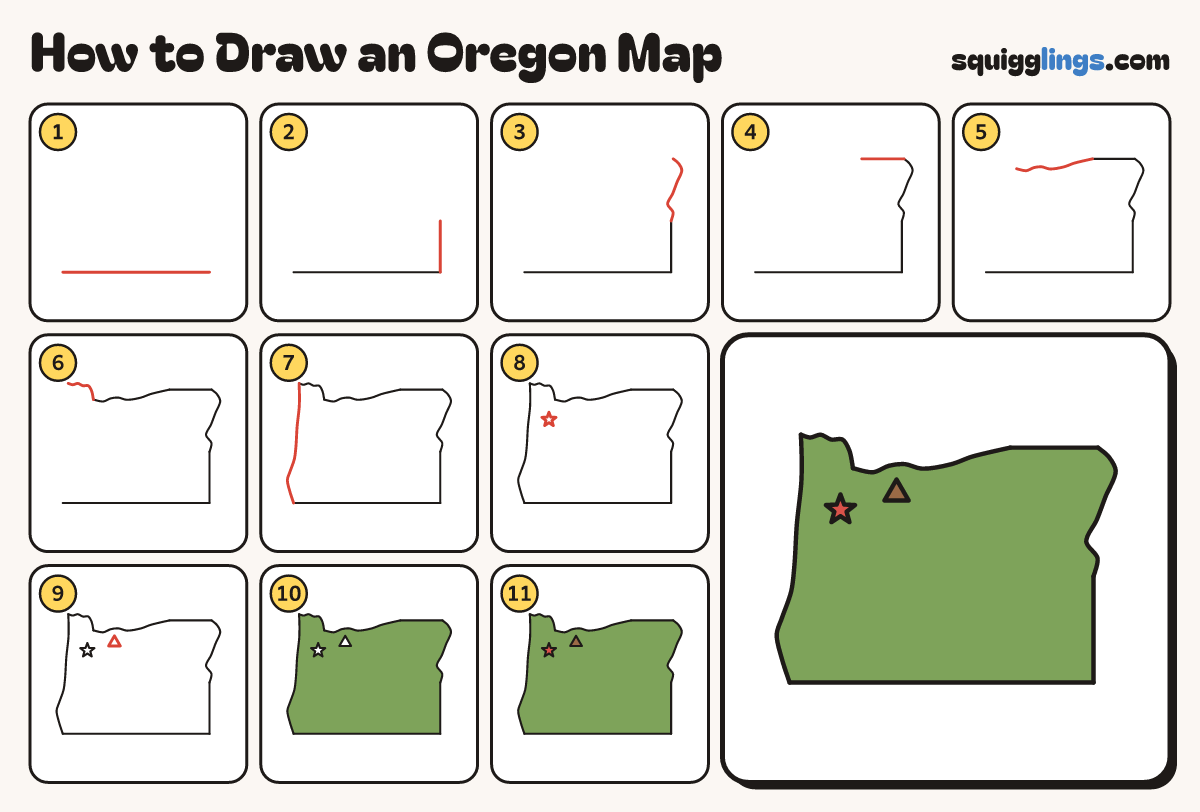
Draw an oregon map in 11 easy steps, about 8 minutes. Free, with a printable worksheet.
Each picture adds one red line. Draw that line, then scroll to the next picture. Rub out any dashed helper lines at the end. First up: the bottom edge.
Step 1: The bottom edge
Start low on the left. Draw a long straight line to the right. Stop near the right side.
Tip Use a ruler if you like. Leave lots of room above this line.
Step 2: The right side
From the right end, draw a straight line up. Stop when it is a third as long as the bottom.
Step 3: The river canyon
Carry on from there with a wiggly line going up. Lean right, then curl left. Stop at the top.
Tip A river in a deep canyon makes this edge, the Snake.
Step 4: The top right
Carry on from there. Draw a straight line to the left. Stop a quarter of the way across.
Step 5: The big river
Carry on from there. Draw a wavy line to the left, sloping down a little. Stop well past the middle.
Tip This wavy top edge is another river, the Columbia.
Step 6: The top left
From there, curve a line up, then go left with small waves. Stop near the left side.
Tip Here the big river runs out into the sea.
Step 7: The sea coast
From there, draw a line down, leaning left, with one bump near the bottom. Join your first line.
Tip This side is the coast of the Pacific Ocean.
Step 8: The capital star
Near the top left, a little in from the coast, draw a star for the capital city, Salem.
Tip On a map, a star shows the capital city.
Step 9: A mountain
Right of the star, just under the wavy river edge, draw a triangle mountain.
Tip This is Mount Hood, the tallest mountain in Oregon.
Step 10: Green land
Go over your lines. Colour all the land green, around the star and the mountain.
Step 11: Brown and red
Colour the mountain brown and the star red. Your map of Oregon is done!
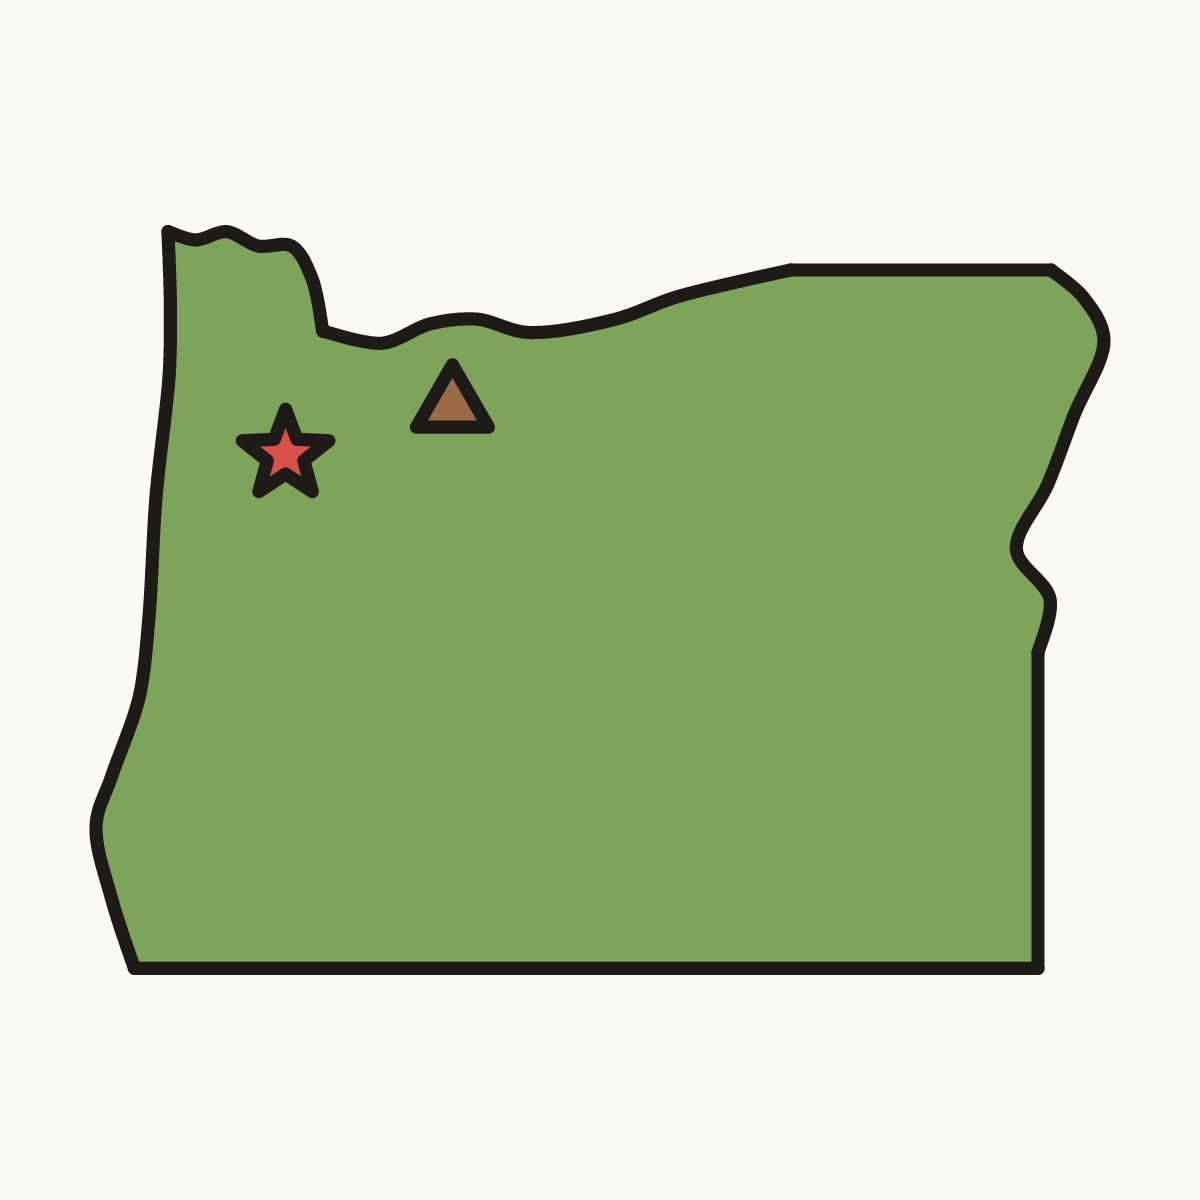
Your finished drawing
Follow the steps above and this is where you end up: an oregon map, drawn by you.
Every step in one picture