Watch it draw itself · tap to replay
How to Draw a Liver
Draw a liver in 10 easy steps, about 8 minutes. Free, with a printable worksheet.
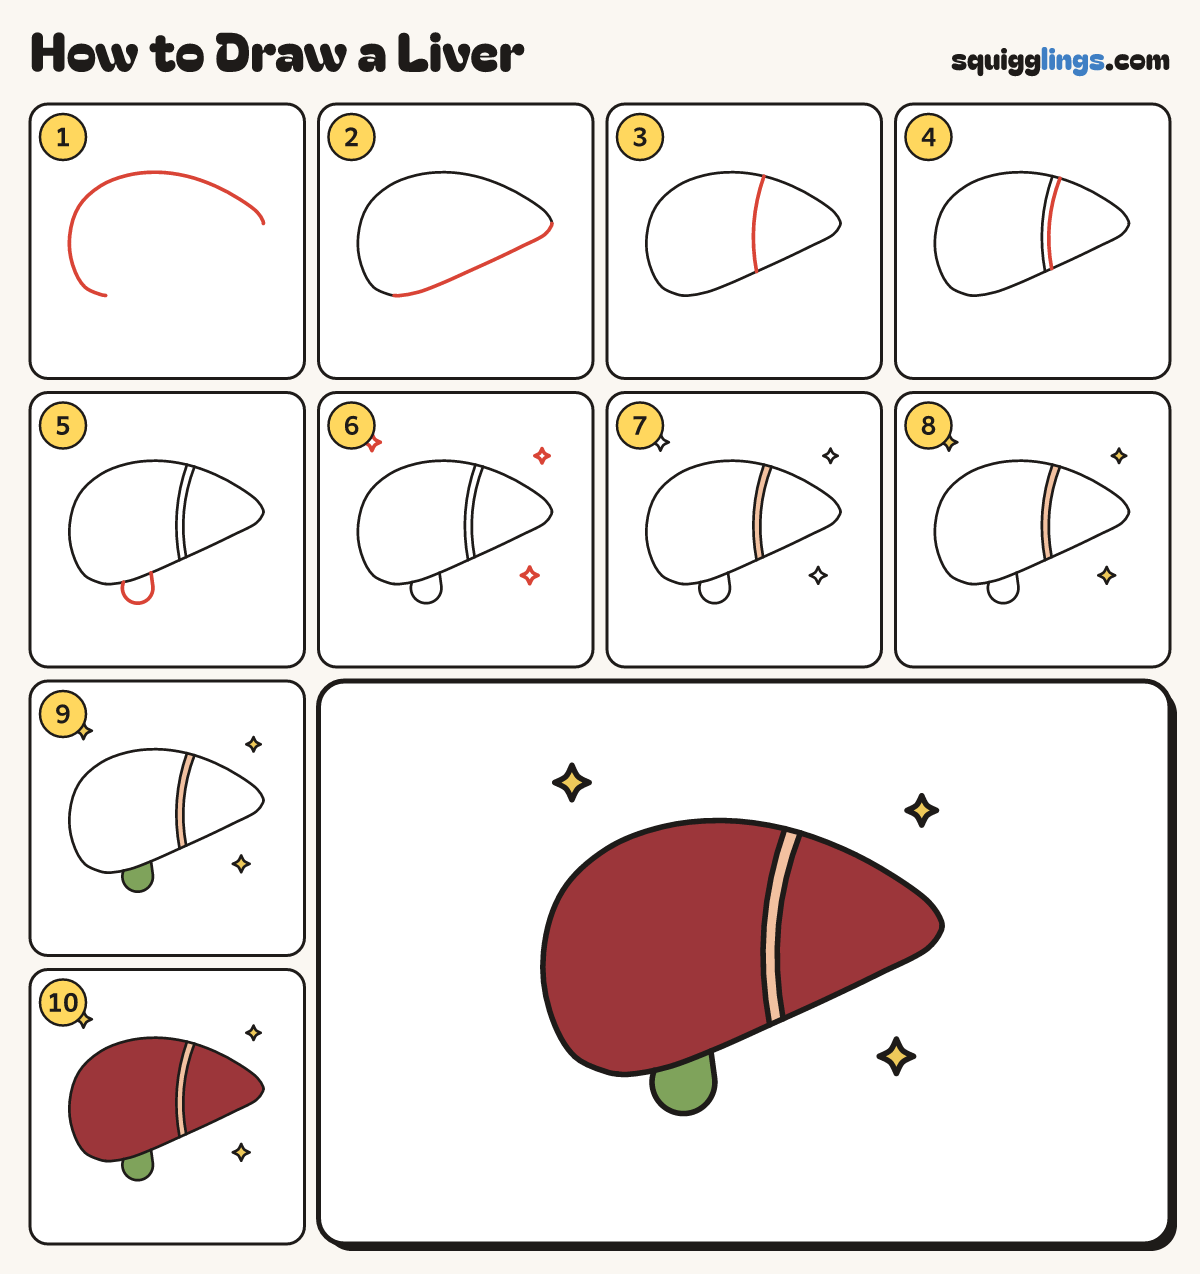
Each picture adds one red line. Draw that line, then scroll to the next picture. Rub out any dashed helper lines at the end. First up: the round top.
Step 1: The round top
Start on the right. Draw a long curve up over the top, round the tall left side, and stop underneath.
Tip The left side is tall and round. The right side slopes down low.
Step 2: The sloping bottom
From where you stopped, draw a gently curved line back up to your start, making a soft point.
Tip Now you have a big rounded wedge, like a fat slice of pie lying on its side.
Step 3: The dividing line
Start on the top edge, right of the middle. Draw a curved line down and stop at the bottom edge.
Tip Now the liver has 2 parts: a big lobe on the left and a small lobe on the right.
Step 4: The thin band
Start on the top edge again. Draw a second line close beside the first and stop at the bottom edge.
Tip This band holds the 2 lobes together.
Step 5: The gallbladder
Under the big lobe, draw a small round U hanging from the bottom edge, like a little pear.
Tip Start and stop on the bottom edge, so the pear tucks in behind the liver.
Step 6: Sparkles
Draw 3 sparkle stars round the liver: top left, top right and bottom right.
Step 7: Peach band
Go over your lines, then colour the thin band between the 2 lobes peach.
Step 8: Yellow sparkles
Colour the 3 sparkles yellow.
Step 9: Green gallbladder
Colour the little pear green. It is the gallbladder.
Step 10: Dark red liver
Colour both lobes dark red, right up to the band, and your liver is done!
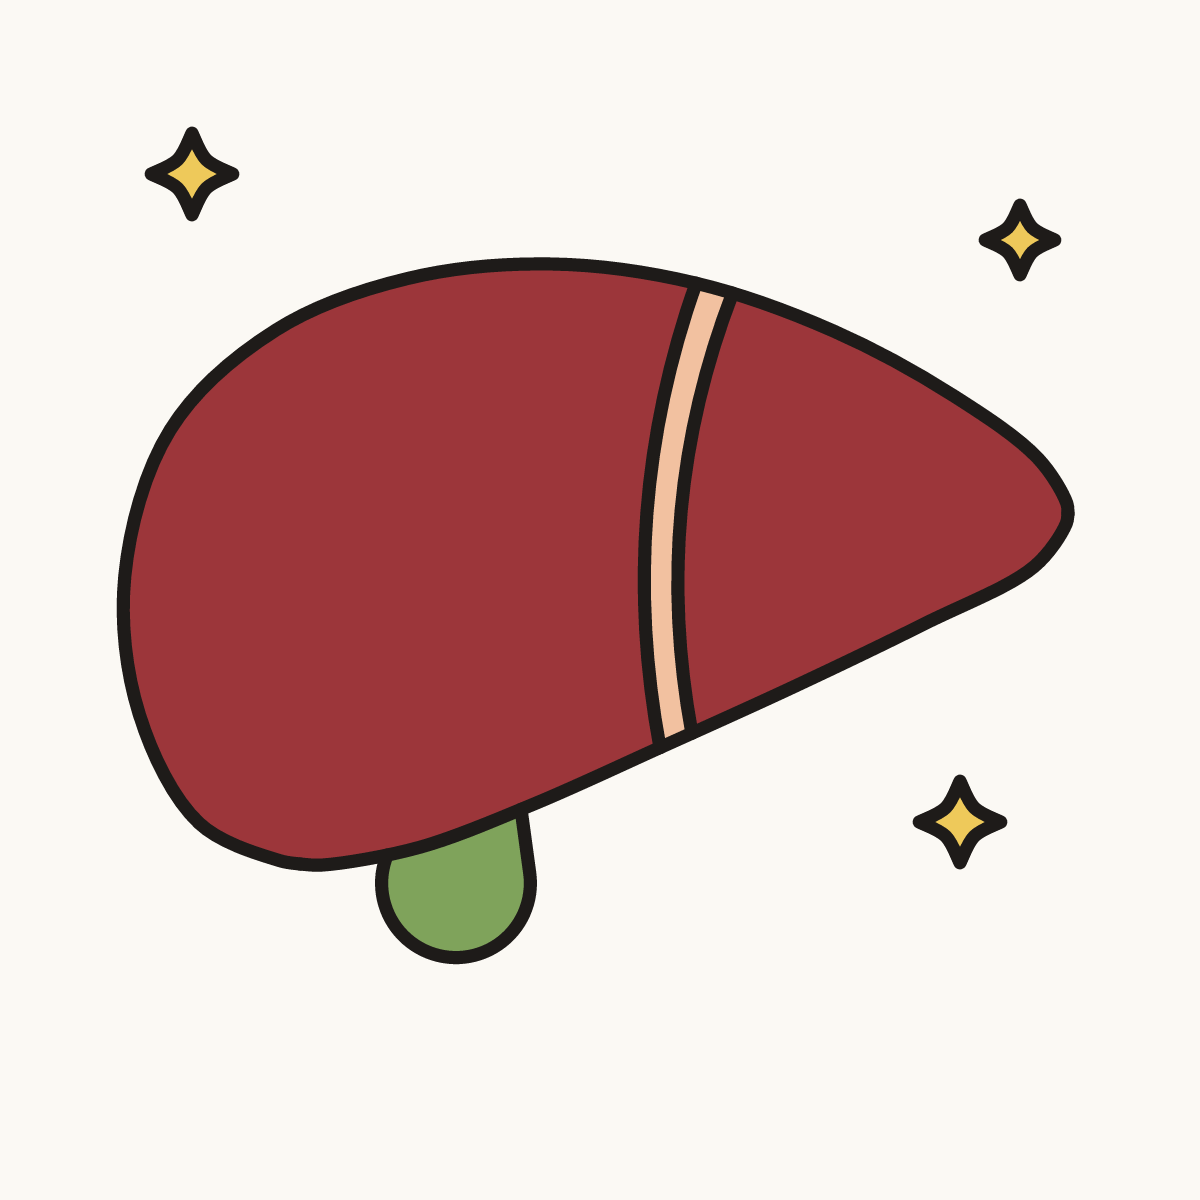
Your finished drawing
Follow the steps above and this is where you end up: a liver, drawn by you.
Every step in one picture