Watch it draw itself · tap to replay
How to Draw a Duckweed
Draw a duckweed in 10 easy steps, about 8 minutes. Free, with a printable worksheet.
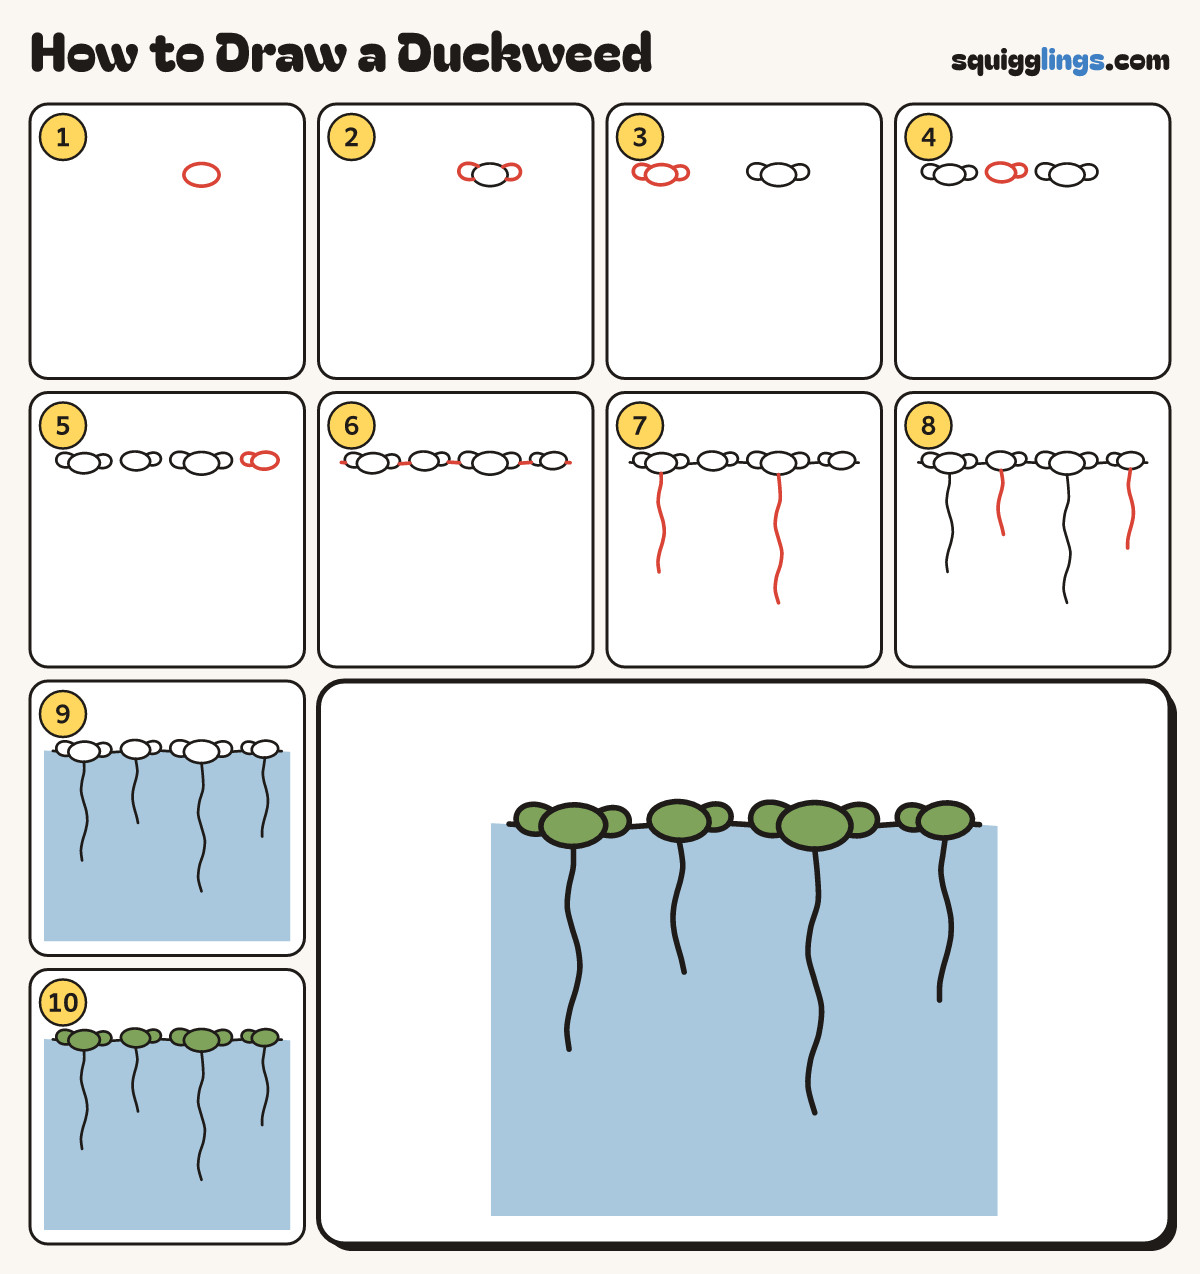
Each picture adds one red line. Draw that line, then scroll to the next picture. Rub out any dashed helper lines at the end. First up: the first leaf.
Step 1: The first leaf
Near the top, right of the middle, draw a small flat oval leaf lying on its side.
Tip Duckweed leaves are tiny, smaller than a ladybird. We draw them close up.
Step 2: Two baby leaves
Tuck a smaller oval behind each end of the leaf. Now you have a clump of 3.
Tip New duckweed leaves grow out of the side of an old one.
Step 3: A clump of three
On the far left draw another clump the same way: 1 oval with a smaller one behind each end.
Step 4: A clump of two
Between your 2 clumps draw an oval leaf with 1 smaller leaf tucked behind its right end.
Step 5: The last clump
On the far right draw an oval leaf with 1 smaller leaf tucked behind its left end.
Step 6: The water line
Start at the left edge. Draw a gently wavy line behind the leaves and stop at the right edge.
Tip The leaves float half in the water and half out.
Step 7: Two long roots
Start under each clump of 3. Draw 1 thin wiggly root hanging down and stop deep in the water.
Tip Draw the roots thin, like hairs. Every clump has just 1.
Step 8: Two short roots
Start under each clump of 2. Draw 1 shorter thin root hanging down and stop in the water.
Step 9: Blue water
Go over your lines. Colour all the water below the line light blue, round the leaves, down to the bottom.
Tip Use the side of your crayon to fill the big water fast.
Step 10: Green leaves
Colour all 10 little leaves green, and your duckweed is floating on the pond!
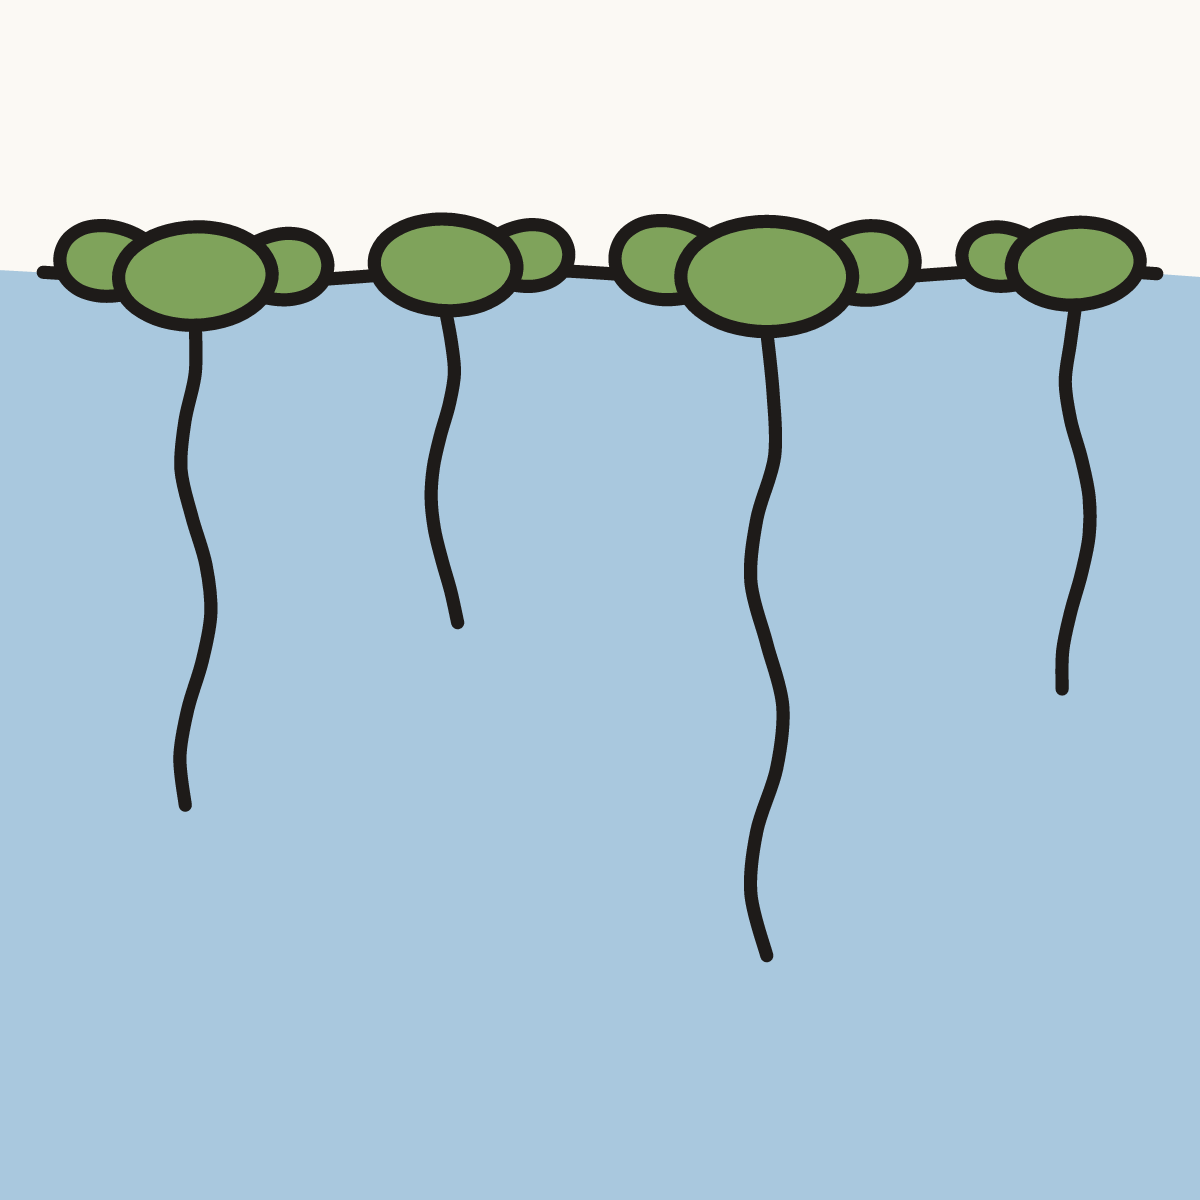
Your finished drawing
Follow the steps above and this is where you end up: a duckweed, drawn by you.
Every step in one picture