Watch it draw itself · tap to replay
How to Draw a Doily
Draw a doily in 12 easy steps, about 9 minutes. Free, with a printable worksheet.
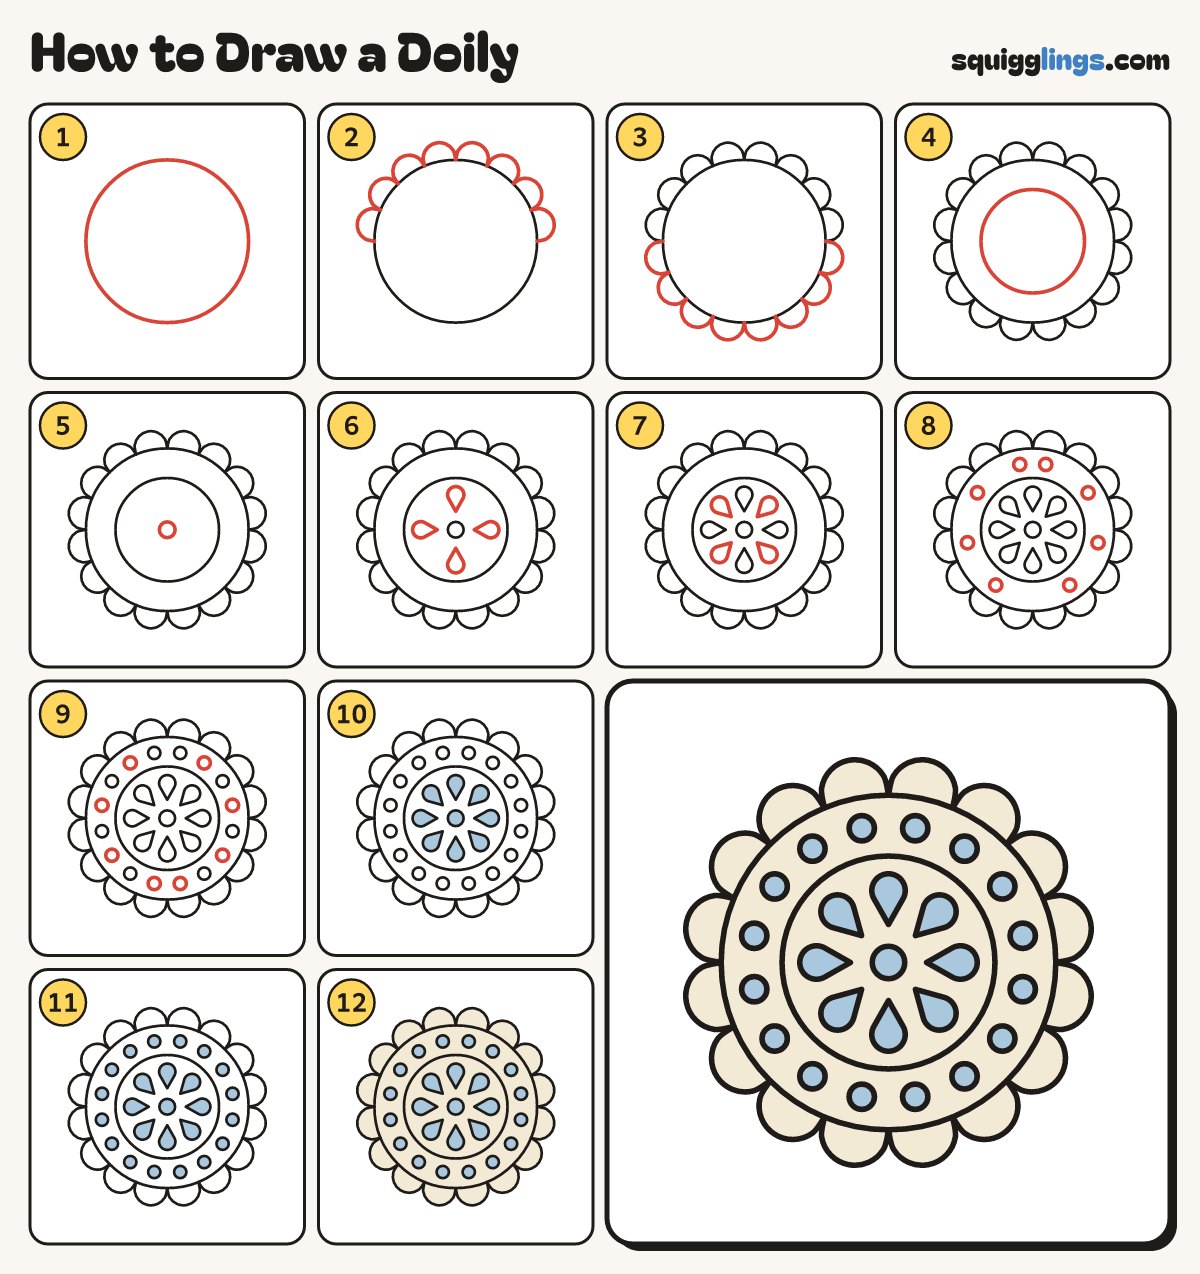
Each picture adds one red line. Draw that line, then scroll to the next picture. Rub out any dashed helper lines at the end. First up: the big circle.
Step 1: The big circle
In the middle of your page, draw a big circle. Leave a finger of space all around it.
Tip A doily is a round lace mat, seen from above.
Step 2: Top frill
Start on the left of the circle. Draw 8 small round bumps over the top and stop on the right.
Tip Each bump starts and stops on the circle, like a row of little hills.
Step 3: Bottom frill
Start where you stopped. Draw 8 more bumps under the circle, back to the first bump.
Tip Now 16 bumps go all the way round.
Step 4: The inner ring
Inside the big circle, draw a smaller circle. Leave a wide band between the 2 circles.
Step 5: The centre hole
In the very middle, draw a tiny circle.
Step 6: 4 petal holes
Around the tiny circle, draw 4 teardrops like a plus sign, with their points towards the middle.
Tip Keep each fat end inside the inner ring, not touching it.
Step 7: 4 more petal holes
Draw 4 more teardrops in the gaps, so 8 petals go all the way round.
Step 8: 8 band holes
In the band between the 2 circles, draw a small circle under every other bump.
Step 9: 8 more band holes
Draw a small circle under each of the other bumps, so 16 holes go all the way round.
Step 10: Blue flower holes
Go over your lines. Colour the tiny centre hole and the 8 petal holes light blue.
Tip The blue is the table showing through the holes in the lace.
Step 11: Blue band holes
Colour the 16 round holes in the band light blue too.
Step 12: Cream lace
Colour all the lace cream, around the blue holes and out into every bump. Your doily is done!
Your finished drawing
Follow the steps above and this is where you end up: a doily, drawn by you.
Every step in one picture