Watch it draw itself · tap to replay
How to Draw a Dog Tag
Draw a dog tag in 10 easy steps, about 8 minutes. Free, with a printable worksheet.
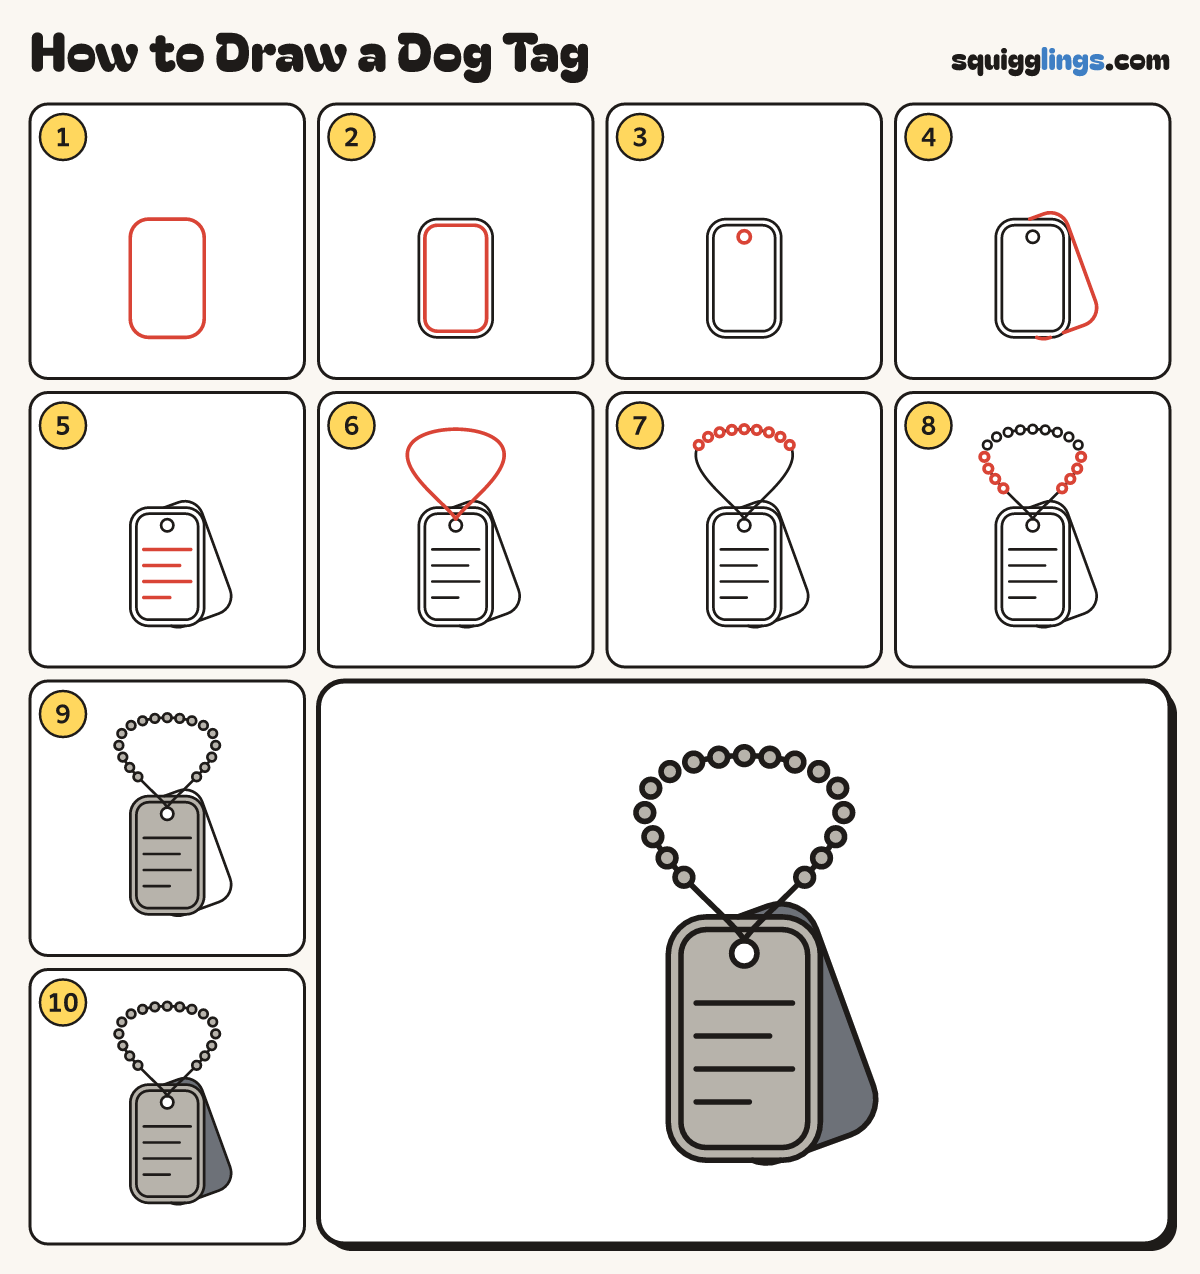
Each picture adds one red line. Draw that line, then scroll to the next picture. Rub out any dashed helper lines at the end. First up: the tag.
Step 1: The tag
In the lower middle draw a tall rectangle with big round corners, like a stick of gum.
Tip Make it nearly twice as tall as it is wide.
Step 2: The rolled edge
Just inside the tag draw the same shape again, a little smaller, for the rolled metal edge.
Step 3: The hole
Near the top of the tag, in the middle, draw a small circle for the hole.
Step 4: The second tag
Draw the same tag again, tilted and peeking out on the right, tucked behind the first one.
Tip Both tags hang from the same hole.
Step 5: Stamped words
Across the front tag draw 4 short straight lines for the stamped words, 2 long and 2 shorter.
Step 6: The chain
Start at the top of the hole. Draw a big teardrop loop up, round and back down to the hole.
Step 7: Beads on top
On the top half of the chain draw little round beads, evenly spaced like pearls.
Step 8: More beads
Carry on with more little beads down both sides, stopping above the tags.
Step 9: Grey tag and beads
Go over your lines. Colour the front tag and every bead light grey. Leave the hole white.
Step 10: Dark back tag
Colour the tag behind dark grey, and your dog tags are ready to wear!
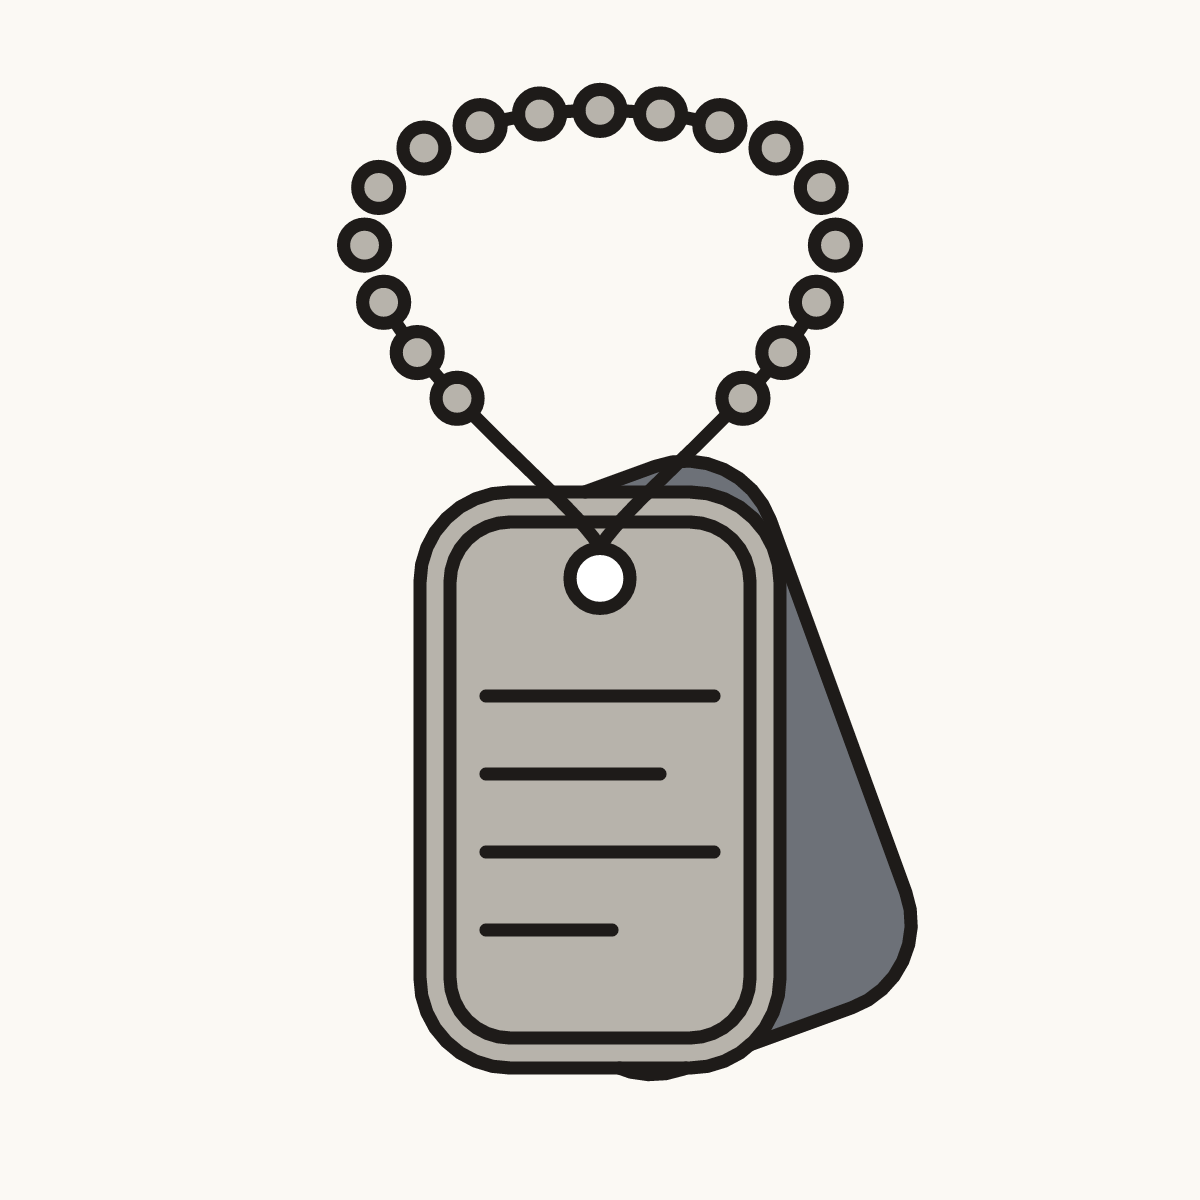
Your finished drawing
Follow the steps above and this is where you end up: a dog tag, drawn by you.
Every step in one picture