Watch it draw itself · tap to replay
How to Draw a Didgeridoo
Draw a didgeridoo in 13 easy steps, about 10 minutes. Free, with a printable worksheet.
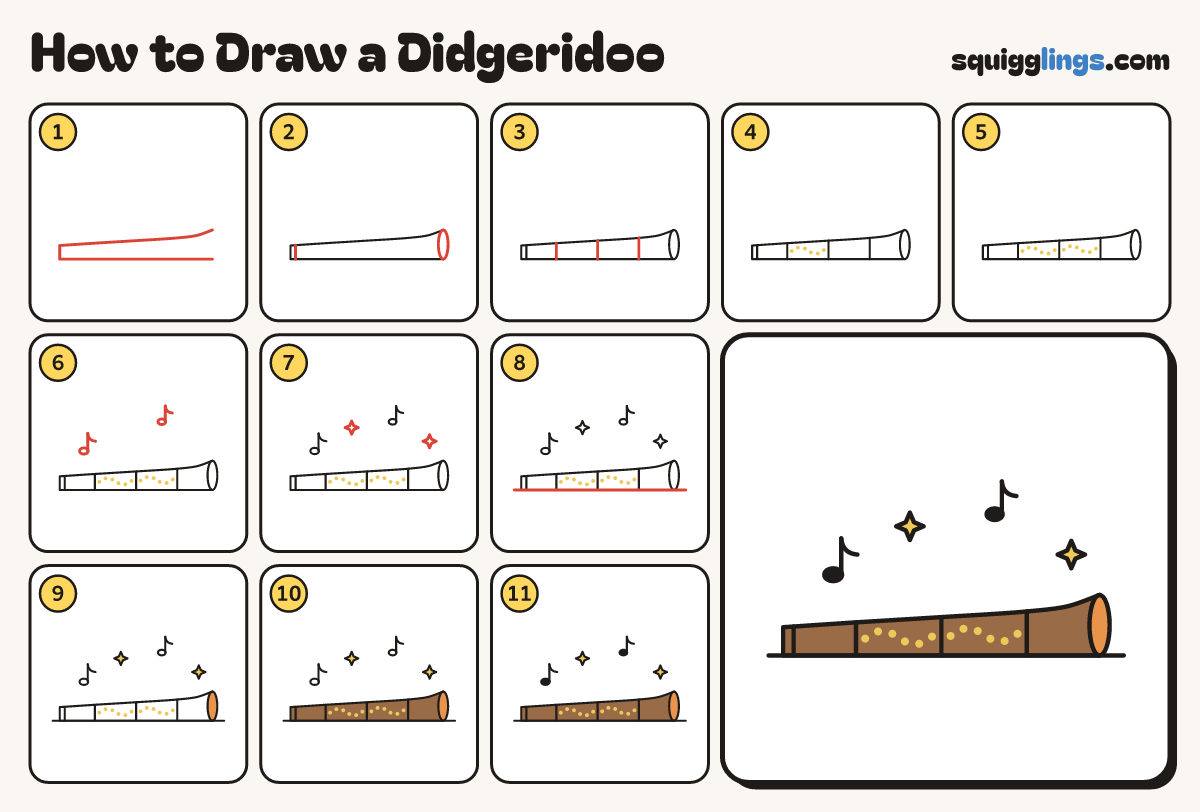
Each picture adds one red line. Draw that line, then scroll to the next picture. Rub out any dashed helper lines at the end. First up: the long tube.
Step 1: The long tube
Start at the top right. Draw a tube left to a narrow end, then back, stopping at the bottom right.
Tip Narrow at the mouth end, wide at the other. Leave the wide end open.
Step 2: The open end
At the wide end, draw a tall oval for the opening, then a smaller oval inside it for the hole.
Step 3: The mouthpiece
Over the narrow end, draw a small box with round corners, a little taller than the tube.
Step 4: Painted bands
Draw 3 painted bands across the tube. Each band is 2 curved lines from the top edge to the bottom.
Tip Bow every line the same way, so the tube looks round.
Step 5: Wavy dots
With your yellow crayon, dot a wavy line of 5 little dots between the first 2 bands.
Step 6: More wavy dots
Dot another wavy line of 5 little yellow dots between the last 2 bands.
Step 7: Music notes
Draw 2 music notes in the air above the tube.
Step 8: Sparkles
Draw 2 little 4-point stars in the air for sparkles.
Step 9: The floor
Draw a floor line under the tube, from left to right, a little past both ends.
Step 10: Yellow sparkles, yellow mouthpiece
Colour the sparkles and the mouthpiece yellow.
Step 11: Orange bands
Colour the 3 painted bands orange, and the ring round the hole.
Step 12: Brown tube
Colour the rest of the tube brown, around the yellow dots.
Step 13: Black notes
Colour the note heads and the hole black. Your didgeridoo is ready to drone!
Your finished drawing
Follow the steps above and this is where you end up: a didgeridoo, drawn by you.
Every step in one picture