Watch it draw itself · tap to replay
How to Draw a Cotton Plant
Draw a cotton plant in 10 easy steps, about 8 minutes. Free, with a printable worksheet.
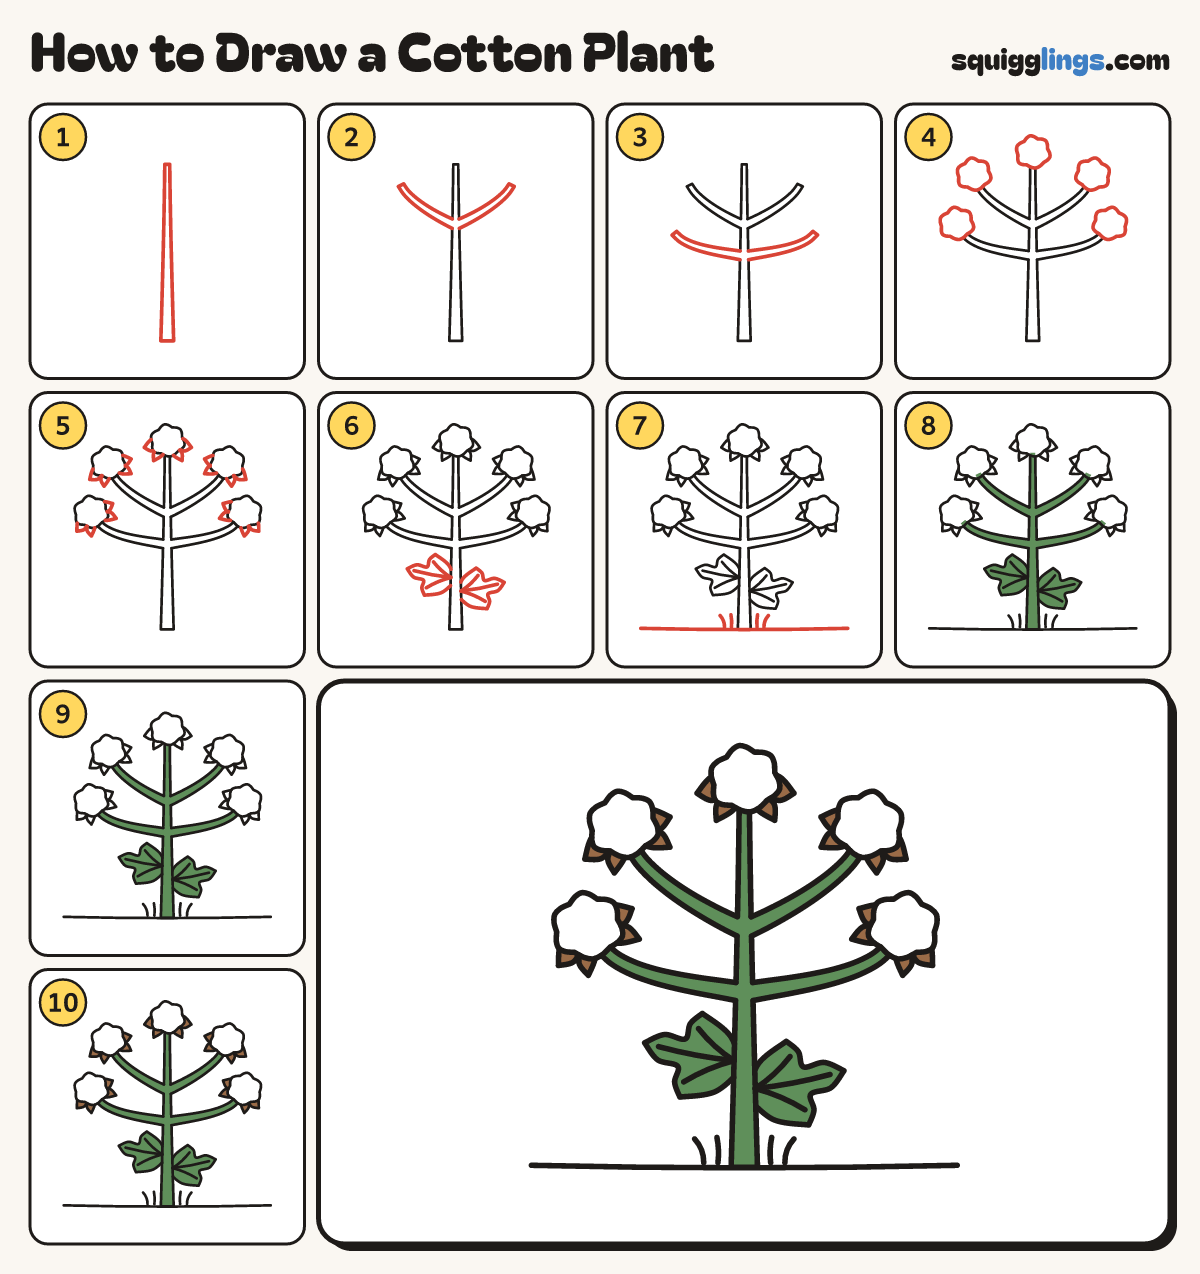
Each picture adds one red line. Draw that line, then scroll to the next picture. Rub out any dashed helper lines at the end. First up: the stem.
Step 1: The stem
Draw a tall stem up the middle, from near the bottom to near the top, getting thinner as it goes.
Step 2: Two upper branches
From high on the stem draw 2 branches curving out and up, one each side, ending in thinner tips.
Tip Make each branch thick at the stem and a little thinner at its tip.
Step 3: Two lower branches
A hand lower draw 2 longer branches the same way, curving out wide and then up.
Step 4: Cotton bolls
On top of the stem and each branch tip draw a fluffy round cloud of bumps: a cotton boll.
Step 5: Pointy husks
Round the bottom of each boll draw a husk of 4 pointy tips, each starting and stopping on the cloud.
Step 6: Two leaves
Low on the stem draw a 3-point leaf left and a lower one right. Give each point a vein.
Step 7: Ground and grass
Draw a long ground line under the plant, through the stem. Add grass blades each side.
Step 8: Green stem and leaves
Colour the stem, the branches and both leaves green.
Step 9: White cotton
Leave every cotton boll white, so it stays fluffy and bright.
Step 10: Brown husks
Colour the pointy husk tips round the bolls brown. Go over your lines and your cotton plant is done!
Your finished drawing
Follow the steps above and this is where you end up: a cotton plant, drawn by you.
Every step in one picture