Watch it draw itself · tap to replay
How to Draw a Corsage
Draw a corsage in 11 easy steps, about 8 minutes. Free, with a printable worksheet.
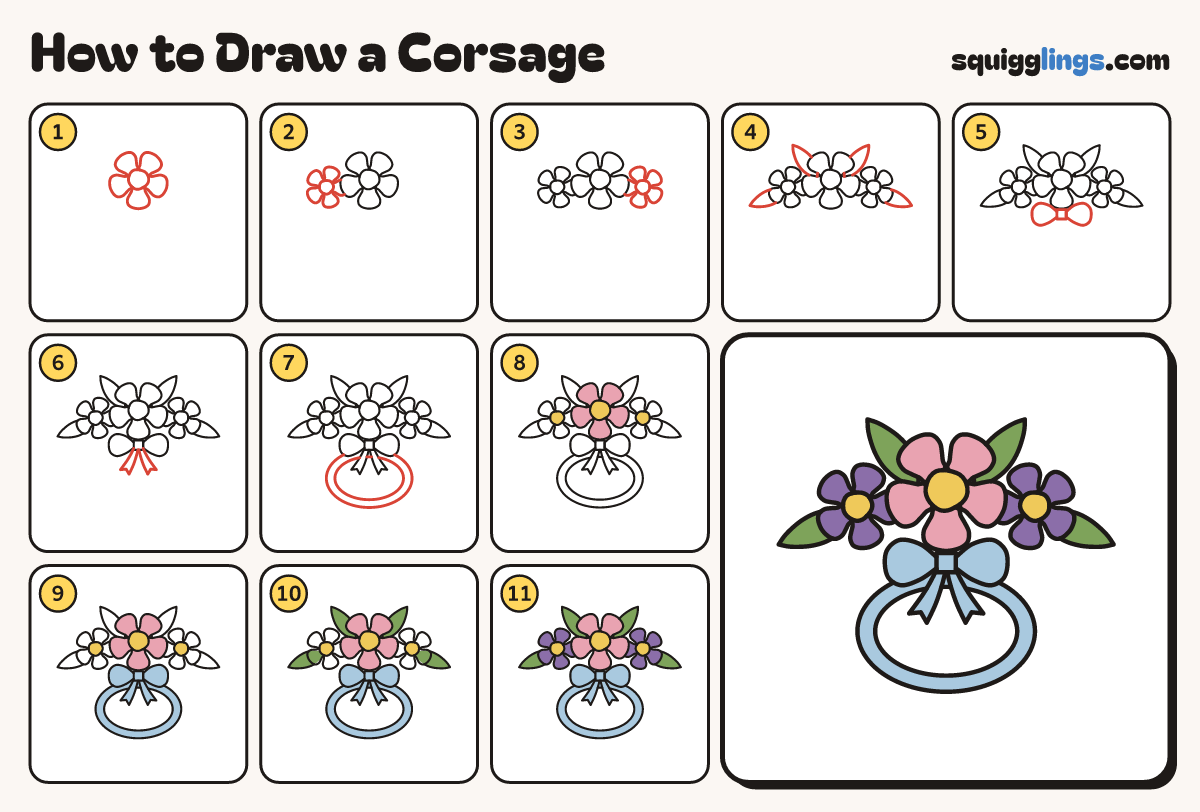
Each picture adds one red line. Draw that line, then scroll to the next picture. Rub out any dashed helper lines at the end. First up: the big flower.
Step 1: The big flower
In the middle of your paper draw a circle as big as a walnut. Draw 5 plump petals round it.
Tip Leave room below for the bow and the wrist band.
Step 2: Left flower
On the left, a little lower, draw a smaller flower the same way, tucked behind the big one.
Step 3: Right flower
On the right, draw a matching small flower, tucked behind the big one.
Tip Keep the 2 small flowers level with each other.
Step 4: Four leaves
Draw 2 pointed leaves peeking up between the flowers, and 2 more poking out at the sides.
Step 5: The bow
Just under the big flower draw a small box knot. Draw a ribbon loop on each side of it.
Step 6: Ribbon tails
From under the knot draw 2 ribbon tails hanging down, each with a notch cut in its end.
Step 7: Wrist band
Draw a big oval ring behind the bow, with a smaller oval inside it. This band goes round your wrist.
Tip Rub out the ring lines inside the bow and the tails.
Step 8: Pink and yellow
Colour the big flower's petals pink. Colour all 3 round middles yellow.
Step 9: Blue bow and band
Colour the bow, the 2 tails and the wrist band light blue.
Tip Leave the hole in the middle of the band white.
Step 10: Green leaves
Colour all 4 leaves green.
Step 11: Purple flowers
Colour the petals of the 2 small flowers purple. Your corsage is ready to wear!
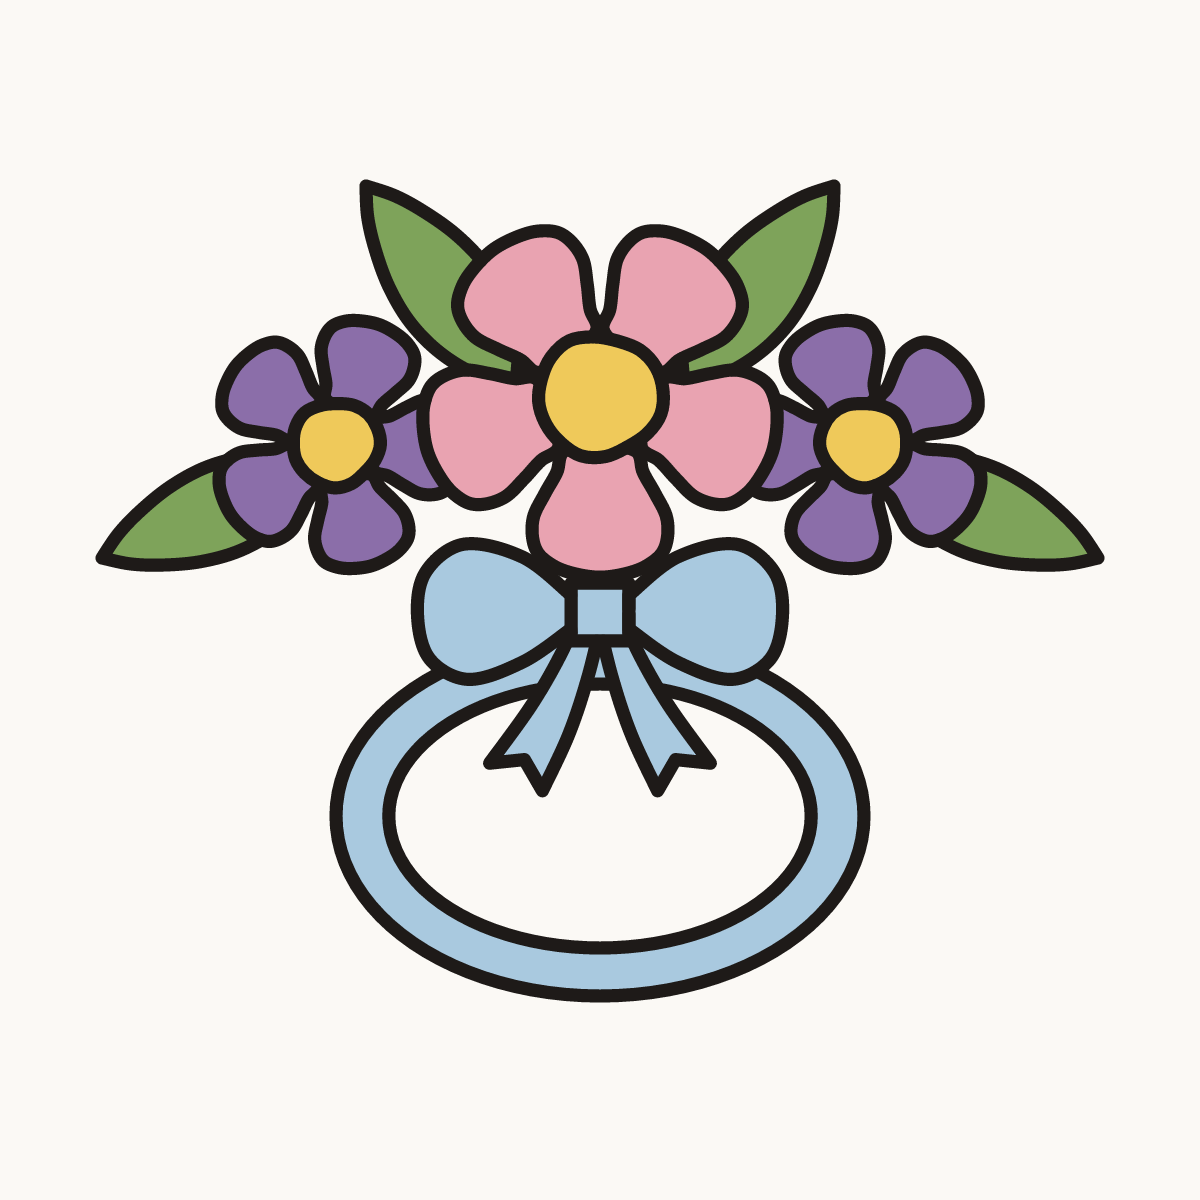
Your finished drawing
Follow the steps above and this is where you end up: a corsage, drawn by you.
Every step in one picture