Watch it draw itself · tap to replay
How to Draw a Cookie Sheet
Draw a cookie sheet in 11 easy steps, about 8 minutes. Free, with a printable worksheet.
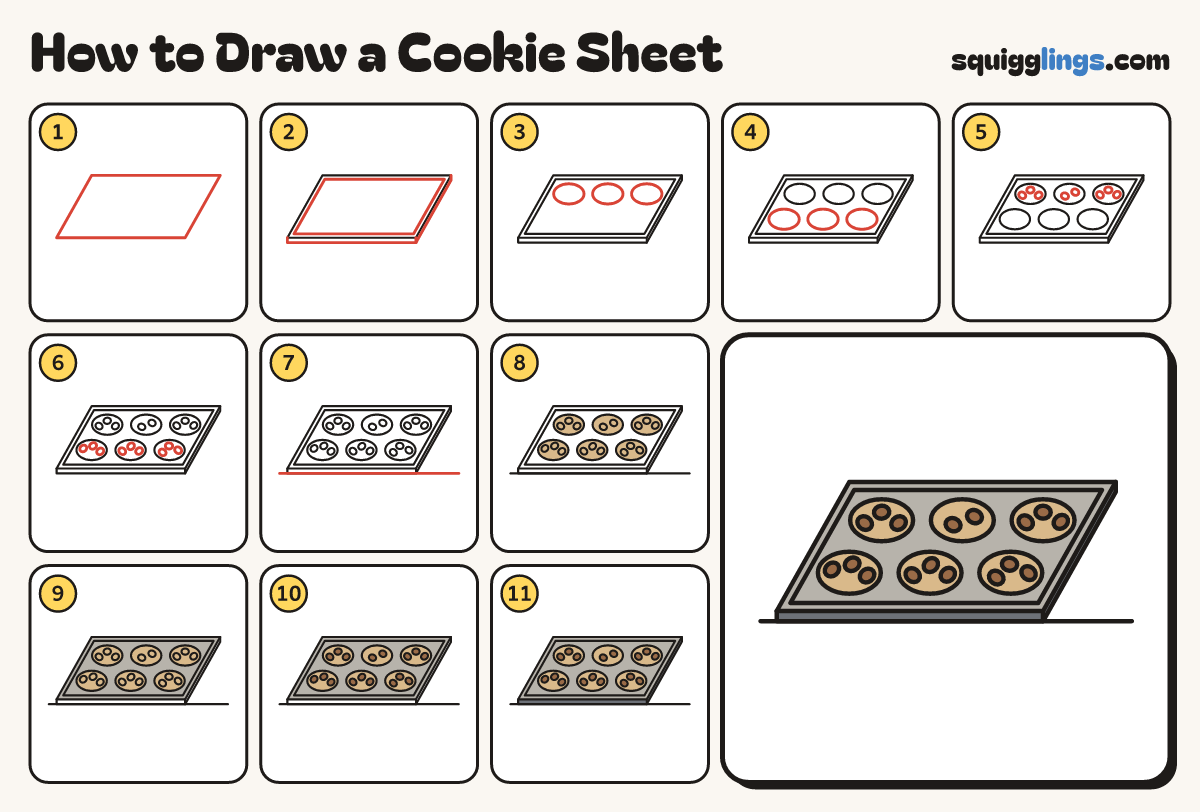
Each picture adds one red line. Draw that line, then scroll to the next picture. Rub out any dashed helper lines at the end. First up: the tray.
Step 1: The tray
Across the middle, draw a wide flat squashed rectangle leaning right: a long top, slanted sides, a long bottom.
Tip It is a rectangle seen from a little above, so the sides slant.
Step 2: The rim
From the front left corner, draw a thin edge down, across and up to the back. Add a lip inside.
Tip The lip is a line just inside the top, like a low wall that stops the cookies sliding off.
Step 3: Back row of cookies
On the tray, draw 3 round cookies in a row near the back, evenly spaced, wider than tall.
Step 4: Front row
Draw 3 more cookies in front, each between 2 of the back cookies. Only draw the parts you can see.
Step 5: Chocolate chips
On the back row, draw small tilted ovals for chips: 3, then 2, then 3, scattered about.
Step 6: More chips
Scatter 3 chips on each front cookie the same way, each cookie a little different.
Step 7: The table
Draw a long table line along the bottom of the front edge, out past both sides.
Step 8: Tan cookies
Go over your lines, then colour all 6 cookies tan, around the chips.
Step 9: Light grey tray
Colour the tray top light grey, lip and all, around the cookies.
Step 10: Brown chips
Colour all the chips brown.
Step 11: Dark grey edge
Colour the thin front and side edge dark grey. Your cookies are ready for the oven!
Your finished drawing
Follow the steps above and this is where you end up: a cookie sheet, drawn by you.
Every step in one picture