Watch it draw itself · tap to replay
How to Draw an Aeroplane Cockpit
Draw an aeroplane cockpit in 12 easy steps, about 9 minutes. Free, with a printable worksheet.
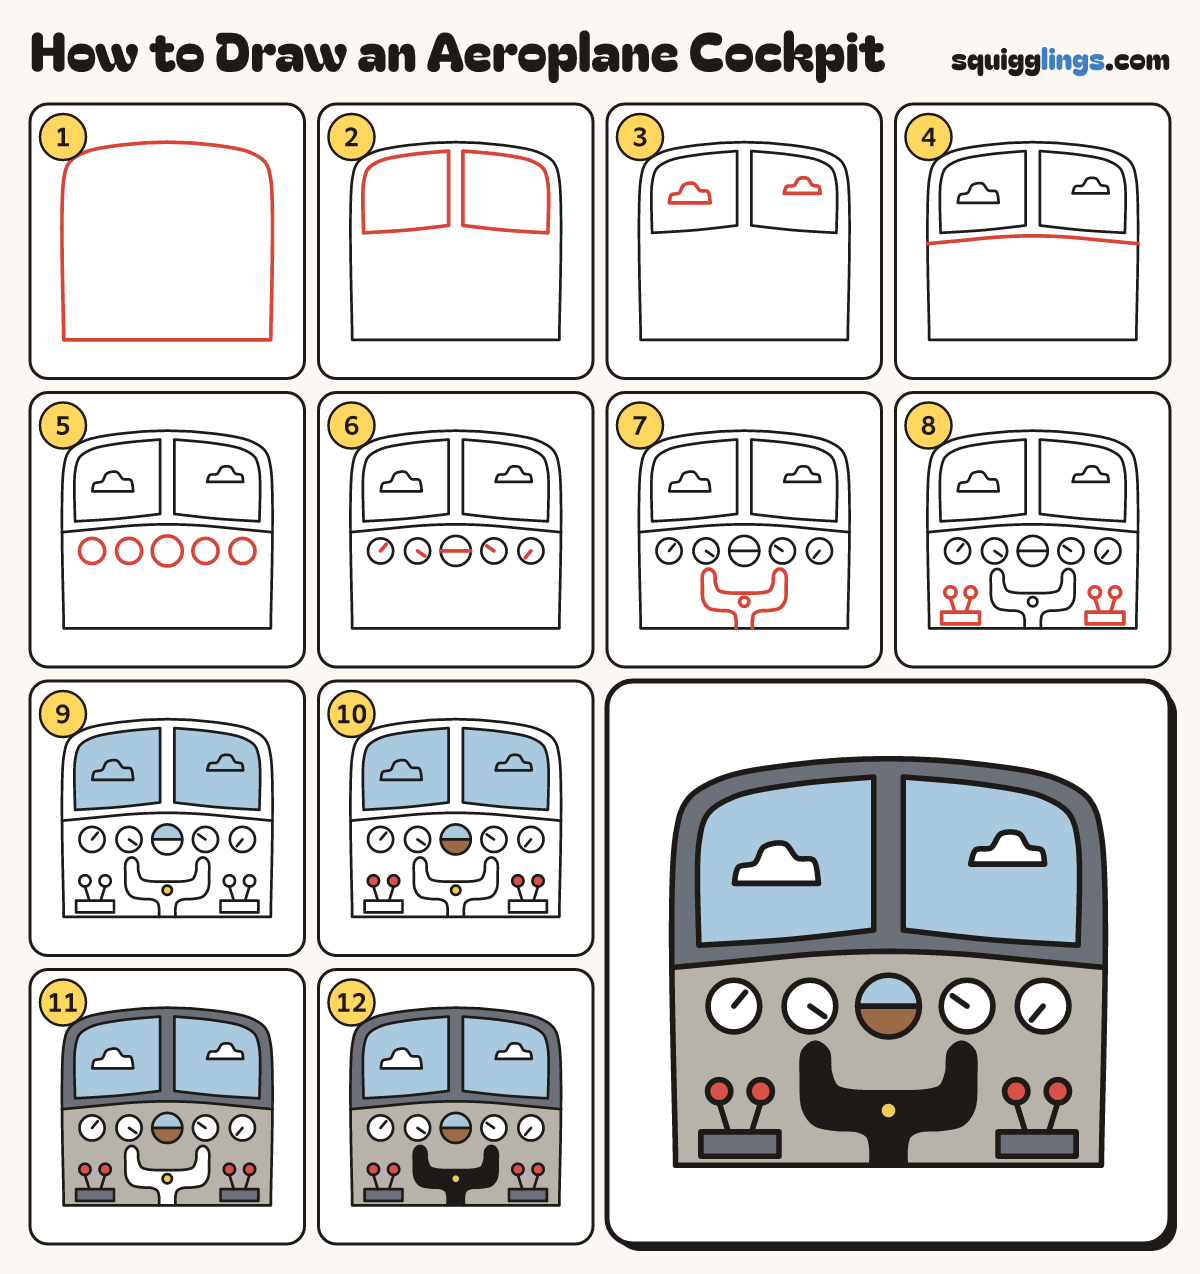
Each picture adds one red line. Draw that line, then scroll to the next picture. Rub out any dashed helper lines at the end. First up: cabin shape.
Step 1: Cabin shape
Draw a wide box with a flat bottom, straight sides and a gently curved top. Make it fill the page.
Step 2: Two windows
Inside the top half, draw 2 big windows side by side. Leave a post between them.
Tip Each window follows the curved top and has rounded outside corners.
Step 3: Clouds outside
Draw a bumpy cloud in each window, flat along the bottom.
Step 4: Top of the panel
Start on the left wall, under the windows. Draw a long, slightly humped line and stop on the right wall.
Tip The line is highest in the middle.
Step 5: Five dials
Under that line, draw a row of 5 round dials. Make the middle one a bit bigger.
Tip Space them evenly, with a gap between each.
Step 6: Needles
Draw a short needle in 4 dials, each pointing a different way. Draw a line across the middle dial.
Step 7: Control yoke
From the bottom edge, draw a thick post up to a thick U, like bull horns. Add a small circle.
Tip This is what the pilot holds to steer. Keep both sides the same.
Step 8: Levers
Draw a low box each side of the yoke. Start 2 sticks on each and stop each at a ball.
Step 9: Blue and yellow
Colour the windows and the top half of the middle dial light blue. Colour the yoke's small circle yellow.
Tip Leave the clouds white.
Step 10: Red and brown
Colour the 4 lever balls red. Colour the bottom half of the middle dial brown.
Step 11: Two greys
Colour the panel light grey, around the white dials. Colour the walls and the 2 boxes dark grey.
Step 12: Black yoke
Colour the yoke black, around its yellow circle. Your cockpit is ready to fly!
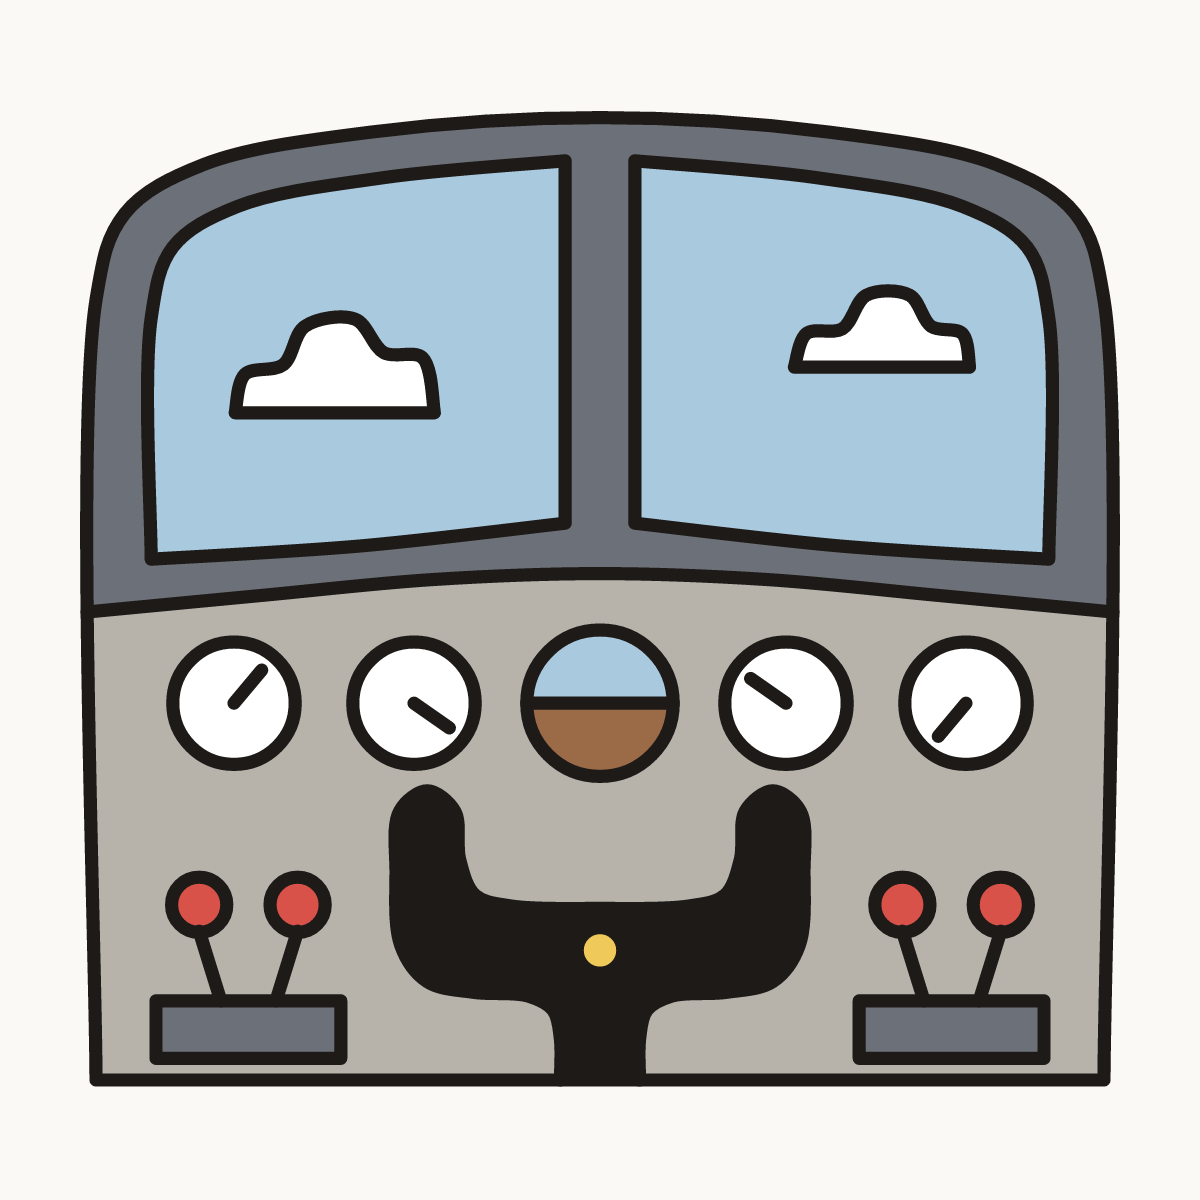
Your finished drawing
Follow the steps above and this is where you end up: an aeroplane cockpit, drawn by you.
Every step in one picture