Watch it draw itself · tap to replay
How to Draw a City Map
Draw a city map in 11 easy steps, about 8 minutes. Free, with a printable worksheet.
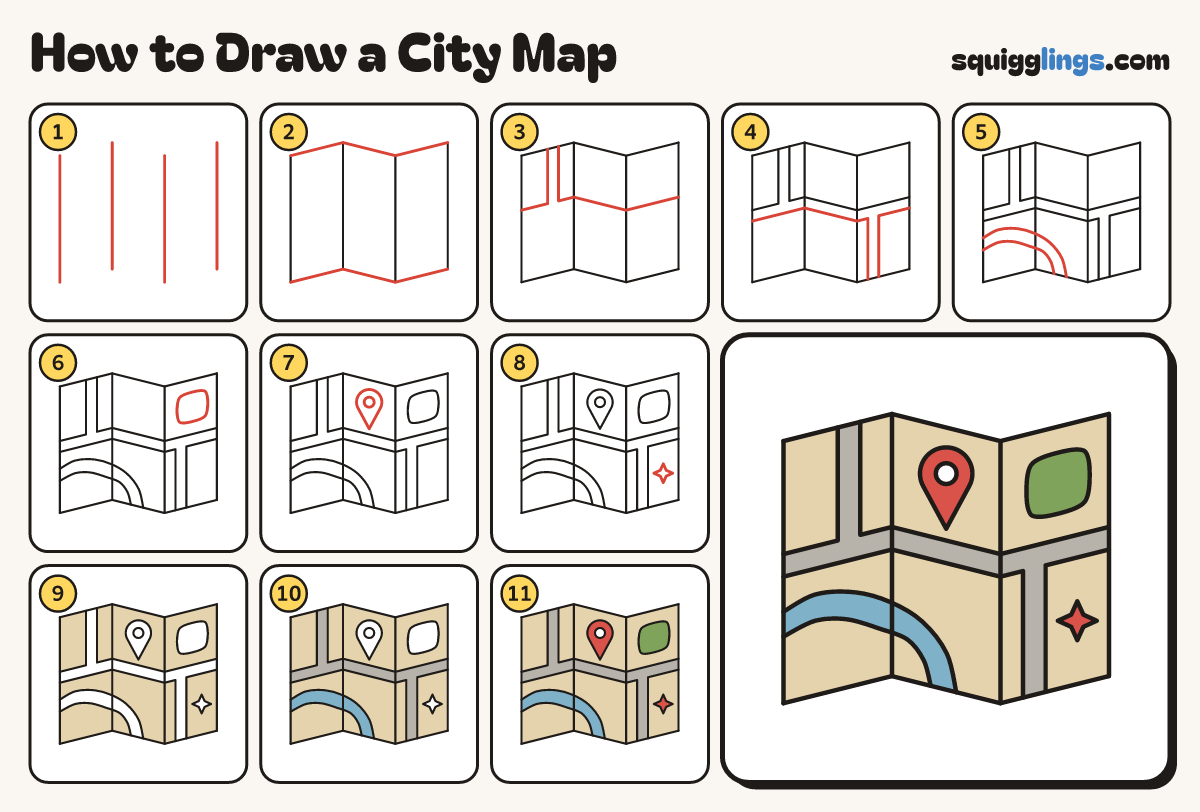
Each picture adds one red line. Draw that line, then scroll to the next picture. Rub out any dashed helper lines at the end. First up: four tall lines.
Step 1: Four tall lines
Draw 4 tall lines side by side. Start the second and fourth a bit higher, and stop them higher too.
Tip These are the folds of the paper. Keep the gaps between them the same.
Step 2: Zigzag edges
Join the tops with slanting lines, from the first line across to the last. Join the bottoms the same way.
Step 3: Top roads
From the top edge draw 2 lines down to the middle. Turn one left and one right, to the edges.
Tip The gap between the lines is a road. The turned lines slant the same way as the top edge.
Step 4: Bottom roads
From the bottom edge draw 2 lines up. Stop near the others. Turn one left, one right, to the edges.
Step 5: The river
Start on the left edge, low down. Draw 2 curved lines side by side, bending down to the bottom edge.
Step 6: The park
In the top right part draw a box with round corners for a park.
Step 7: The map pin
In the top middle draw a map pin, like an upside-down raindrop. Add a small circle in its round head.
Step 8: The compass
In the bottom right part draw a star with 4 points for the compass.
Step 9: Sand blocks
Go over your lines. Colour the blocks between the roads sand, around the park, the pin and the star.
Step 10: Roads and river
Colour the roads grey and the river light blue.
Step 11: Green and red
Colour the park green. Colour the pin and the star red, but leave the pin's little circle white.
Your finished drawing
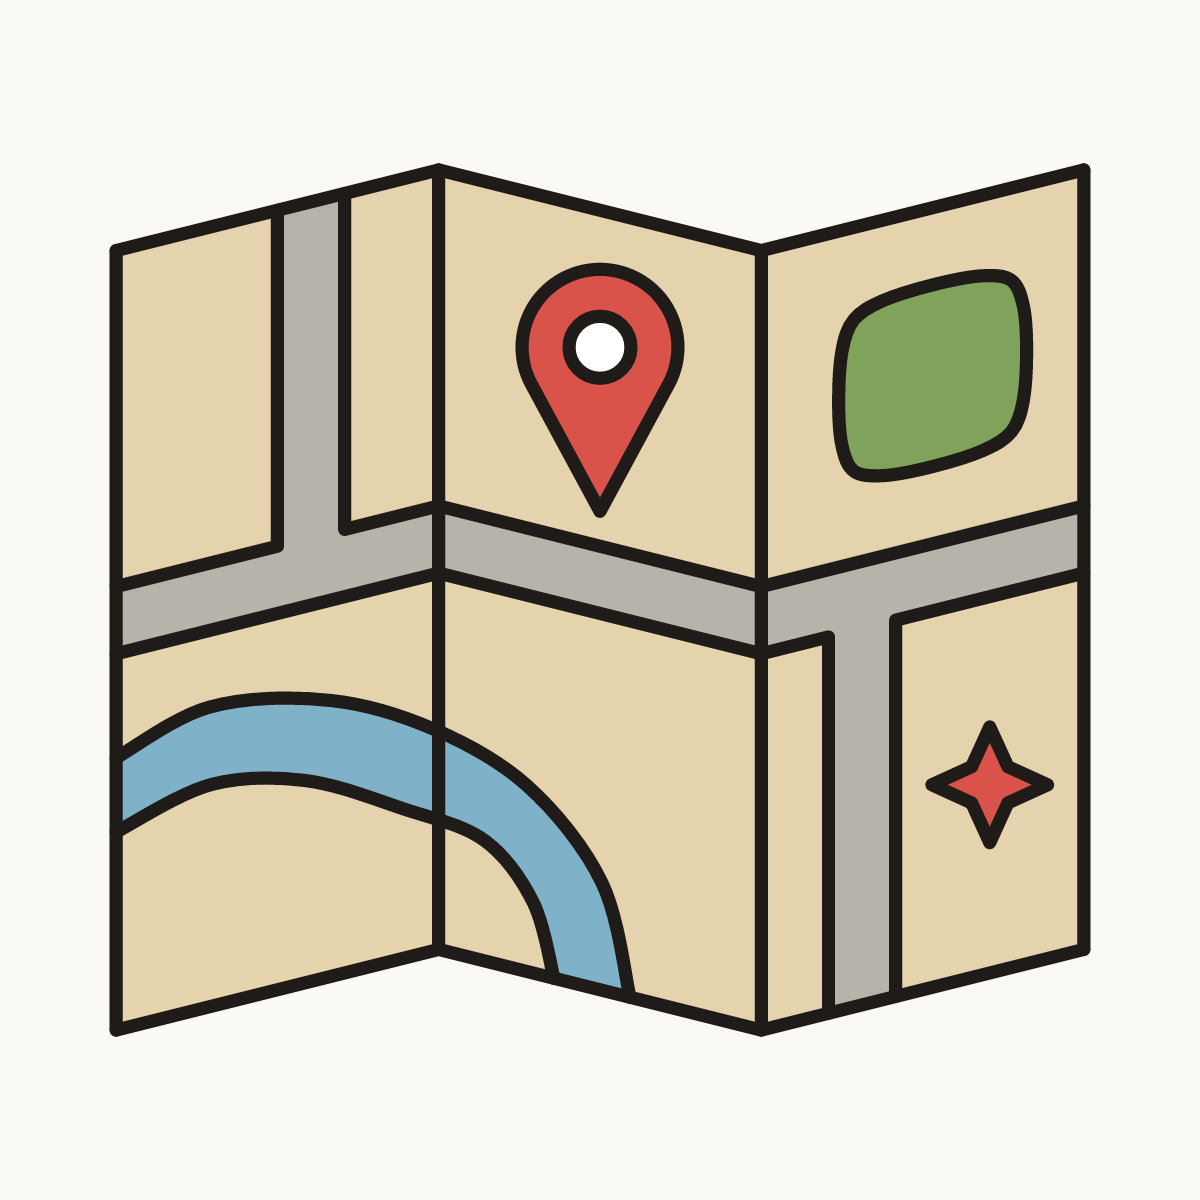
Follow the steps above and this is where you end up: a city map, drawn by you.
Every step in one picture