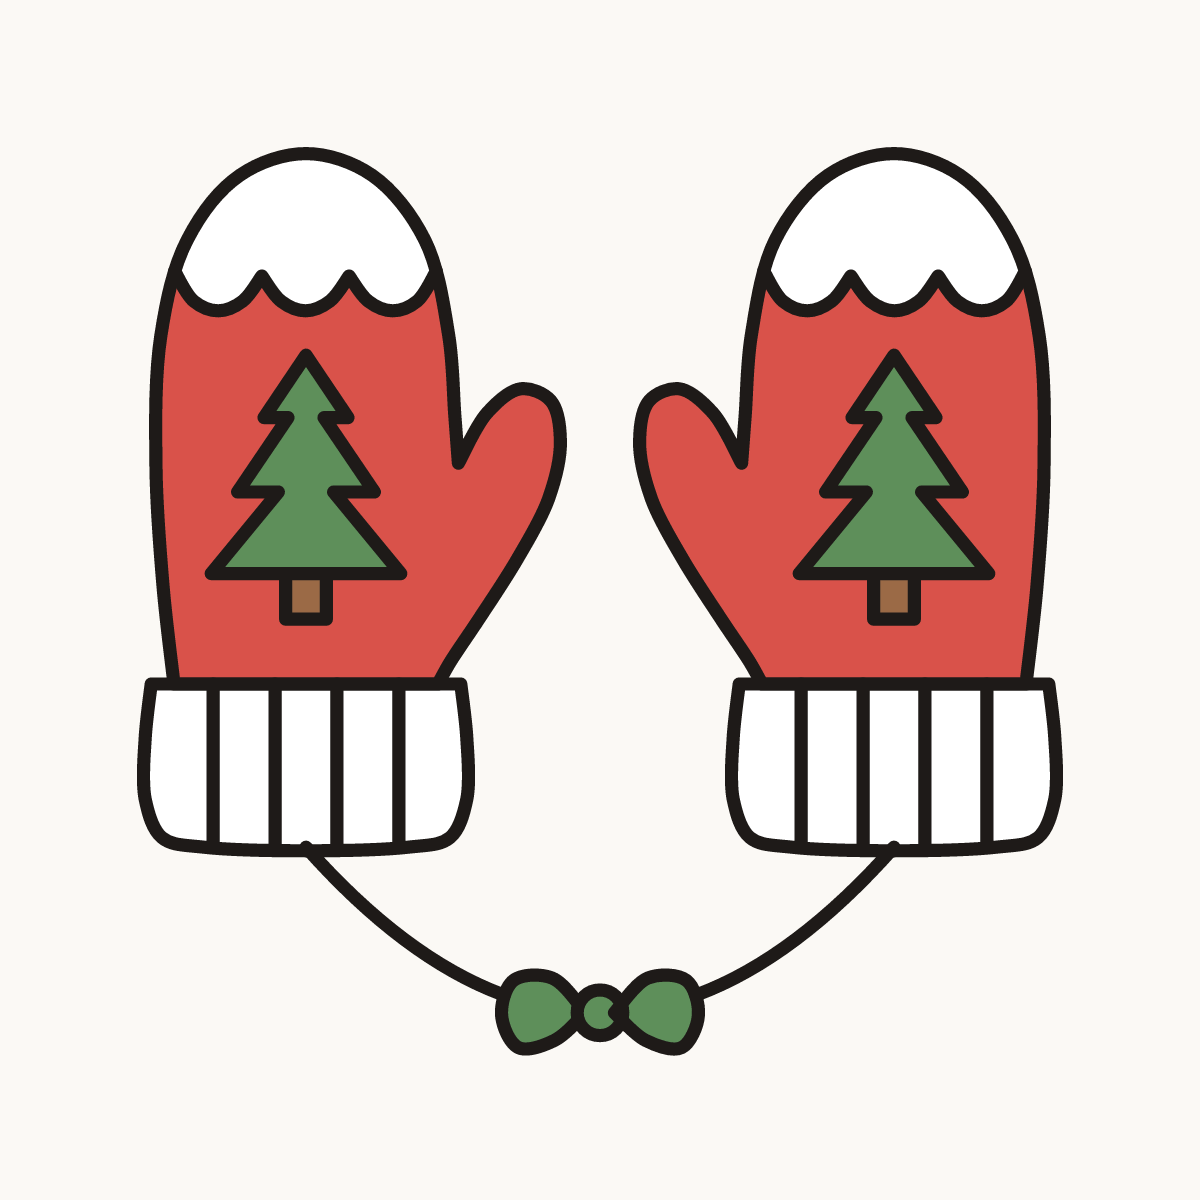
Watch it draw itself · tap to replay
How to Draw Christmas Mittens
Draw Christmas mittens in 10 easy steps, about 8 minutes. Free, with a printable worksheet.
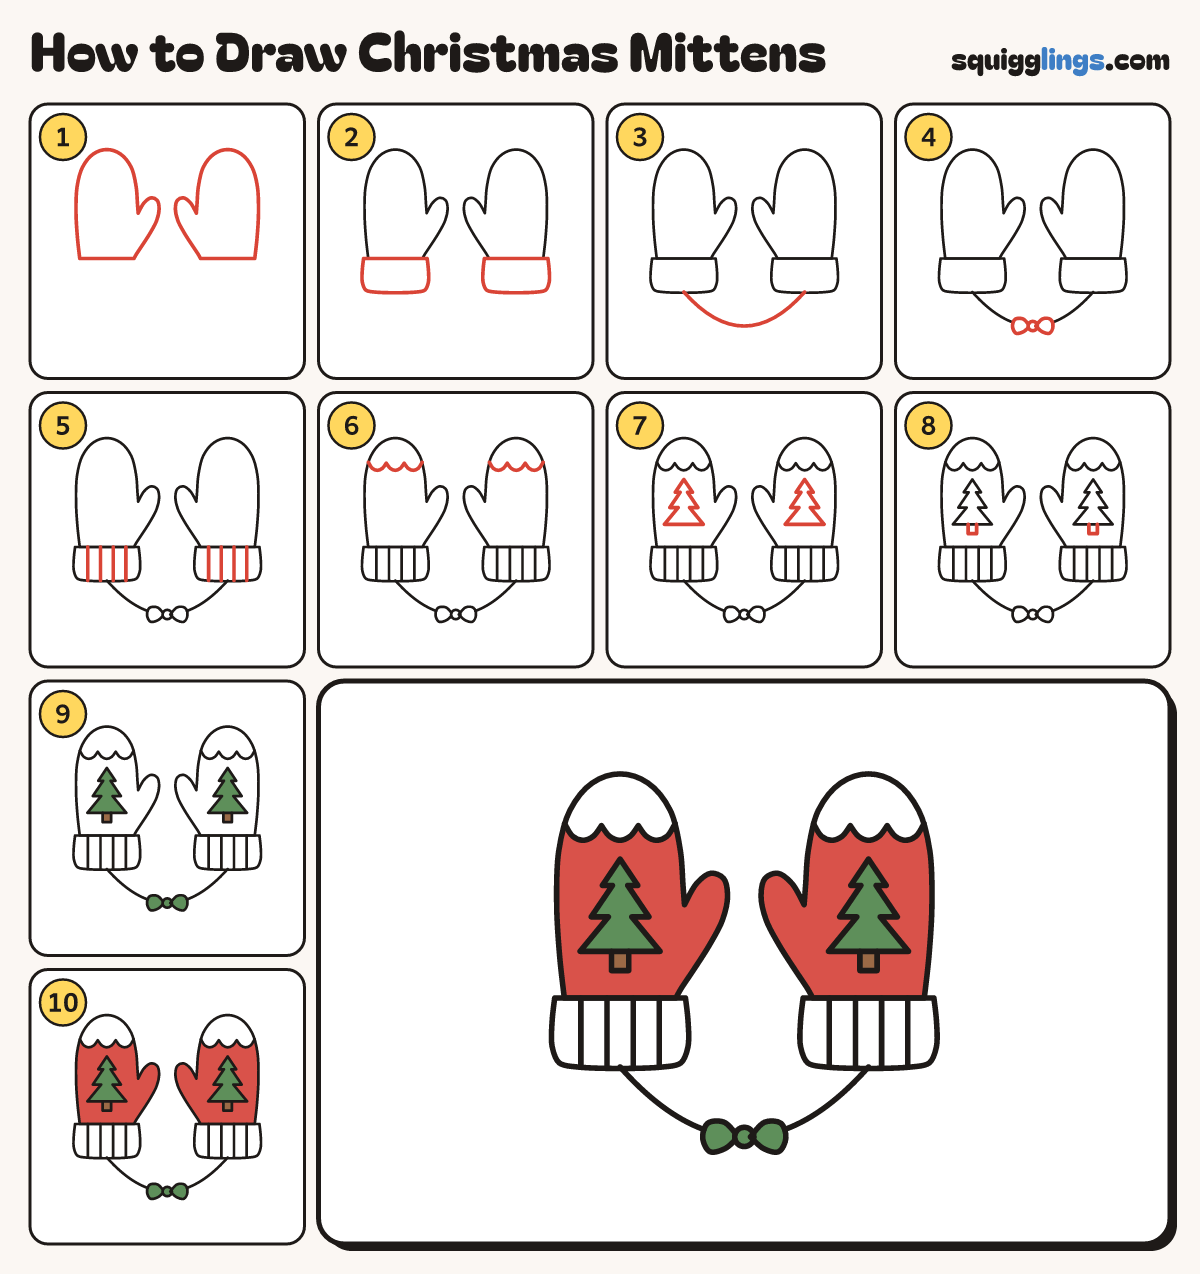
Each picture adds one red line. Draw that line, then scroll to the next picture. Rub out any dashed helper lines at the end. First up: two mittens.
Step 1: Two mittens
Draw 2 tall mittens with round tops and flat bottoms. Give each a fat thumb pointing to the middle.
Tip Both mittens match, like a mirror.
Step 2: Knitted cuffs
Under each mitten draw a rounded box for the cuff, a little wider than the mitten.
Step 3: Long string
Start under the left cuff. Draw a long sagging string and stop under the right cuff.
Tip The string stops you losing a mitten.
Step 4: Little bow
At the lowest point of the string draw a small circle with a loop on each side.
Step 5: Cuff ribs
Start at the top of each cuff and draw 4 straight lines down. Stop at the bottom.
Tip The lines make the cuff look knitted.
Step 6: Snowy tips
Near the top of each mitten draw 3 hanging bumps. Start at one side and stop at the other.
Step 7: Christmas trees
In the middle of each mitten draw a Christmas tree with 3 zigzag layers.
Tip Each layer is a little wider than the one above.
Step 8: Tree trunks
Under each tree draw a small square trunk.
Step 9: Green and brown
Go over your lines. Colour the 2 trees and the bow green, and the 2 trunks brown.
Step 10: Red mittens
Colour both mittens red around the trees. Leave the snowy tips and the cuffs white.
Tip Your Christmas mittens are done!
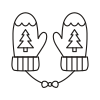
Your finished drawing
Follow the steps above and this is where you end up: Christmas mittens, drawn by you.
Every step in one picture