Watch it draw itself · tap to replay
How to Draw a Chameleon
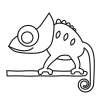
Each picture adds one red line. Draw that line, then scroll to the next picture. Rub out any dashed helper lines at the end. First up: helmet head and eye.
Step 1: Helmet head and eye
On the left, draw a head: round snout, a BIG circle bumping up on top, a helmet peak behind.
Tip The big circle is the eye turret, poking up out of the head.
Step 2: The big eye
Inside the big circle, low and toward the snout, draw a smaller eye circle with a big black dot.
Step 3: Grin and nostril
From the snout tip, draw a grin back under the eye, turning up at the end. Add a nostril dot.
Step 4: Egg body and bumps
Behind the head, draw an egg body on its side, fat end at the head. Add 5 back bumps.
Tip The bumps get smaller: first one tallest, last one tiny.
Step 5: Two bent legs
From the tummy, draw a bent leg under the chest and one under the bottom. Stop above the branch.
Tip Leave the ankle open at the bottom: the foot will close it.
Step 6: Two mitten feet
On each leg, start at one ankle line, draw a mitten foot with 2 fat toes, stopping at the other.
Step 7: The branch
From the left edge, draw a thin wavy branch behind the feet, between the toes, ending past the back foot.
Step 8: Curly tail
From the bottom, draw a thick tail sweeping back into a big snail swirl, getting thinner to a round tip.
Tip Wide at the body, thinner and thinner. Leave a white gap inside the swirl.
Step 9: Spots and tummy line
Draw 3 leaf spots under the bumps. Add a tummy line arching from one leg to the other.
Step 10: Yellow and light green
Colour the ring around the eye yellow, leaving the eye white. Colour the 3 spots and the tummy light green.
Step 11: Colour it green
Colour the head, body, bumps, legs, feet and tail green, going around the ring, spots and tummy.
Step 12: Wood branch
Colour the branch wood brown, going around the feet. Go over your lines and you are done!
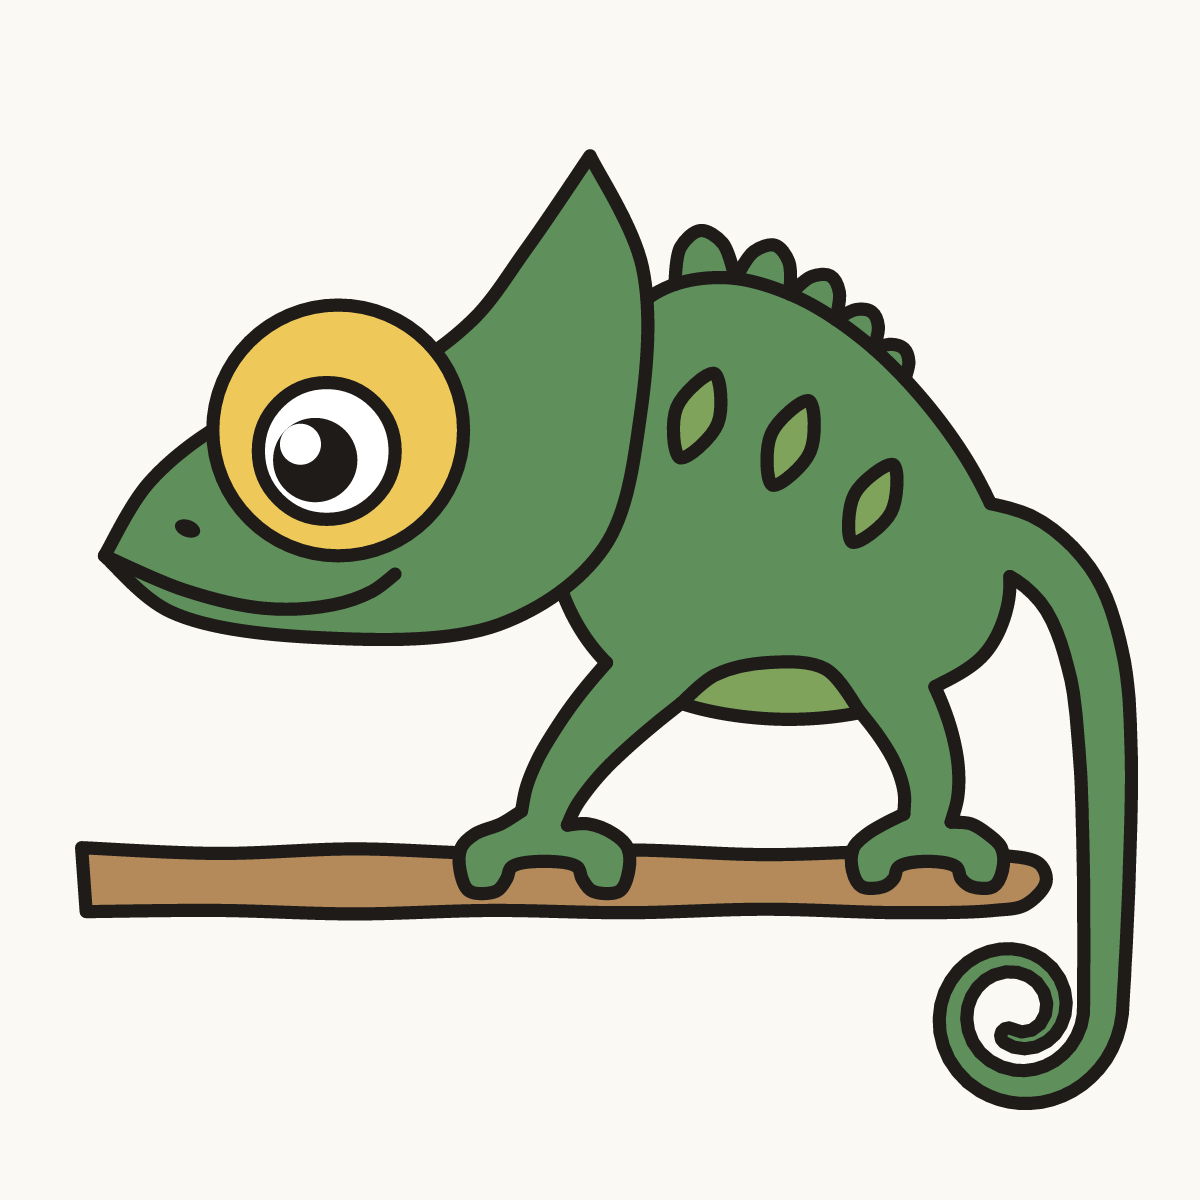
Your finished drawing
Follow the steps above and this is where you end up: a chameleon, drawn by you.