Watch it draw itself · tap to replay
How to Draw a Celtic Cross
Draw a Celtic cross in 12 easy steps, about 9 minutes. Free, with a printable worksheet.
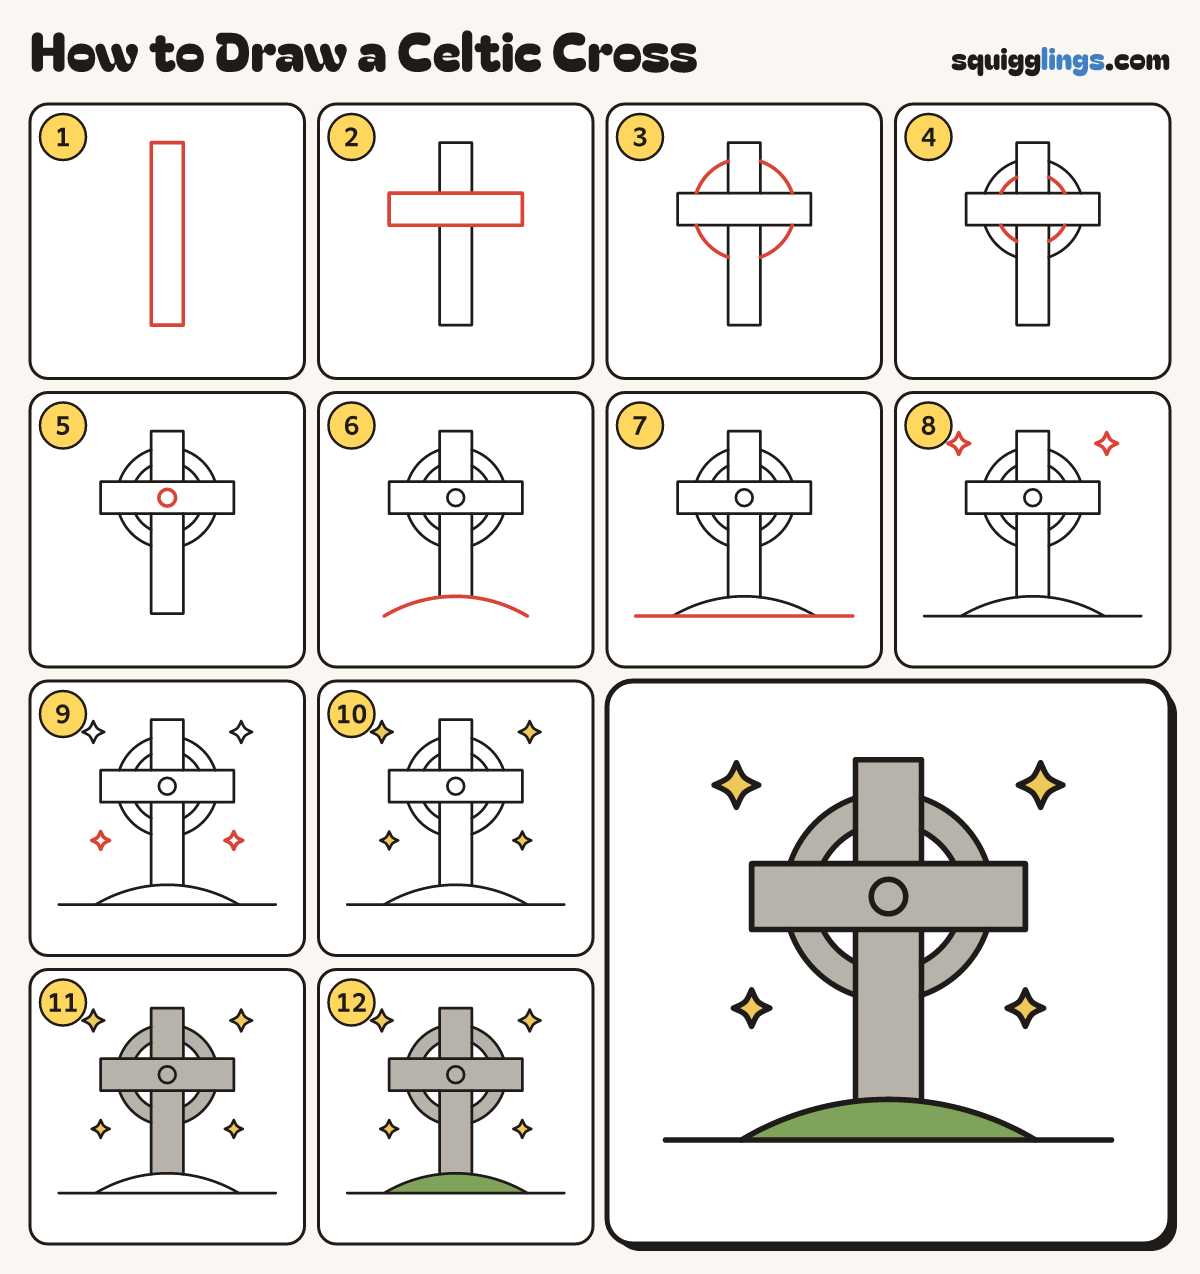
Each picture adds one red line. Draw that line, then scroll to the next picture. Rub out any dashed helper lines at the end. First up: the tall post.
Step 1: The tall post
In the middle of your paper draw a tall thin box standing up, like a fence post.
Tip Keep both long sides straight and the same distance apart all the way down.
Step 2: The crossbar
Near the top draw a long box lying across the post. Leave the same amount sticking out each side.
Tip Rub out the post lines inside the crossbar.
Step 3: The big ring
Draw a big circle round the place where they cross. Lift your pencil to hop over the cross.
Tip You draw 4 curved pieces, one in each corner. They all belong to one circle.
Step 4: The inner ring
Draw a smaller circle inside the big one, hopping over the cross again. Now it is a ring.
Step 5: The middle circle
Right in the middle, where the post and crossbar cross, draw a small circle.
Step 6: A little hill
Start left of the post. Draw a low hill curving over its foot. Stop the same distance on the right.
Tip Rub out the bottom of the post inside the hill.
Step 7: The ground
Draw a long ground line under the hill, from far left to far right.
Step 8: Top sparkles
Above each end of the crossbar draw a sparkle star with 4 points.
Tip A sparkle is a tall thin diamond crossed with a wide thin one.
Step 9: Lower sparkles
Below each end of the crossbar draw a smaller sparkle star.
Step 10: Yellow sparkles
Colour the 4 sparkles yellow.
Step 11: Grey stone cross
Colour the cross and the 4 pieces of its ring grey, like stone. Leave the 4 gaps white.
Tip The gaps are holes. You can see the sky through them.
Step 12: Green hill
Colour the hill green, down to the ground line. Your celtic cross is done!
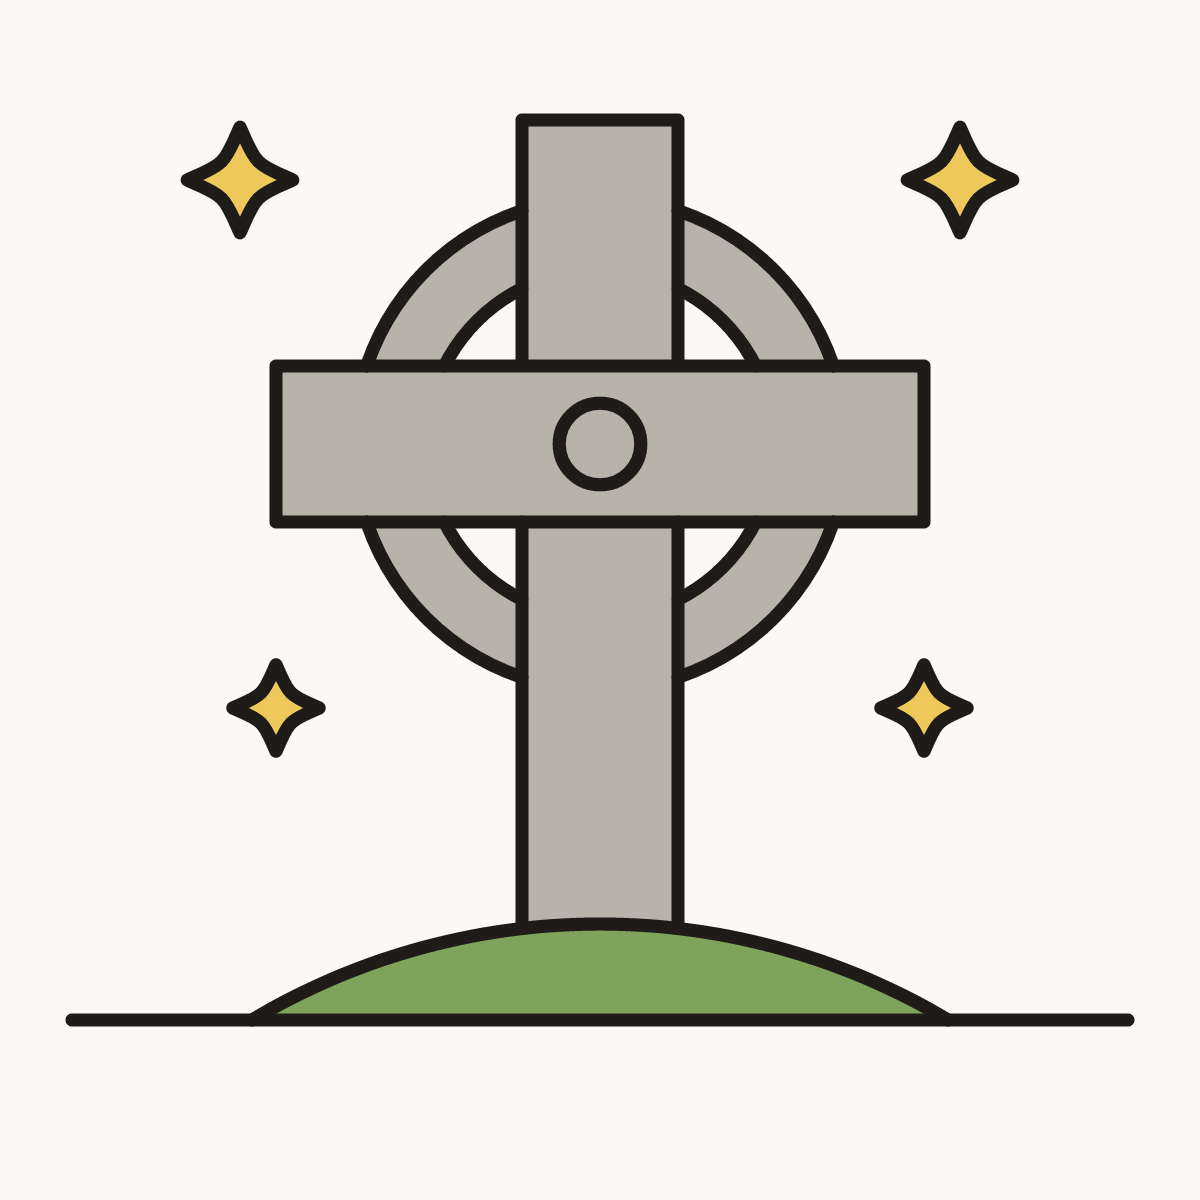
Your finished drawing
Follow the steps above and this is where you end up: a Celtic cross, drawn by you.
Every step in one picture