Watch it draw itself · tap to replay
How to Draw a Carving a Pumpkin
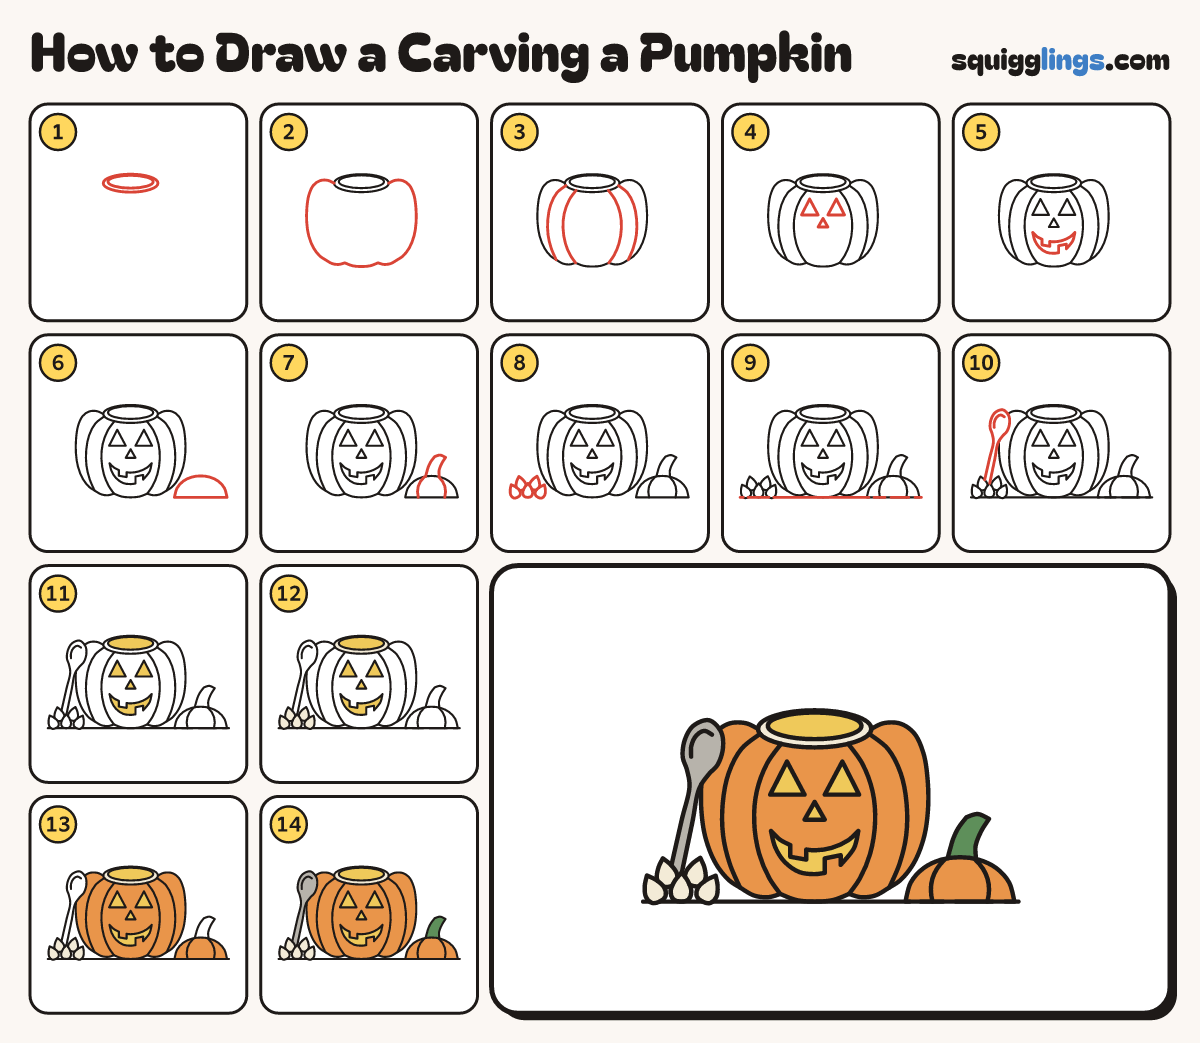
Draw a carving a pumpkin in 14 easy steps, about 11 minutes. Free, with a printable worksheet.
Each picture adds one red line. Draw that line, then scroll to the next picture. Rub out any dashed helper lines at the end. First up: the open top.
Step 1: The open top
Above the middle of your paper draw a flat oval. Draw a smaller oval inside it. This is the hole.
Tip Leave lots of room underneath for the pumpkin.
Step 2: Round pumpkin
Start at the oval's left end. Draw a fat pumpkin with a bumpy bottom. Stop at its right end.
Tip Go up a little first to make a shoulder, then round and down.
Step 3: Curved ribs
On each side draw 2 curved lines. Start on the oval and stop at a dip in the bumpy bottom.
Tip Each rib bows outwards, like the side of a ball.
Step 4: Eyes and nose
In the middle part draw 2 triangle eyes. Draw a smaller triangle nose between and below them.
Tip Keep them away from the rib lines.
Step 5: Toothy grin
Under the nose draw a wide smile like a slice of melon, with 1 square tooth up and 1 down.
Step 6: The lid
To the right of the pumpkin draw the lid: a low hill with a flat bottom.
Tip Make it as wide as the hole, because it came from there.
Step 7: Stem on the lid
On top of the lid draw a bent stem. Add 2 curved lines from the stem down to the bottom.
Step 8: Pile of seeds
To the left of the pumpkin draw 3 pointy seeds standing in a row. Tuck 2 more behind them.
Tip Each seed is a teardrop with its point at the top.
Step 9: The ground
Start near the left edge of your paper. Draw a ground line under everything. Stop near the right edge.
Tip Lift your pencil where the pumpkin, the lid and the seeds sit on the line.
Step 10: Scooping spoon
Start behind the seeds. Draw a handle up to an egg bowl resting on the pumpkin. Add a curve inside.
Step 11: Yellow glow
Colour the small oval, the eyes, the nose and the grin yellow.
Step 12: Cream seeds
Colour the 5 seeds and the ring round the hole cream, a very pale yellow.
Step 13: Orange pumpkin
Colour the pumpkin and its lid orange, around the yellow face.
Step 14: Green stem, grey spoon
Colour the stem green and the spoon grey. Go over your lines. Your pumpkin is carved!
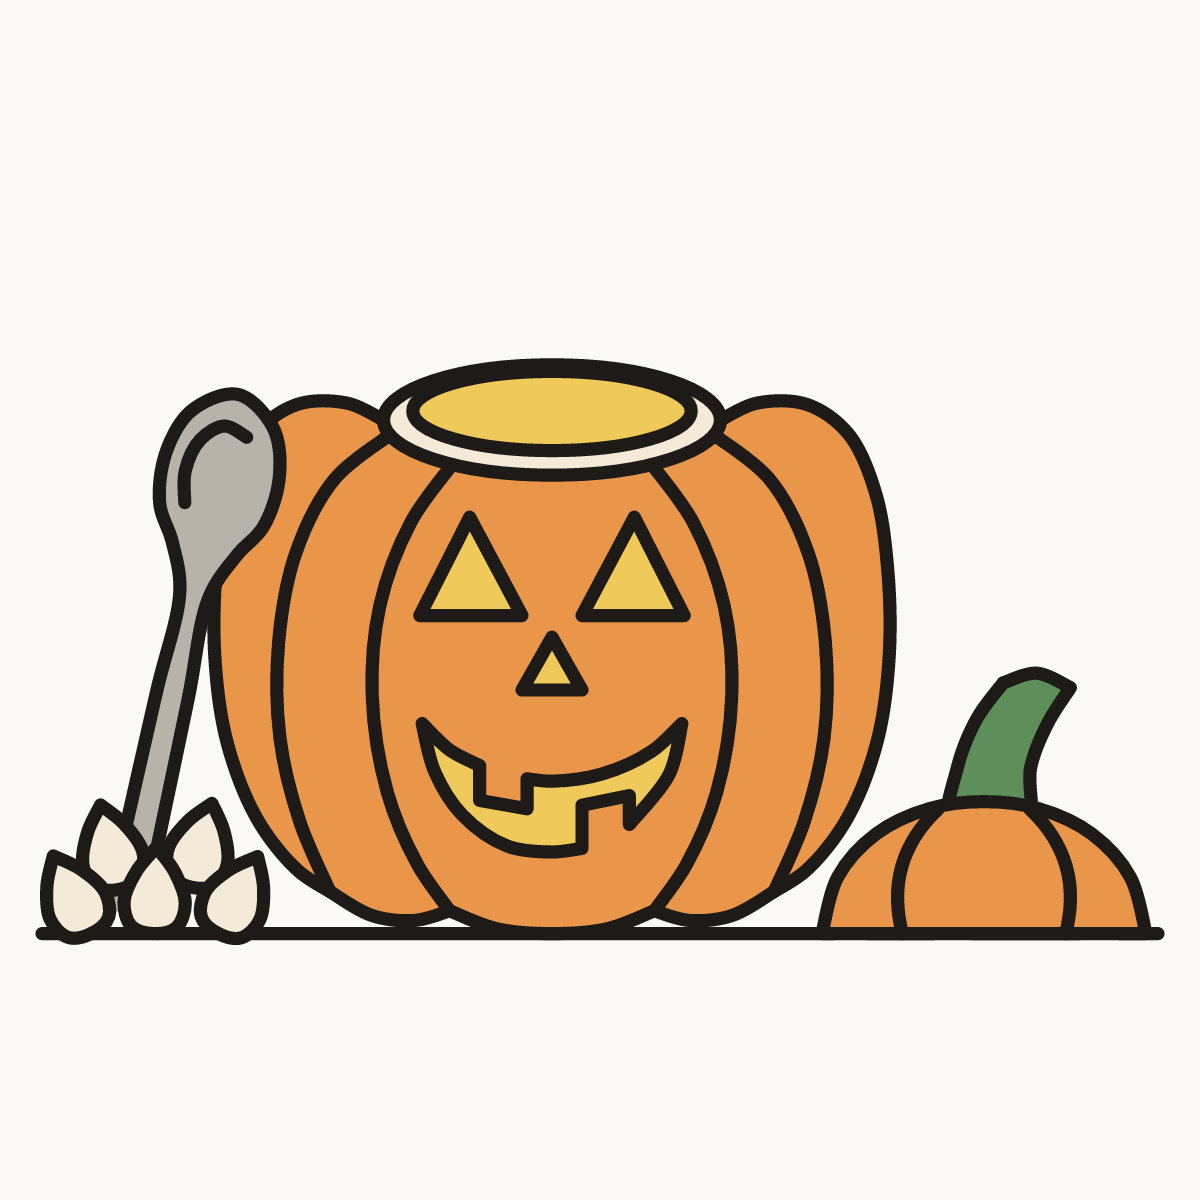
Your finished drawing
Follow the steps above and this is where you end up: a carving a pumpkin, drawn by you.
Every step in one picture