Watch it draw itself · tap to replay
How to Draw a Cardinal Flying
Draw a cardinal flying in 11 easy steps, about 8 minutes. Free, with a printable worksheet.
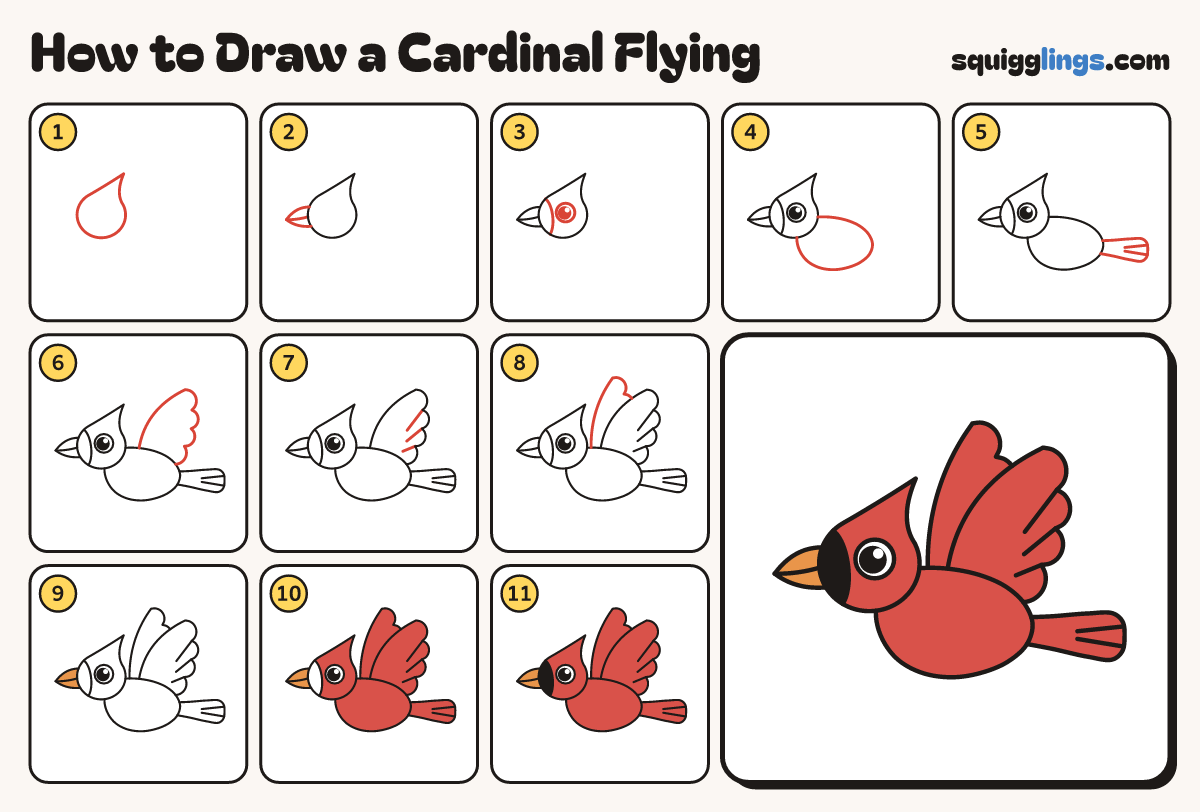
Each picture adds one red line. Draw that line, then scroll to the next picture. Rub out any dashed helper lines at the end. First up: head and crest.
Step 1: Head and crest
On the left, just above the middle, draw a round head. Sweep its top up to a point leaning back.
Tip The crest is the cardinal's pointy hat. Its back edge drops down steeply.
Step 2: Short fat beak
Start on the head's front. Draw a short fat beak and stop on the head. Add a mouth line.
Step 3: Eye and mask
Draw a big eye with a black dot. Curve a mask line between eye and beak, from forehead to chin.
Step 4: Plump body
Start behind the head. Draw a big round body, like a fat plum. Stop under the head.
Tip A cardinal is a plump little bird: make the tummy deep and round.
Step 5: Long tail
From the body's back end draw a long thin tail straight back, with a blunt end. Add 2 feather lines.
Step 6: Big open wing
Start on the back. Draw a wing up to a point, then down in 4 bumps to the back.
Tip The wing grows from the back, not the head. Round bumps, not teeth.
Step 7: Wing feathers
From each dip between the bumps draw a short line into the wing: 3 feather lines.
Tip Short lines, all pointing toward where the wing joins the back.
Step 8: Second wing
Between the head and the big wing draw a second wing, from the back up to a point.
Tip Its back half hides behind the big wing.
Step 9: Orange beak
Colour the beak orange.
Tip Orange first: light colours go on before dark ones.
Step 10: Red cardinal
Colour the crest, head, body, tail and both wings red. Leave the mask and the eye white.
Step 11: Black mask
Colour the mask round the beak black. Your cardinal is flying!
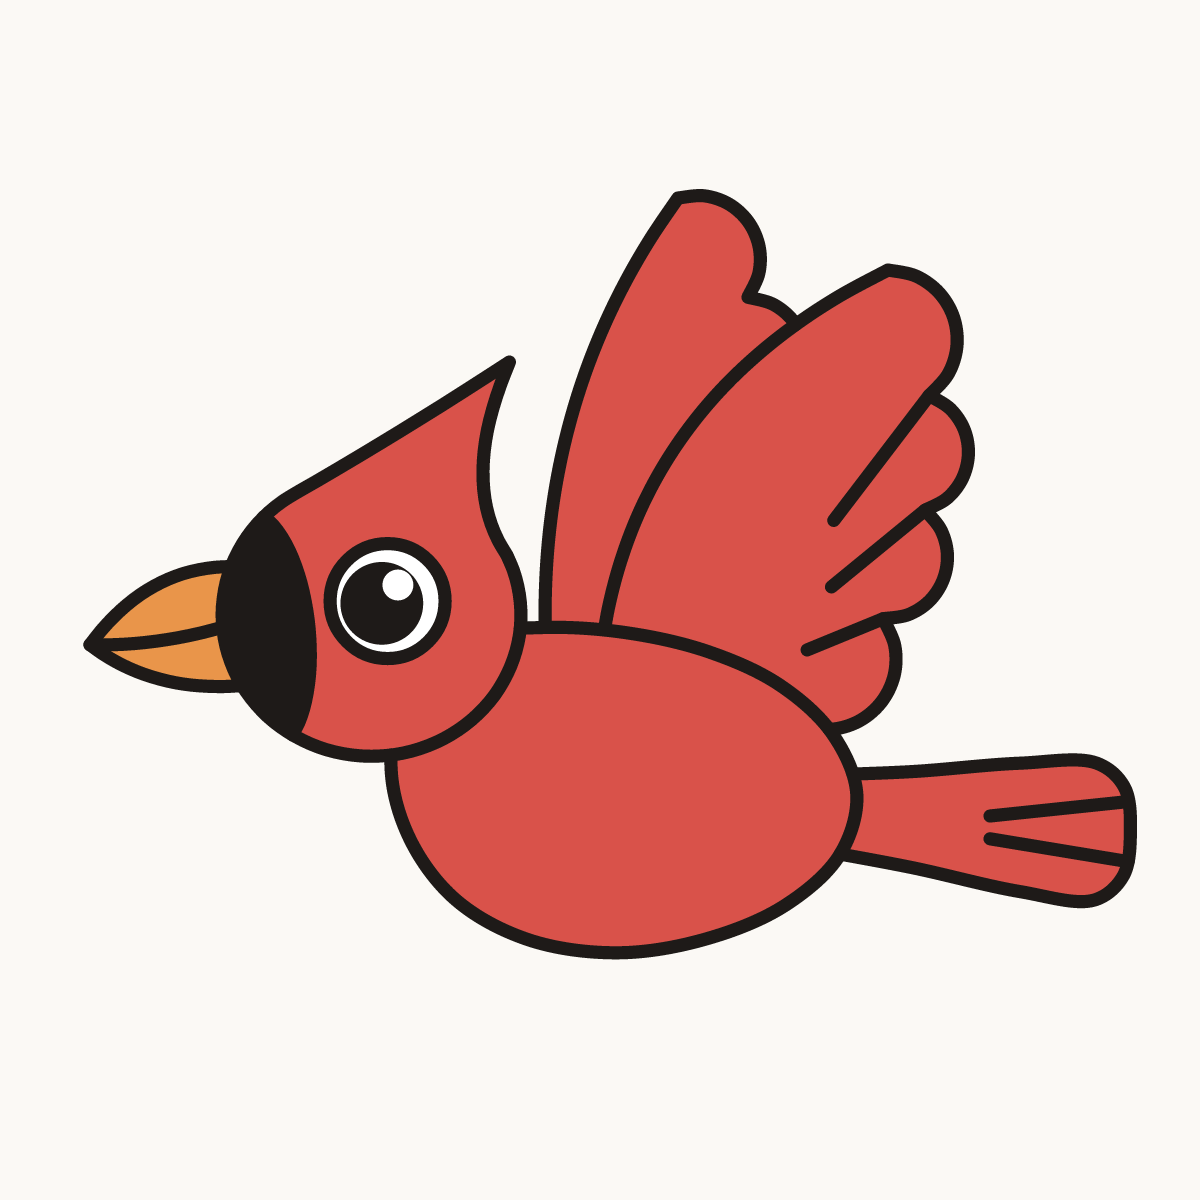
Your finished drawing
Follow the steps above and this is where you end up: a cardinal flying, drawn by you.
Every step in one picture