Watch it draw itself · tap to replay
How to Draw a Camping
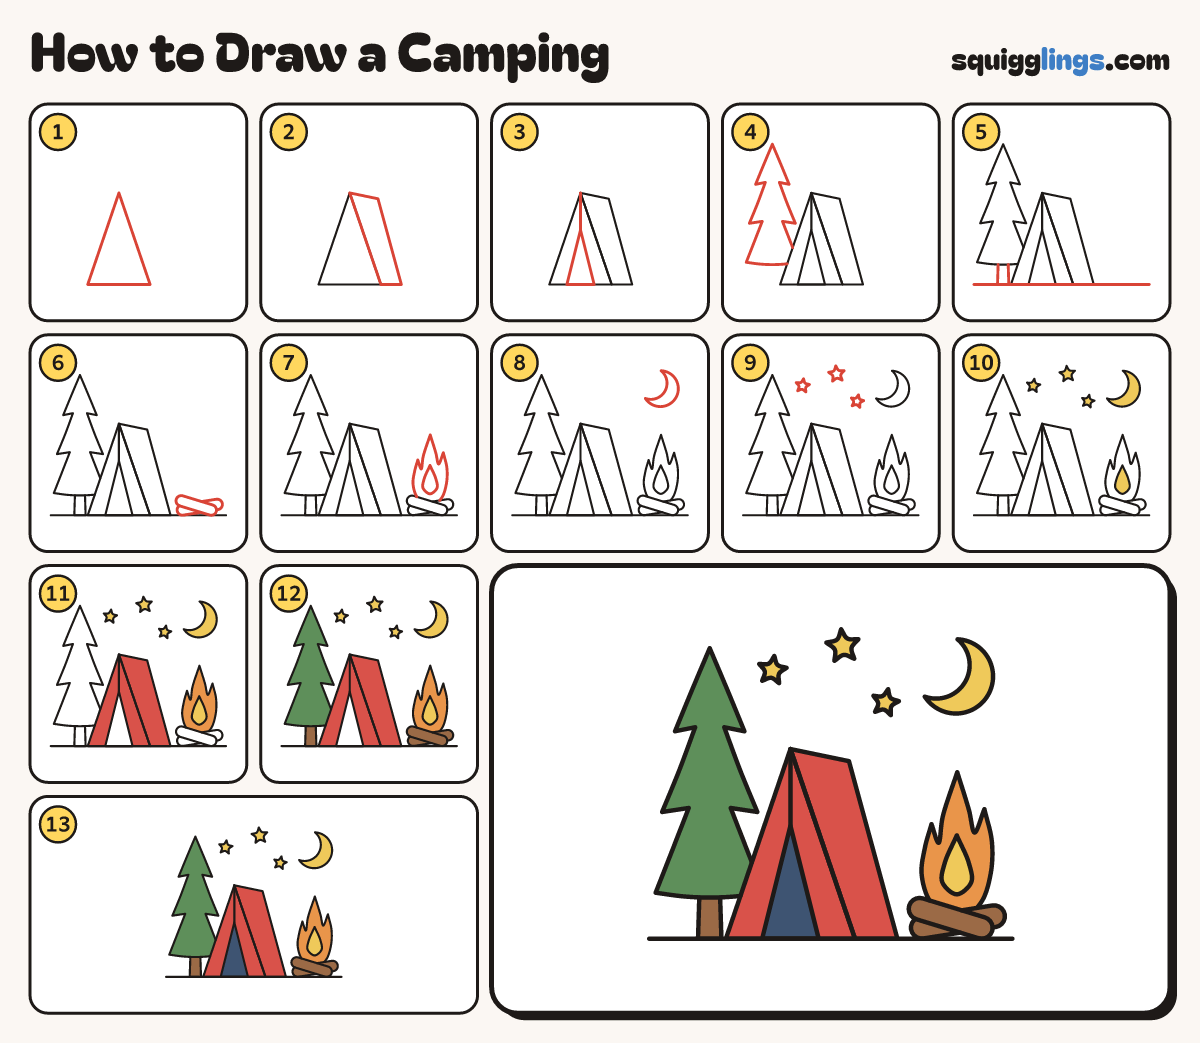
Draw a camping in 13 easy steps, about 10 minutes. Free, with a printable worksheet.
Each picture adds one red line. Draw that line, then scroll to the next picture. Rub out any dashed helper lines at the end. First up: tent front.
Step 1: Tent front
In the middle of your paper draw a big triangle with a flat bottom. This is the tent's front.
Tip Leave room on the left for a tree and on the right for a fire.
Step 2: Tent side
Start at the tent's top. Draw a short line to the right, then slope down. Join back along the ground.
Step 3: Tent door
Start at the top and draw a line halfway down the middle. Under it draw a tall triangle door.
Step 4: Pine tree
On the left draw a pine tree: a point on top, then 3 layers of branches, each one wider.
Tip Slope out, tuck back in, then slope out again.
Step 5: Trunk and ground
Under the tree draw a short trunk. Then draw a long ground line under everything.
Step 6: Logs
On the right draw 2 logs lying on the ground, crossed like an X.
Tip Each log is a long thin shape with round ends.
Step 7: Campfire flame
Behind the logs draw a tall flame with 3 points. Add a teardrop inside it.
Tip Make the middle point the tallest.
Step 8: The moon
High on the right draw a curved moon, like a banana standing up.
Tip Draw one big curve, then a smaller curve inside it. Join them at 2 points.
Step 9: Stars
Draw 3 stars in the sky between the tree and the moon.
Tip Keep the stars away from the tree and the tent.
Step 10: Yellow lights
Colour the moon, the 3 stars and the inside of the flame yellow.
Step 11: Orange and red
Colour the flame orange around the yellow. Colour the tent red, but leave the door white.
Step 12: Green and brown
Colour the pine tree green. Colour the trunk and the 2 logs brown.
Step 13: Dark door
Colour the door dark blue. Go over your lines and your campsite is done!
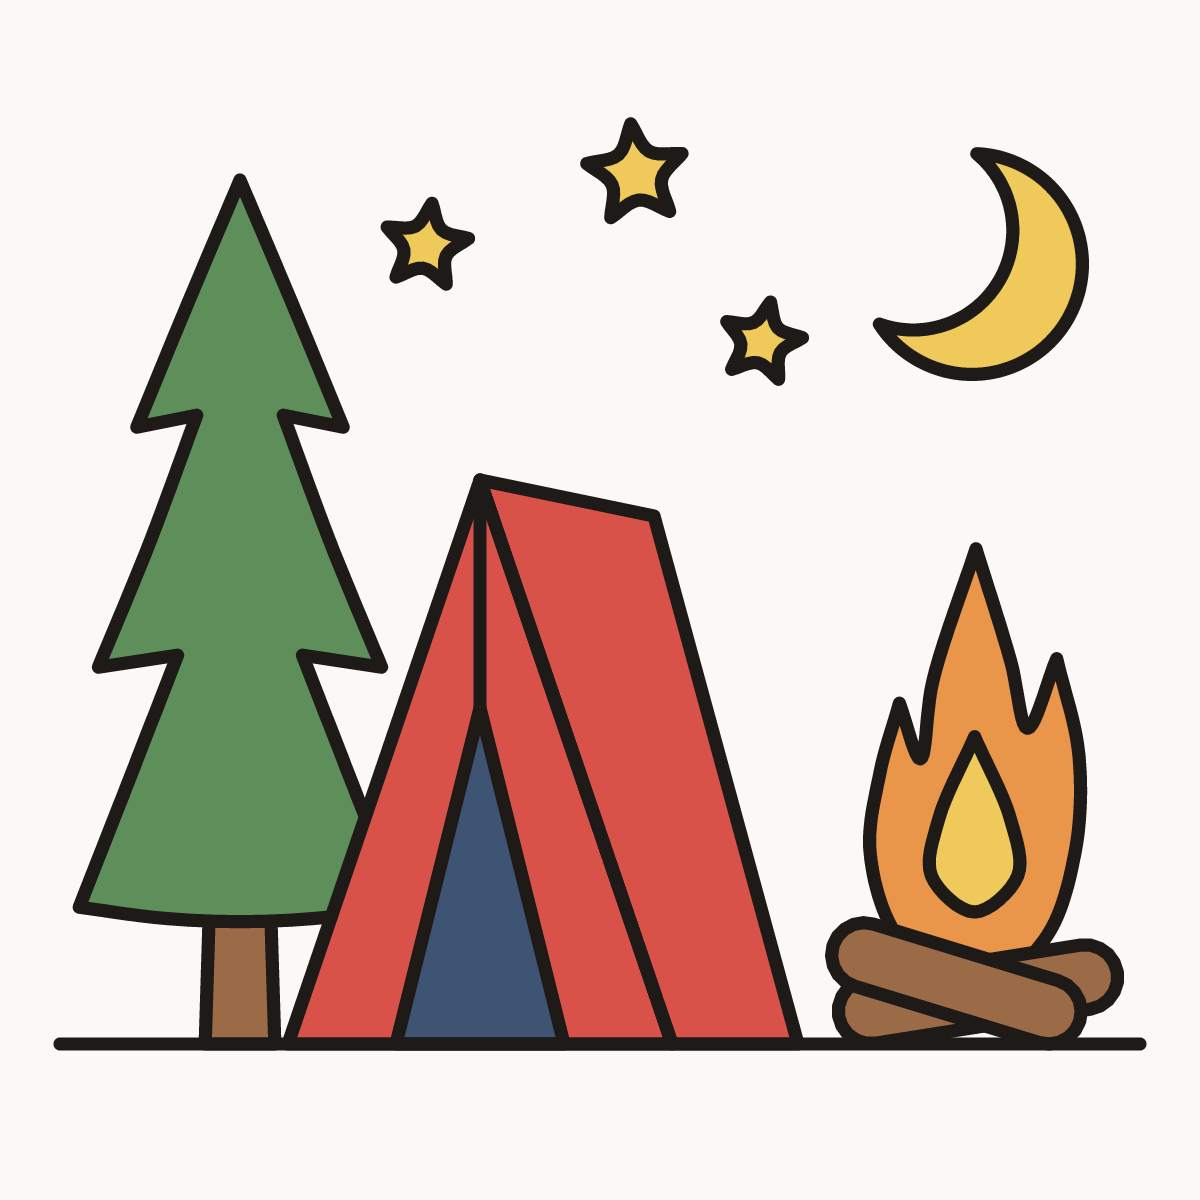
Your finished drawing
Follow the steps above and this is where you end up: a camping, drawn by you.
Every step in one picture