Watch it draw itself · tap to replay
How to Draw an Astrolabe
Draw an astrolabe in 12 easy steps, about 9 minutes. Free, with a printable worksheet.
Each picture adds one red line. Draw that line, then scroll to the next picture. Rub out any dashed helper lines at the end. First up: round case.
Step 1: Round case
In the middle of your paper draw one big circle, most of the way across the page.
Tip Leave room above the circle for the ring.
Step 2: Thick rim
Inside it draw a second circle a finger in, all the way round, so the rim is thick.
Step 3: The throne
Start on top of the case. Draw a little hill with a flat top. Stop back on the case.
Tip The throne is the bump that holds the ring.
Step 4: Ring on top
On the flat top draw a ring: one circle with a smaller circle inside it.
Step 5: Eight rim marks
On the rim draw 8 short marks like a clock: top, bottom, both sides and 4 between.
Tip Start each mark on the inner circle and stop halfway across the rim.
Step 6: Eight more marks
Draw 1 more short mark in every gap, so the rim has 16 marks.
Step 7: Middle pin
In the very middle of the face draw a small circle for the pin.
Step 8: The rule
Draw a long thin tilted bar behind the pin. Its 2 pointed ends touch the inner circle.
Tip Aim each point at a rim mark. The rule turns on the pin to measure the stars.
Step 9: The star ring
Draw a big ring high inside the face: 2 circles close together. Skip over the bar.
Tip The ring nearly touches the rim at the top and leaves a big space at the bottom.
Step 10: Cream face
Colour the face cream, inside and outside the star ring. Go around the bar.
Step 11: Yellow brass
Colour the rim, the throne, the top ring, the star ring and the pin yellow.
Step 12: Brown rule
Colour the tilted bar brown, around the pin. Go over your lines.
Tip Your astrolabe is ready to measure the stars!
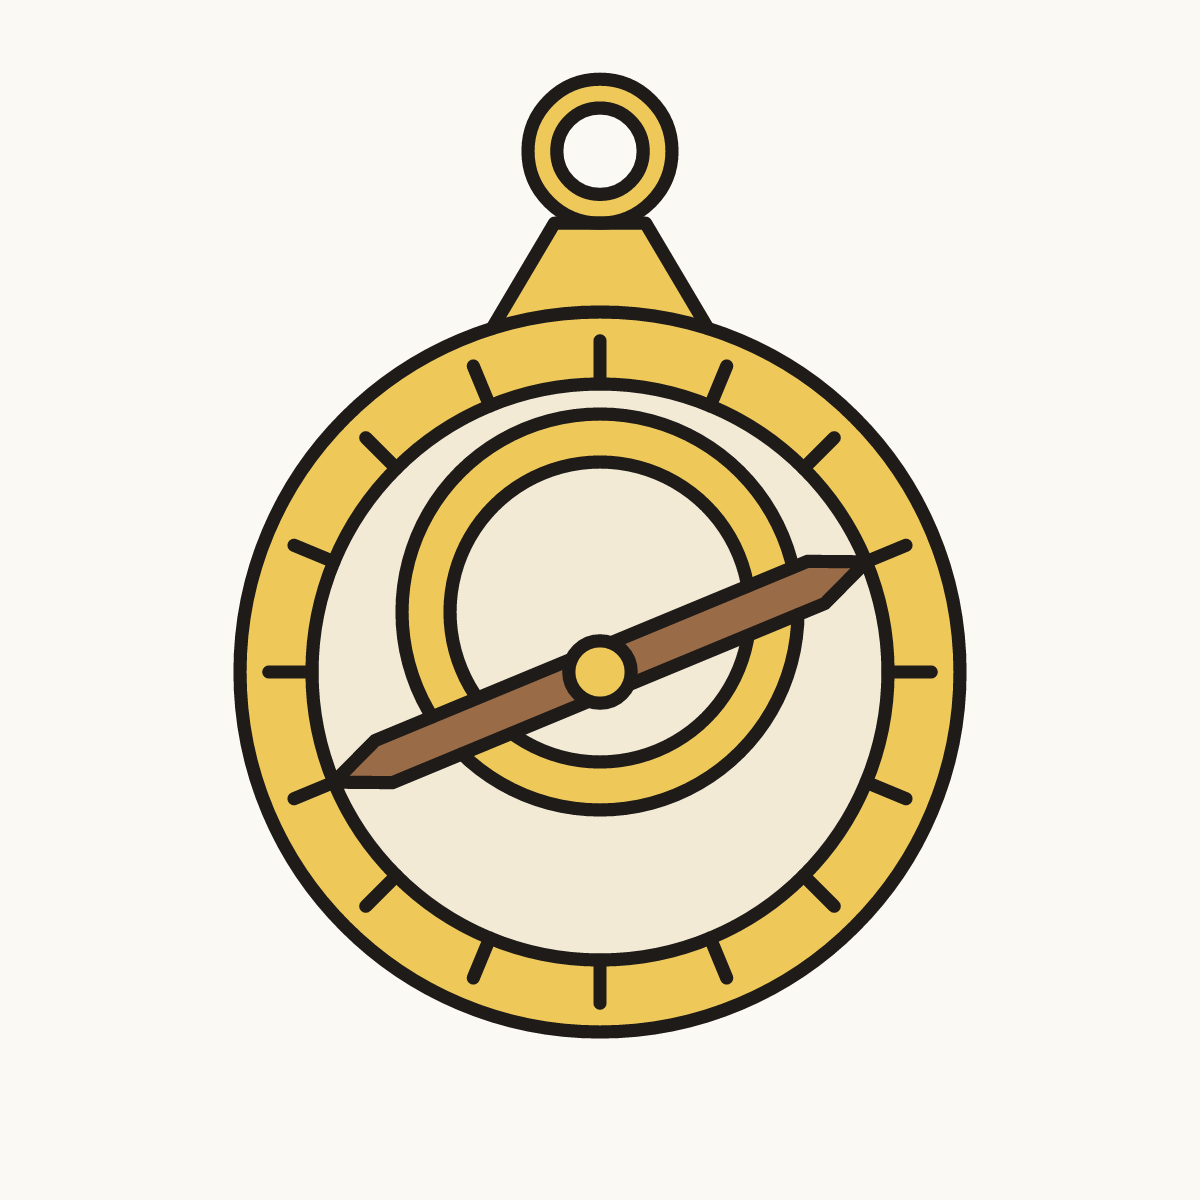
Your finished drawing
Follow the steps above and this is where you end up: an astrolabe, drawn by you.
Every step in one picture