Watch it draw itself · tap to replay
How to Draw a Broken Chain
Draw a broken chain in 12 easy steps, about 9 minutes. Free, with a printable worksheet.
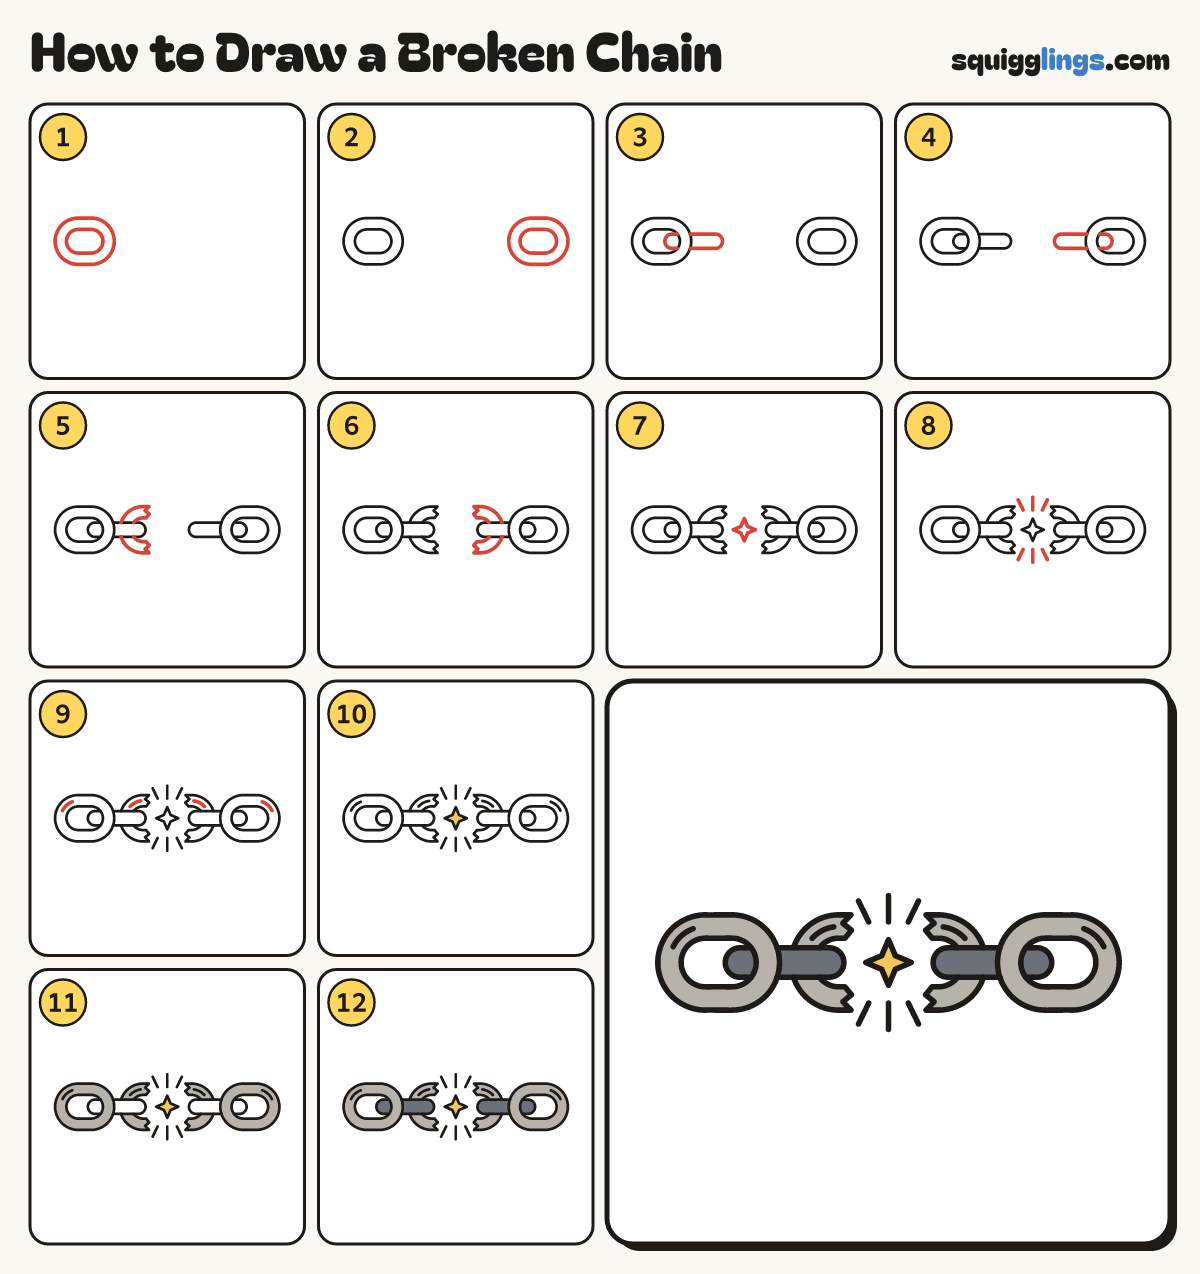
Each picture adds one red line. Draw that line, then scroll to the next picture. Rub out any dashed helper lines at the end. First up: left ring.
Step 1: Left ring
On the left draw a long oval ring. Draw a smaller long oval inside it for the hole.
Tip A chain link is a thick ring with a hole in the middle.
Step 2: Right ring
Far on the right draw the same ring and hole, level with the first one.
Step 3: Left joining link
Start inside the left hole. Draw a thin sausage link that goes under the ring and out to the right.
Tip Only its round end shows in the hole. The ring covers the next bit.
Step 4: Right joining link
Do the same on the right: a thin link from inside the hole, under the ring, out to the left.
Step 5: Left broken half
Draw a thick letter C hooked under the joining link. Give its 2 open ends jagged edges.
Tip This is half of the link that snapped.
Step 6: Right broken half
Draw the other half the same way, a backwards C hooked under the right joining link.
Step 7: Burst star
In the gap between the broken halves draw a small pointy star.
Step 8: Snap lines
Draw 3 short lines above the star and 3 below it, fanning out.
Step 9: Shines
On the top of each ring and each broken half draw one short curved shine line.
Step 10: Yellow star
Go over your lines, then colour the little star yellow.
Step 11: Grey rings
Colour the 2 rings and the 2 broken halves grey. Leave the holes white.
Step 12: Dark joining links
Colour the 2 joining links dark grey. Your broken chain is done!
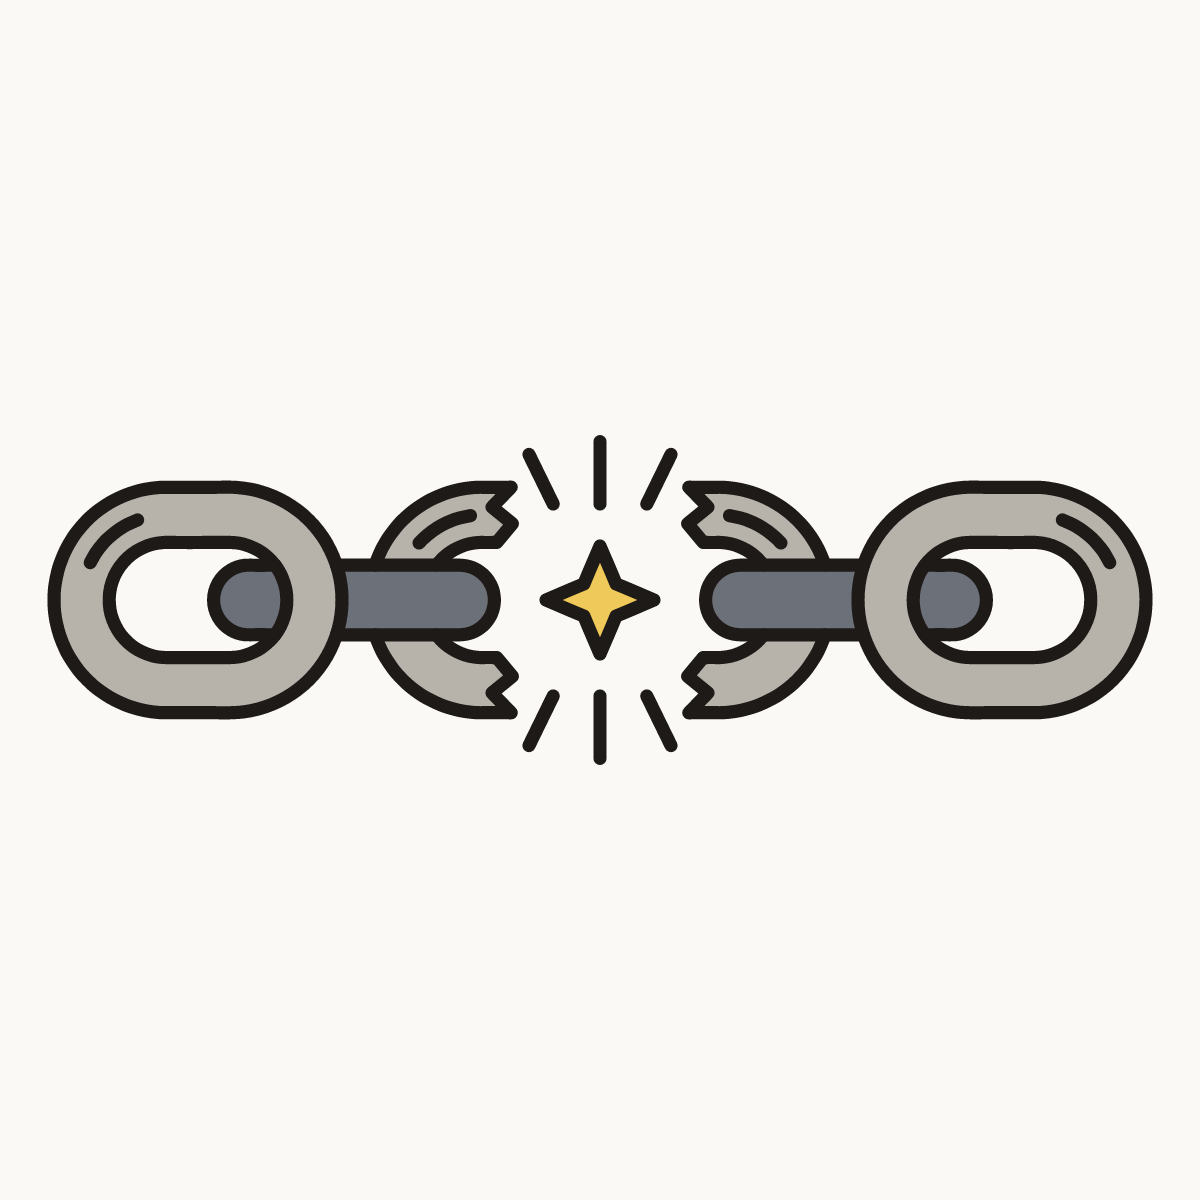
Your finished drawing
Follow the steps above and this is where you end up: a broken chain, drawn by you.
Every step in one picture