Watch it draw itself · tap to replay
How to Draw a Bouquet
Draw a bouquet in 10 easy steps, about 8 minutes. Free, with a printable worksheet.
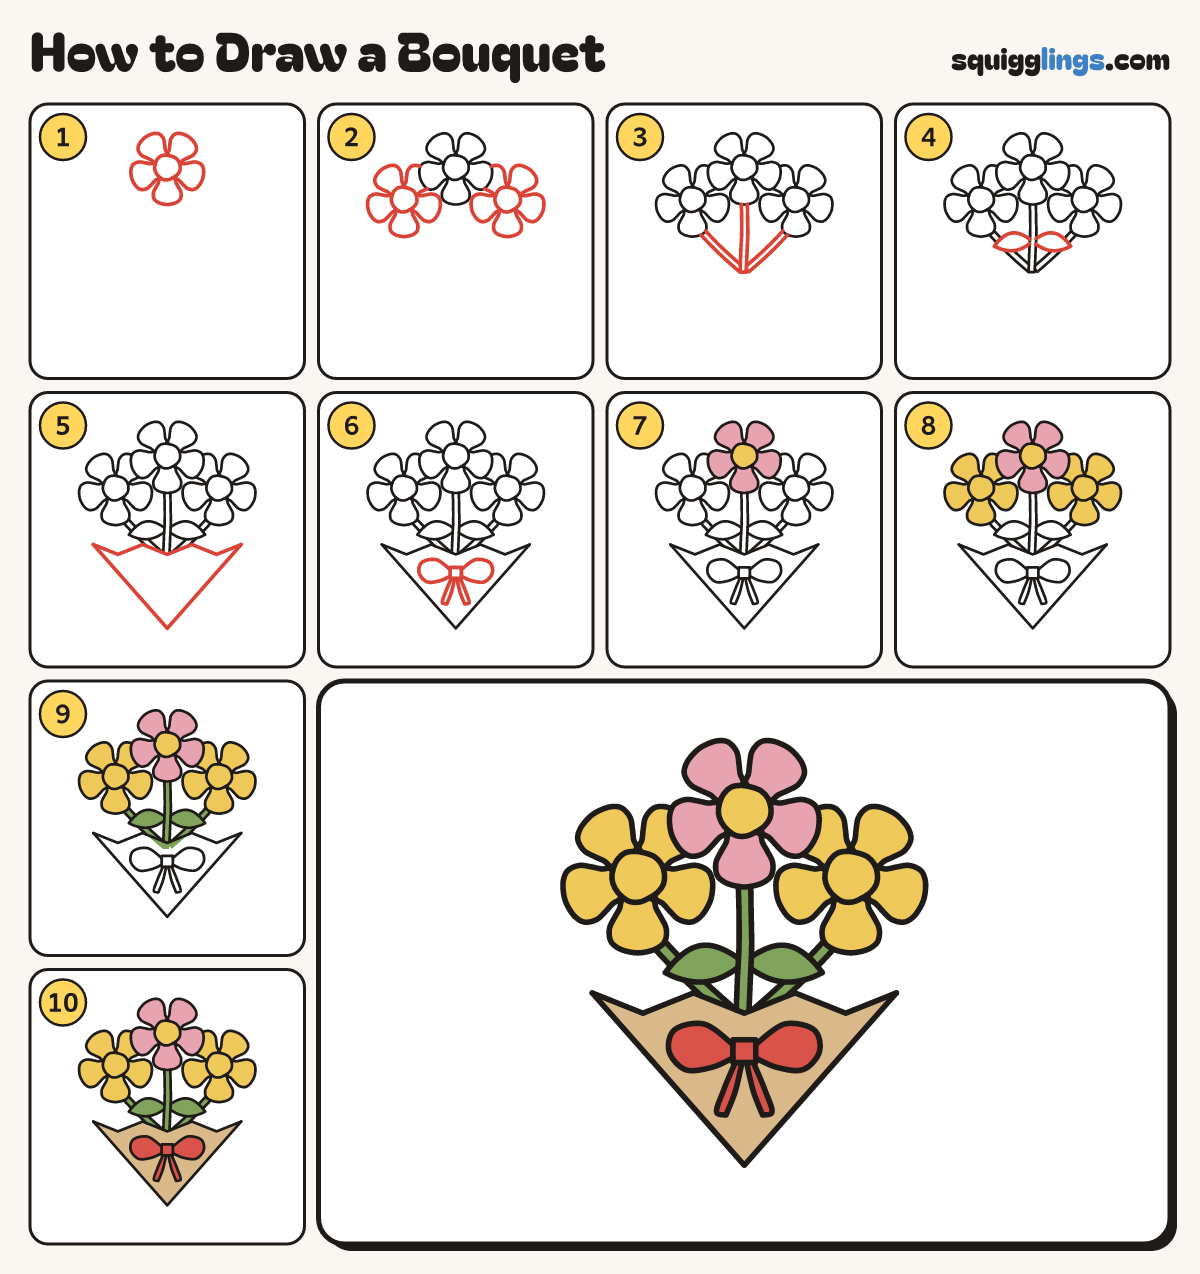
Each picture adds one red line. Draw that line, then scroll to the next picture. Rub out any dashed helper lines at the end. First up: the top flower.
Step 1: The top flower
High up on your paper draw a circle as big as a walnut. Draw 5 plump petals round it.
Step 2: Two more flowers
Lower on the left draw the same flower, tucked behind the top one. Draw another lower on the right.
Step 3: The stems
From under each flower draw a thin stem of 2 lines, stopping a hand below. The side stems lean in.
Step 4: Two leaves
Start on the middle stem, halfway down. Draw a pointed leaf out to the left, and one to the right.
Step 5: The paper cone
Under the flowers draw a zigzag across. From its ends draw 2 lines down that meet in a point.
Step 6: A bow
Draw a bow: a box knot and a loop each side. From the knot, 2 tails reach down the cone.
Step 7: Pink top flower
Colour the top flower's petals pink and its middle yellow.
Step 8: Yellow flowers
Colour the 2 lower flowers yellow, petals and middles.
Step 9: Green stems and leaves
Colour the 3 stems and both leaves leaf green.
Step 10: Tan cone, red bow
Colour the paper cone tan around the bow, and the bow red. Your bouquet is done!
Your finished drawing
Follow the steps above and this is where you end up: a bouquet, drawn by you.
Every step in one picture