Watch it draw itself · tap to replay
How to Draw Boiling Water
Draw boiling water in 11 easy steps, about 8 minutes. Free, with a printable worksheet.
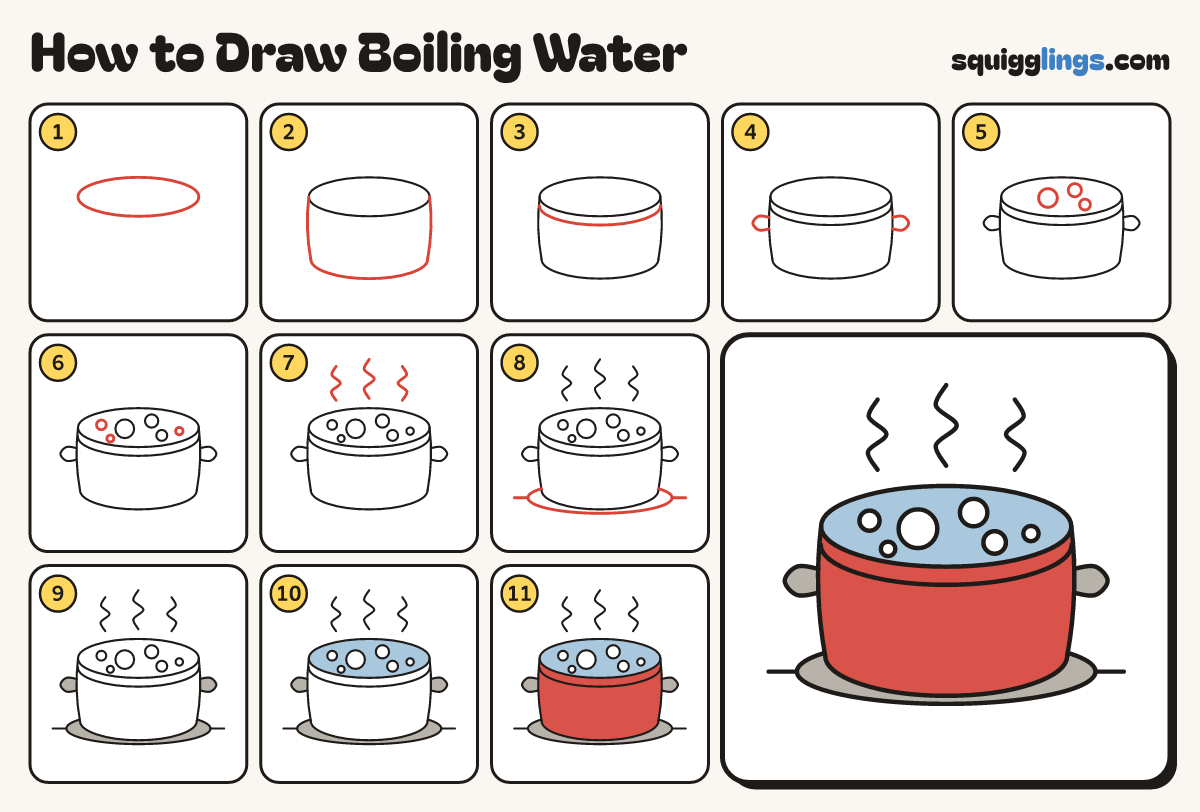
Each picture adds one red line. Draw that line, then scroll to the next picture. Rub out any dashed helper lines at the end. First up: the open top.
Step 1: The open top
Above the middle draw 1 big wide oval for the open top of the pot.
Tip Make it wide and flat, like a plate seen from the side.
Step 2: The pot body
From each end of the oval draw a line down, 2 fingers long. Join the bottoms with a wide smile.
Tip Bow the sides out a tiny bit, like a barrel.
Step 3: The lip
Start on the left side, a finger under the oval. Draw a smile across to the right side.
Step 4: Two handles
On each side, under the lip, draw a small fat C sticking out, starting and stopping on the pot.
Tip Keep both handles the same size and height.
Step 5: Big bubbles
Inside the oval draw 3 round bubbles: 1 big one and 2 smaller ones.
Tip Boiling water is full of bubbles popping at the top.
Step 6: Small bubbles
Add 3 small bubbles in the gaps, keeping them all inside the oval.
Step 7: Steam
Start just above the pot. Wiggle 3 steam lines up, stopping near the top of the page.
Tip Make the middle one the tallest.
Step 8: Stove and shadow
Under the pot draw a flat oval shadow, then a stove line out from each side of it.
Step 9: Grey handles
Colour the 2 handles and the shadow grey.
Step 10: Blue water
Colour the water light blue, going around the bubbles. Leave the bubbles white.
Step 11: Red pot
Colour the pot red. Go over your lines, and the water is boiling!
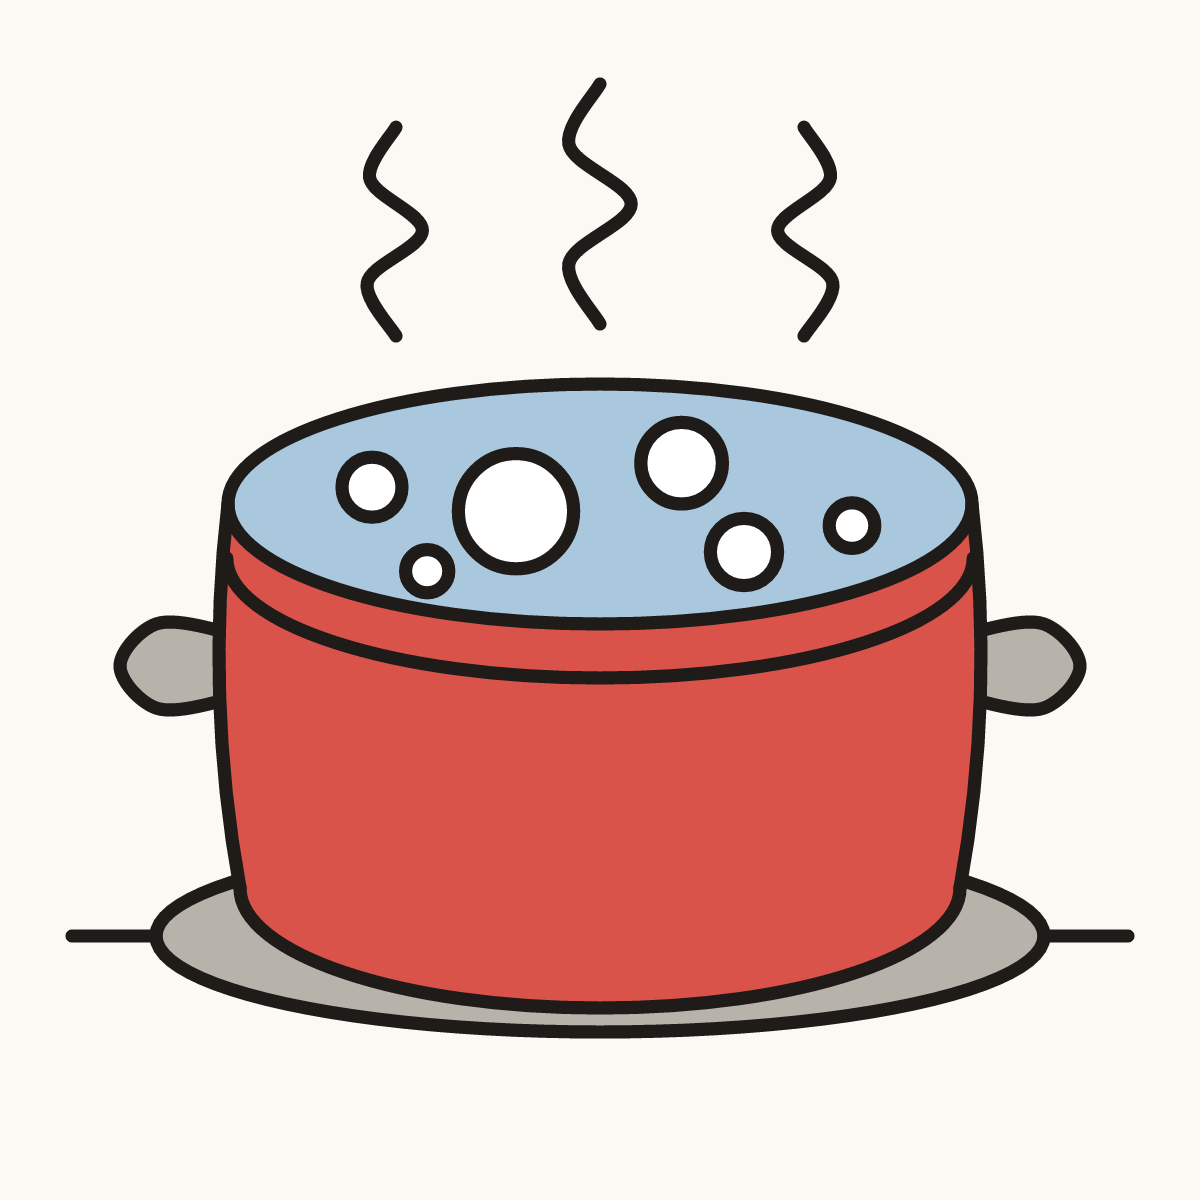
Your finished drawing
Follow the steps above and this is where you end up: boiling water, drawn by you.
Every step in one picture