Watch it draw itself · tap to replay
How to Draw a Blazer
Draw a blazer in 12 easy steps, about 9 minutes. Free, with a printable worksheet.
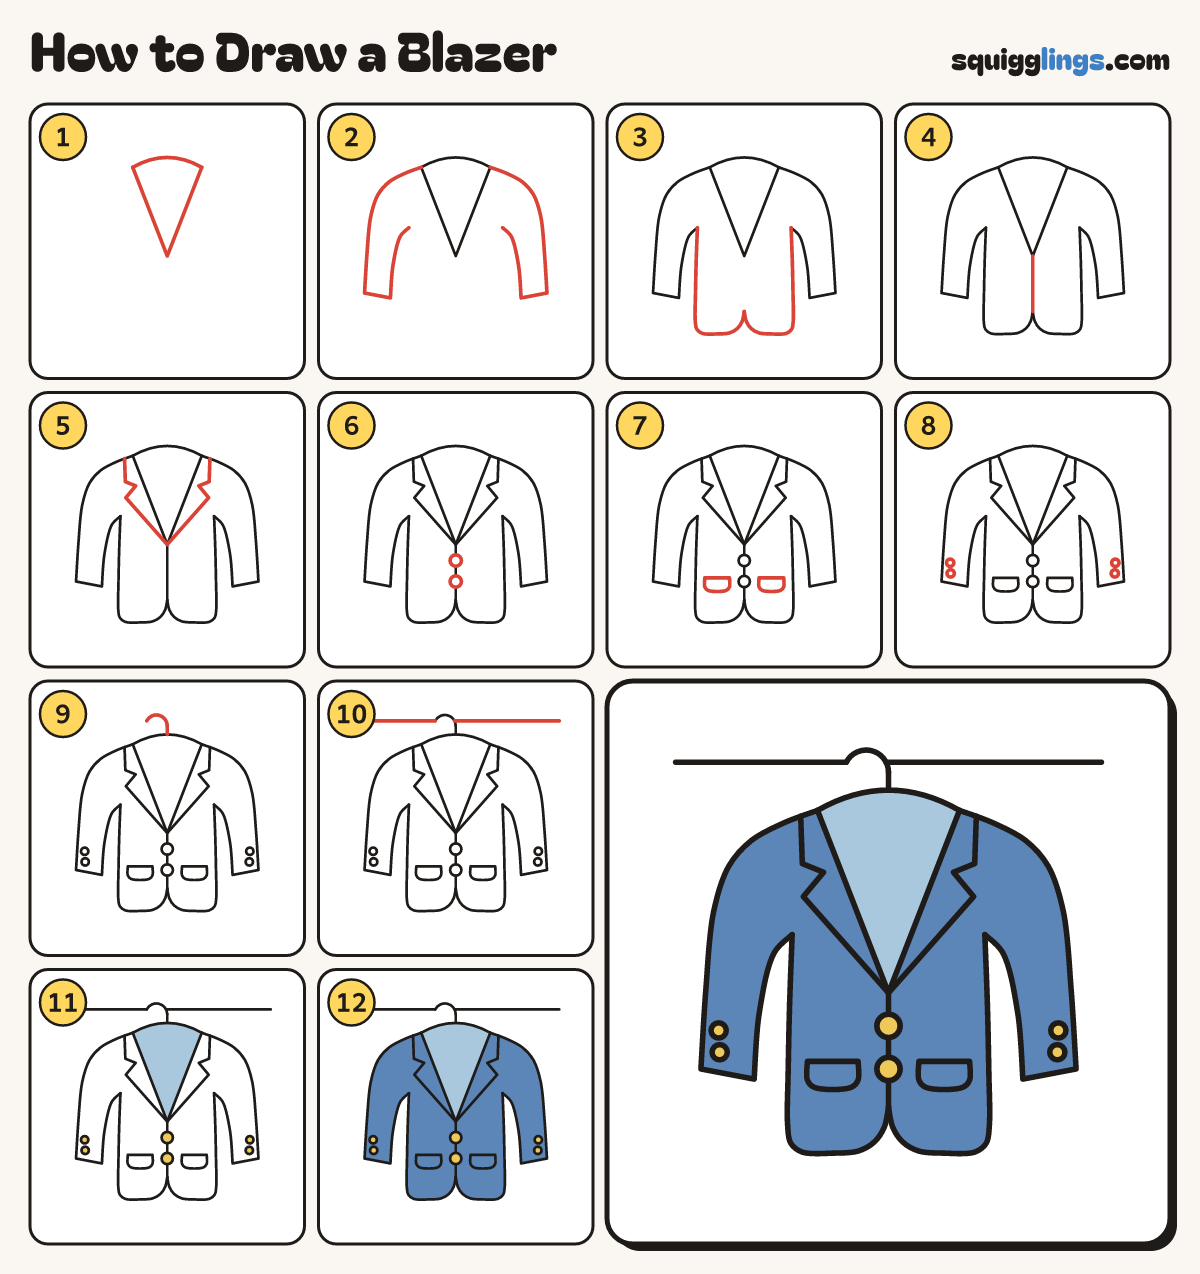
Each picture adds one red line. Draw that line, then scroll to the next picture. Rub out any dashed helper lines at the end. First up: the neck opening.
Step 1: The neck opening
Near the top draw a small rainbow. From each end draw a long line down to meet in a V.
Tip The V ends about halfway down your blazer.
Step 2: Shoulders and sleeves
From each end of the rainbow slope out over the shoulder, down a long sleeve, and up to the armpit.
Step 3: The body
From each armpit draw a side down, round the corner, along the hem and up to the middle.
Tip The 2 hems meet in a point under the V.
Step 4: The front edge
Start at the point of the V. Draw 1 straight line down, stopping at the point of the hem.
Step 5: The lapels
Start on each shoulder beside the rainbow. Draw down, cut a notch, slant in and stop at the V's point.
Tip The notch is a little sideways V, like a bite out of the edge.
Step 6: Two buttons
Draw 2 round buttons on the front line, one under the other.
Tip Leave a button's width between them.
Step 7: Flap pockets
Low on each side draw a pocket flap: a flat box with round bottom corners.
Step 8: Cuff buttons
Near the end of each sleeve draw 2 tiny buttons, one above the other.
Step 9: The hanger
From the top of the rainbow draw a short line up. End it with a hook.
Tip The hook curls over like a candy cane.
Step 10: The rail
Draw a rail at hook height, from the left edge across to the right, skipping inside the hook.
Step 11: Yellow and light blue
Colour all 6 buttons yellow. Colour the inside of the neck light blue.
Step 12: Blue blazer
Colour the whole blazer blue, going around the buttons. Go over your lines.
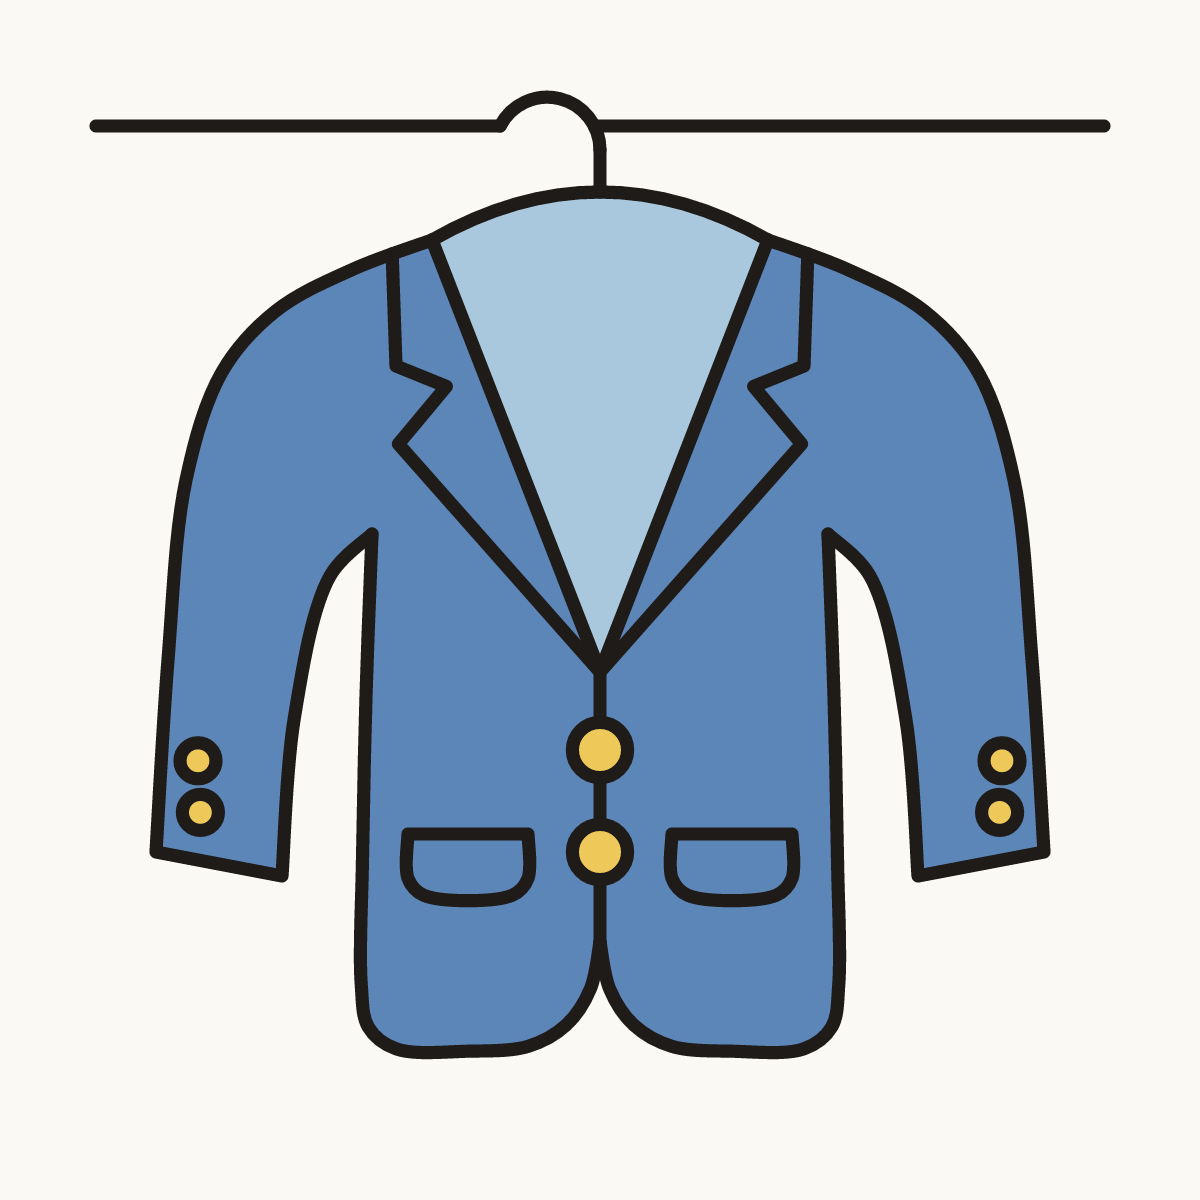
Your finished drawing
Follow the steps above and this is where you end up: a blazer, drawn by you.
Every step in one picture