Watch it draw itself · tap to replay
How to Draw a Bean Sprout Jar
Draw a bean sprout jar in 10 easy steps, about 8 minutes. Free, with a printable worksheet.
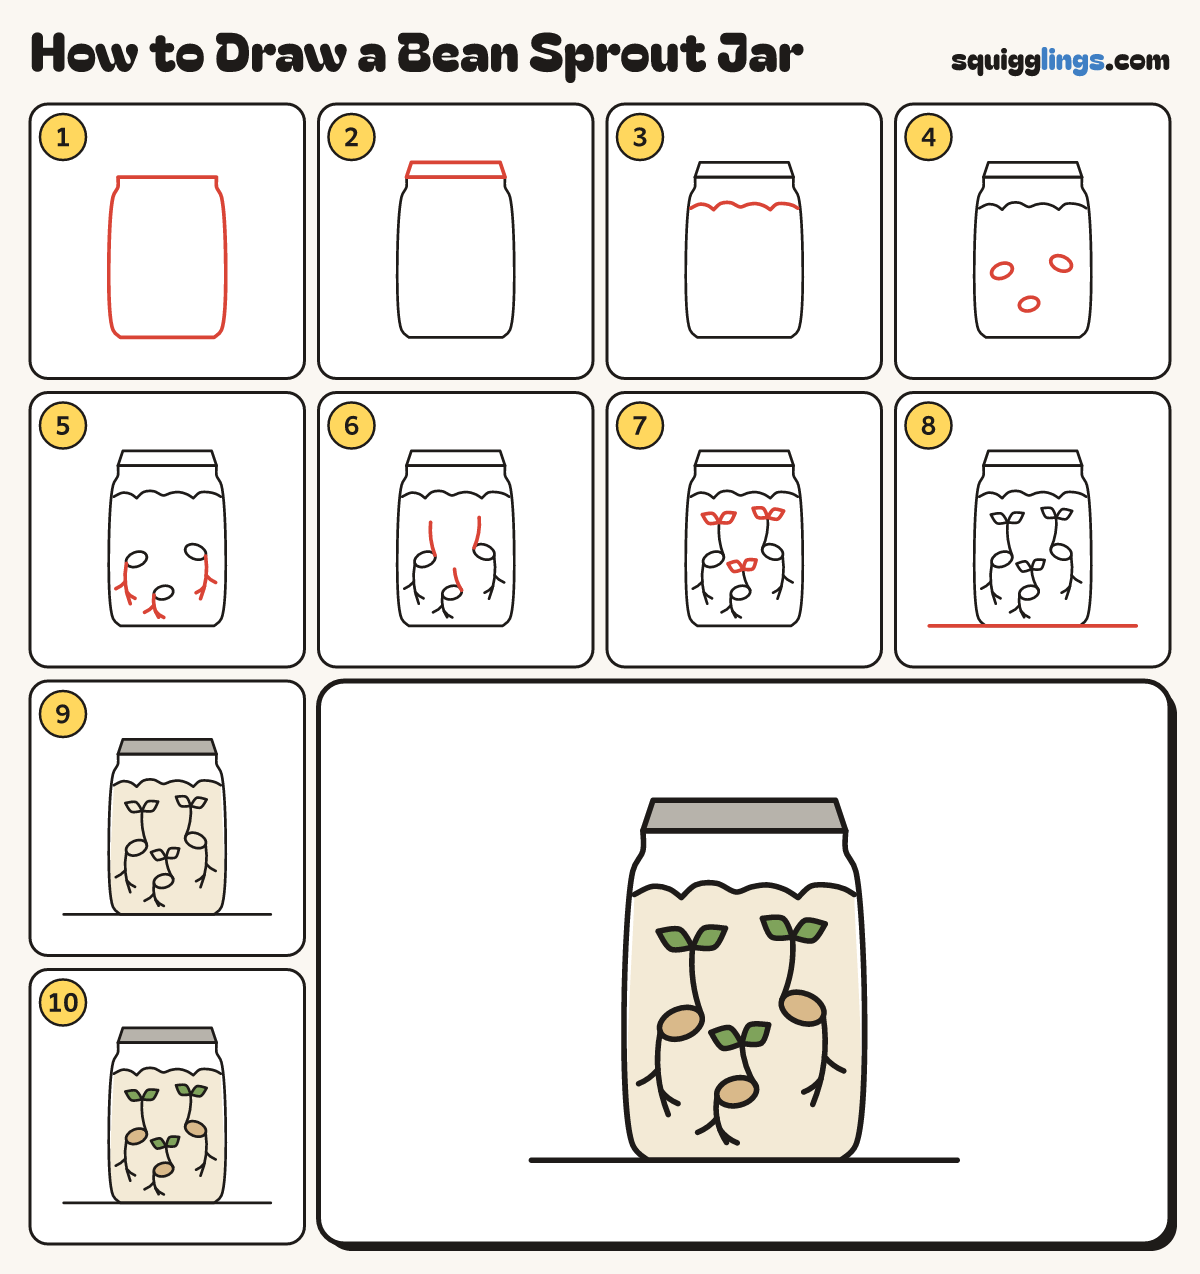
Each picture adds one red line. Draw that line, then scroll to the next picture. Rub out any dashed helper lines at the end. First up: the jar.
Step 1: The jar
In the middle draw a tall glass jar: a short neck, wider shoulders and straight sides.
Tip You can watch the roots grow through the glass.
Step 2: The lid
On top of the jar draw a thin flat lid, a little wider at the bottom.
Step 3: Paper towel
A little below the shoulder, draw a crumpled bumpy line from wall to wall, with 2 little folds.
Step 4: Three beans
Draw 3 tilted oval beans, one on the left, one on the right and a smaller one lower down.
Step 5: Roots
Start on the low end of each bean and draw a curvy root down. Add 2 tiny side roots.
Step 6: Shoots
Start on the high end of each bean and draw a stem curving up. Stop a finger above the bean.
Step 7: Leaves
On the top of each stem draw 2 small pointed leaves in a V.
Step 8: The table
Draw the table line under the jar from far left to far right, just touching the jar's bottom.
Step 9: Towel and lid
Go over your lines, then colour the paper towel cream around the beans and leaves. Colour the lid grey.
Step 10: Tan beans, green shoots
Colour the beans tan and the leaves green, and your sprout jar is done!
Your finished drawing
Follow the steps above and this is where you end up: a bean sprout jar, drawn by you.
Every step in one picture