Watch it draw itself · tap to replay
How to Draw a Beach Shovel and Pail
Draw a beach shovel and pail in 11 easy steps, about 8 minutes. Free, with a printable worksheet.
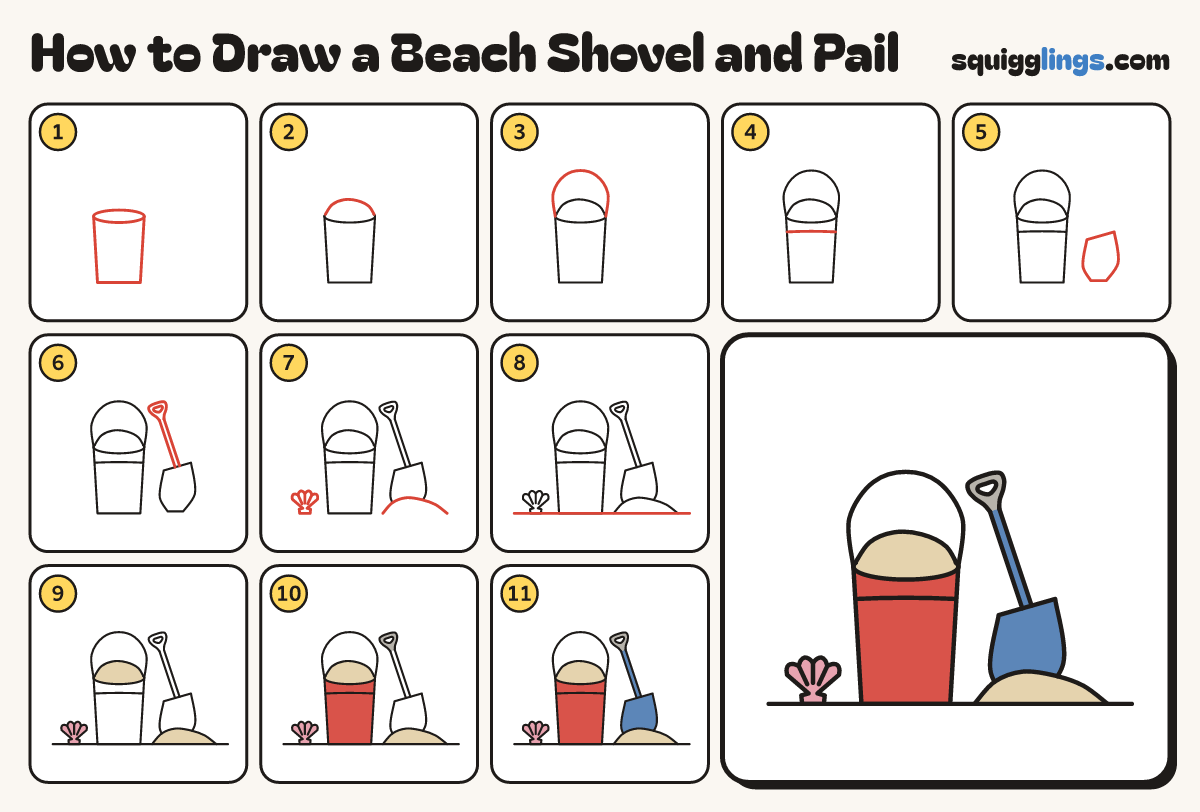
Each picture adds one red line. Draw that line, then scroll to the next picture. Rub out any dashed helper lines at the end. First up: the pail.
Step 1: The pail
Left of middle draw a flat oval rim. From each end draw a line down to the ground. Join them.
Tip The pail is a little narrower at the bottom.
Step 2: A heap of sand
Over the rim draw a soft bumpy hump of sand from the left end across to the right end.
Step 3: The handle
From the left end of the rim draw a thin handle arching over to the right end, like a rainbow.
Step 4: Band line
Draw a curved line across the pail a little below the rim, from one side to the other.
Step 5: The shovel blade
To the right draw a shovel blade standing on its tip: a flat top and sides sloping to a point.
Step 6: Handle and grip
From the top of the blade draw a handle up to the left. End it in a D-shaped loop grip.
Step 7: Sand pile and shell
From the ground by the blade, draw a sand hump over to the ground. Add a shell by the pail.
Tip The shell is a fan with a bumpy top, 3 lines fanning up and a little tab at the bottom.
Step 8: The ground
Draw the ground line from edge to edge under everything, skipping the pail, shovel, pile and shell.
Step 9: Sand and shell
Go over your lines. Colour the sand in the pail and the sand pile sandy yellow, and the shell pink.
Step 10: Red pail, grey grip
Colour the pail red below the sand. Colour the grip grey, leaving the hole white.
Step 11: Blue shovel
Colour the shovel blue down to the sand, and your beach toys are done!
Your finished drawing
Follow the steps above and this is where you end up: a beach shovel and pail, drawn by you.
Every step in one picture