Watch it draw itself · tap to replay
How to Draw a Barometer
Draw a barometer in 11 easy steps, about 8 minutes. Free, with a printable worksheet.
Each picture adds one red line. Draw that line, then scroll to the next picture. Rub out any dashed helper lines at the end. First up: round case.
Step 1: Round case
In the middle of your paper draw one big circle, most of the way across the page.
Step 2: The face
Inside it draw a second circle a finger in, all the way round, so the rim is thick.
Step 3: Marks
Draw 9 short marks round the top of the face, like a clock. Leave the bottom empty.
Tip Make every other mark a little longer.
Step 4: The sun
On the right of the face draw a small circle with 8 short rays round it.
Tip The sun means fine weather.
Step 5: Two clouds
Draw a bumpy cloud at the top and one on the left. Add 3 rain lines under the left one.
Step 6: The needle
From the middle draw a long thin pointer between cloud and sun, with a short tail. Add a round pin.
Tip The needle shows what the weather will do.
Step 7: Ring on top
Start on the case top. Draw a short neck up, across, and stop on the case. Add a ring.
Step 8: Cream face
Go over your lines. Colour the face cream around the sun, the clouds, the needle and the pin.
Step 9: Yellow parts
Colour the sun, the pin, the neck and the ring yellow.
Step 10: Grey and red
Colour the 2 clouds grey. Colour the needle red.
Step 11: Brown case
Colour the thick rim of the case brown. Your barometer is done!
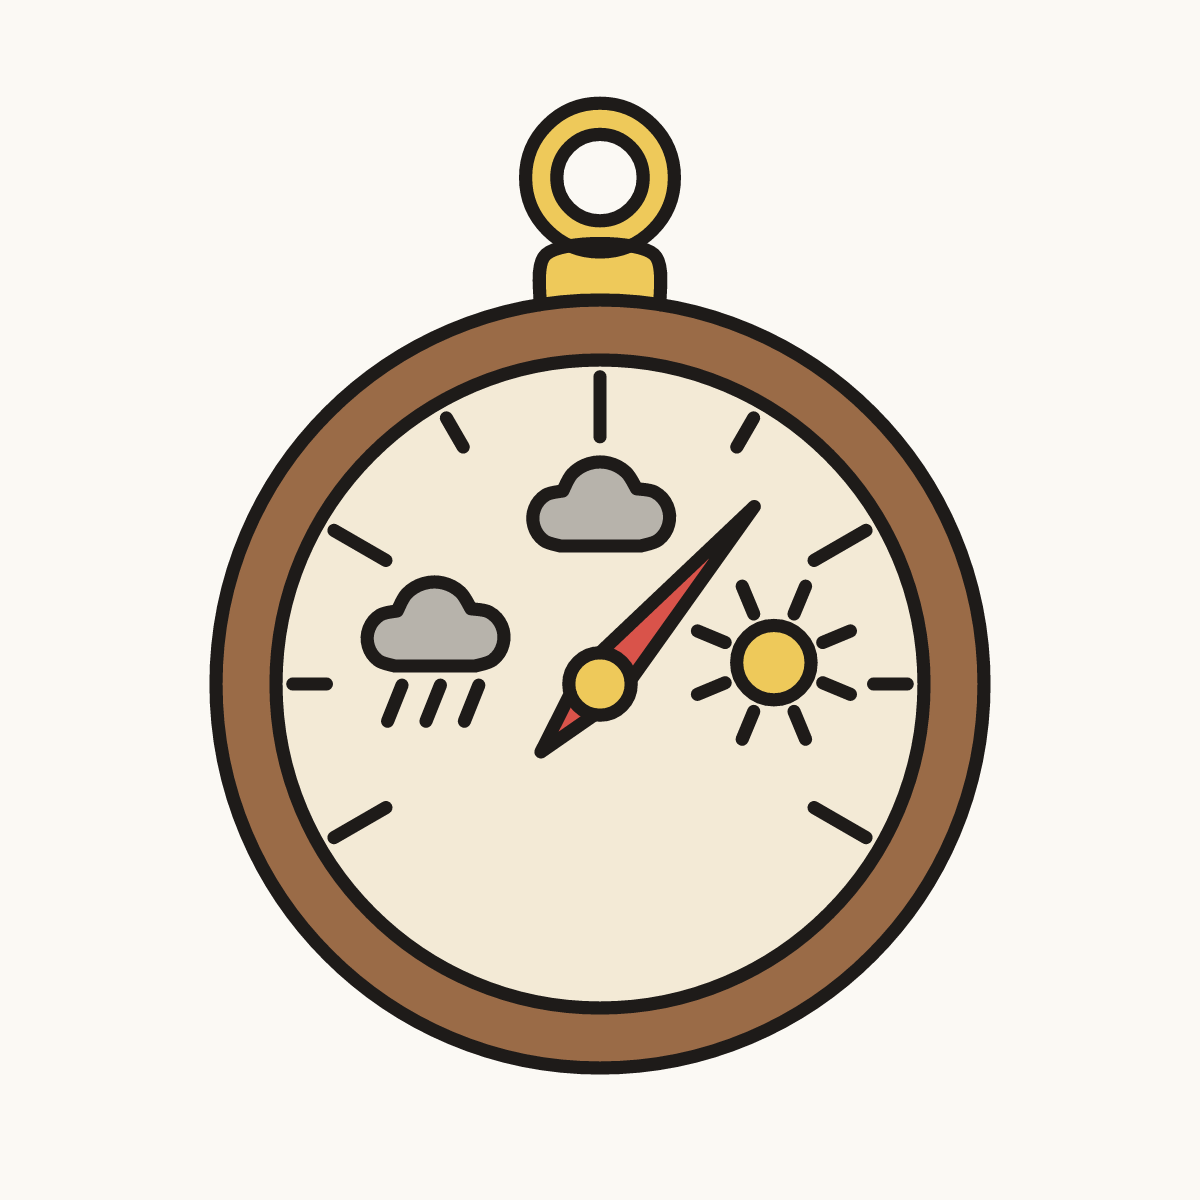
Your finished drawing
Follow the steps above and this is where you end up: a barometer, drawn by you.
Every step in one picture