Watch it draw itself · tap to replay
How to Draw a Barley
Draw a barley in 11 easy steps, about 8 minutes. Free, with a printable worksheet.
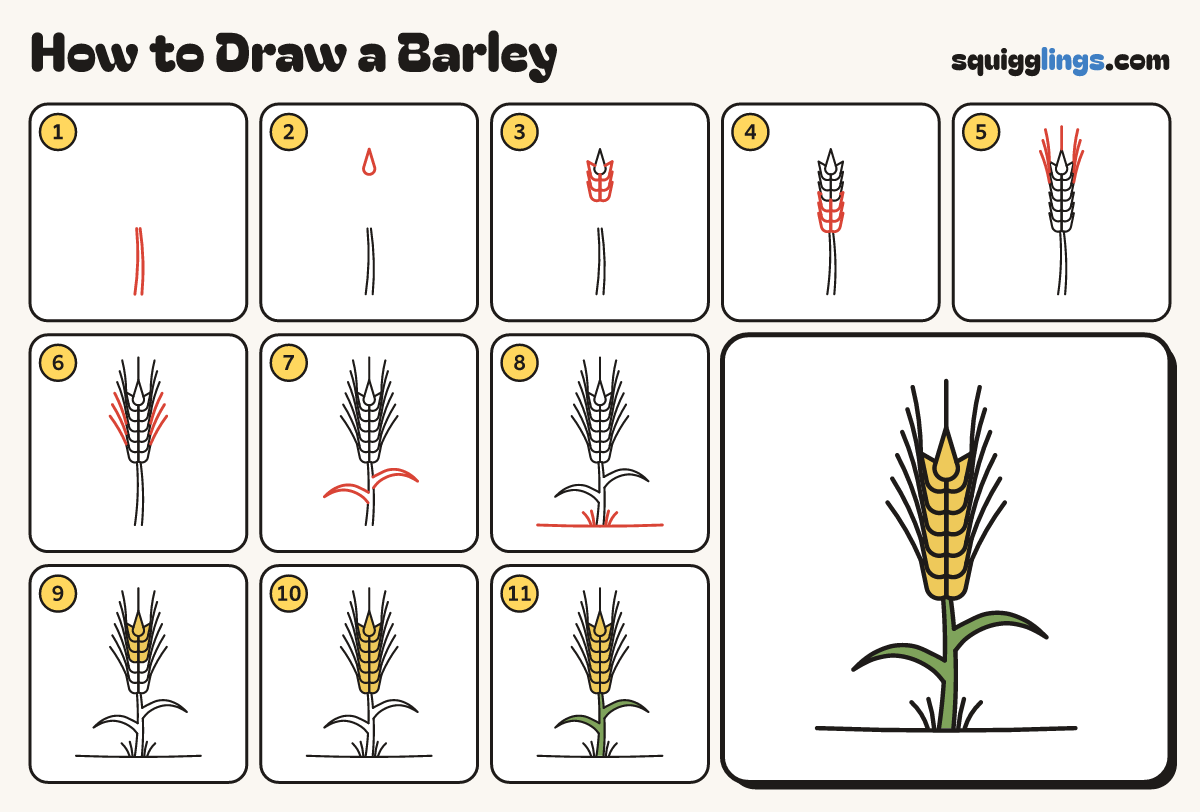
Each picture adds one red line. Draw that line, then scroll to the next picture. Rub out any dashed helper lines at the end. First up: the stem.
Step 1: The stem
Start near the bottom middle. Draw 2 thin lines up, closer together at the top. Stop just past the middle.
Tip Keep the 2 lines close together: a barley stem is as thin as a drinking straw.
Step 2: The top grain
High above the stem, leaving room for the grains, draw a slim teardrop pointing straight up.
Step 3: Three pairs of grains
Under the top grain, draw 3 pairs of slim teardrops pointing up and a little out, meeting in the middle.
Tip Each pair tucks behind the pair above it, like a plait.
Step 4: Three more pairs
Keep going down with 3 more pairs of grains, each tucked behind the pair above, down to the stem.
Step 5: Long whiskers
From the point of the top grain and the top 3 pairs, draw a very long, thin whisker going up.
Tip Barley has the longest whiskers of any grain. Each one starts on a grain's point.
Step 6: More long whiskers
Do the same from the 3 lower pairs, each whisker leaning out a little more, so none of them cross.
Tip The lowest whiskers lean out the most, like a fan opening.
Step 7: Two blade leaves
Low on the stem draw a leaf arching out left, its tip bending down, and a higher one out right.
Tip Rub out the bit of stem line inside each leaf, so it grows out of the stem.
Step 8: Ground and grass
Draw a long ground line through the bottom of the stem. Add small grass blades each side.
Step 9: Yellow grains
Go over your lines. Colour the top grain and the top 3 pairs golden yellow.
Step 10: More yellow grains
Colour the 3 lower pairs of grains golden yellow too.
Step 11: Green stem and leaves
Colour the stem and both blade leaves green, and your barley is done!
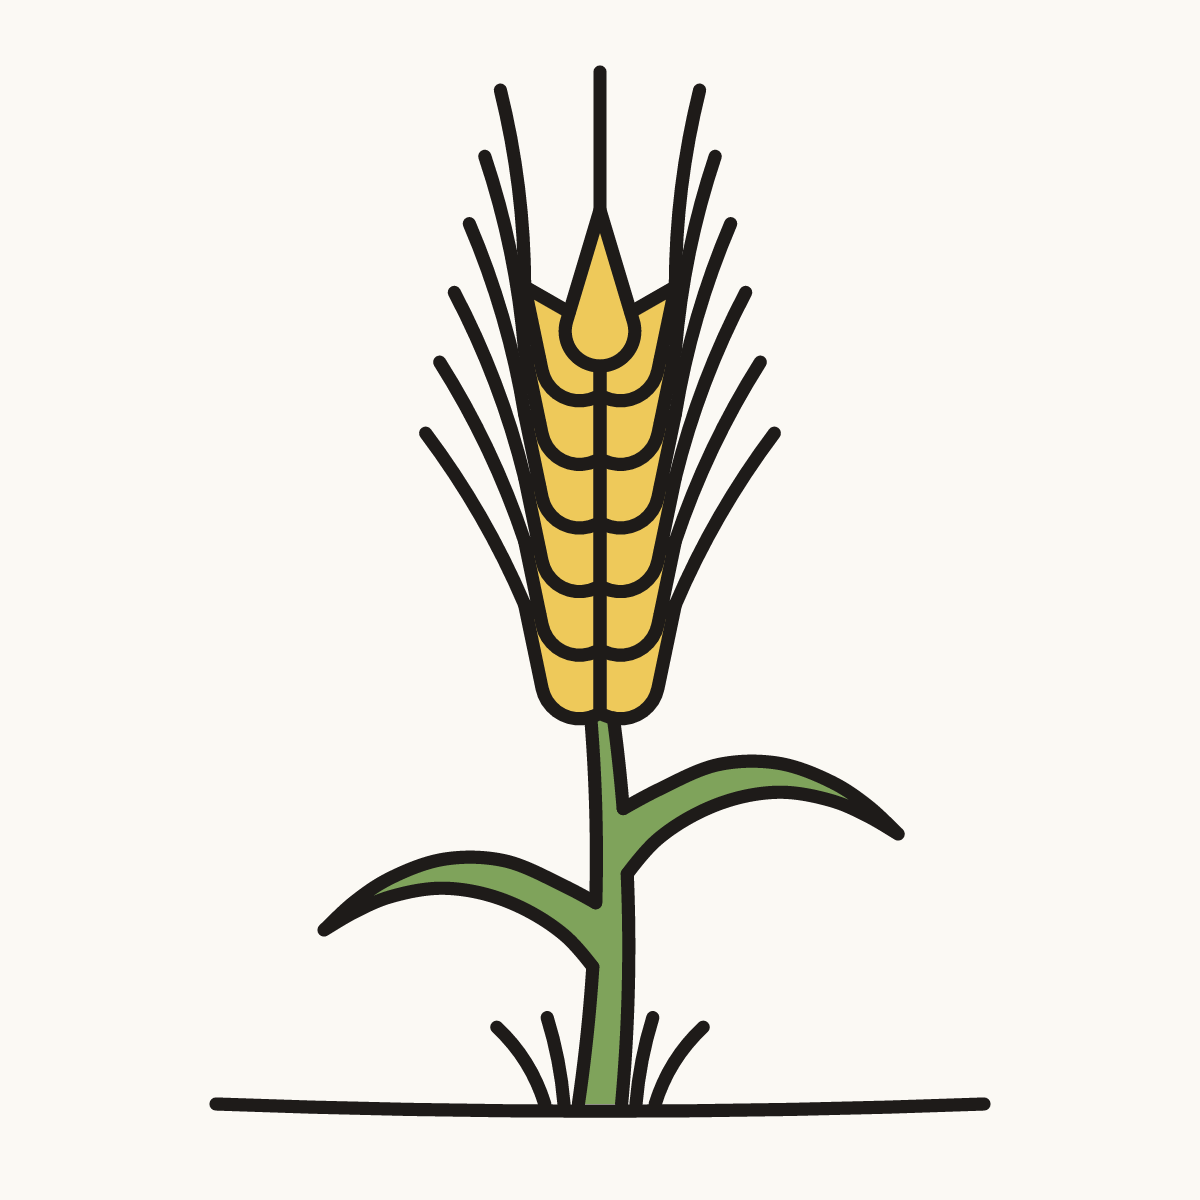
Your finished drawing
Follow the steps above and this is where you end up: a barley, drawn by you.
Every step in one picture