Watch it draw itself · tap to replay
How to Draw Baby Feet
Draw baby feet in 10 easy steps, about 8 minutes. Free, with a printable worksheet.
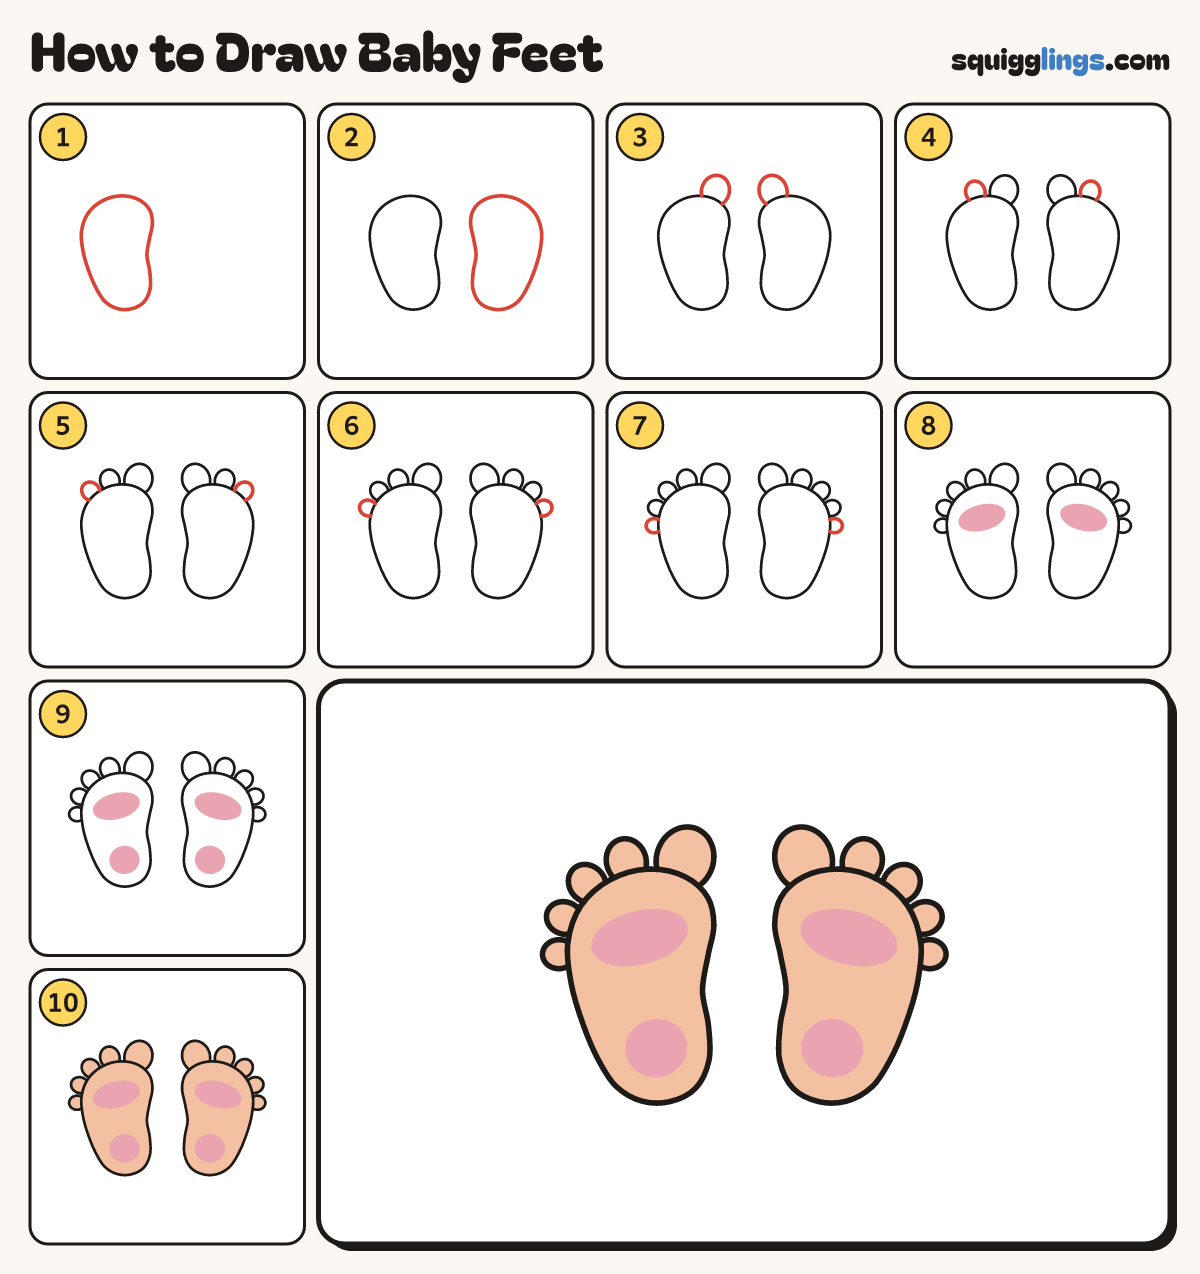
Each picture adds one red line. Draw that line, then scroll to the next picture. Rub out any dashed helper lines at the end. First up: first little foot.
Step 1: First little foot
On the left draw a tall bean shape, wide at the top and narrow at the heel. Lean it left.
Tip Baby feet are short and chubby. Make the top almost as wide as half the length.
Step 2: Second little foot
On the right draw the same bean shape the other way round, leaning right. Leave a gap between them.
Tip The 2 feet match like a mirror.
Step 3: Big toes
On the inside top corner of each foot draw a big round toe. Start and stop on the foot.
Tip The big toes are the 2 in the middle, nearest each other.
Step 4: Second toes
Next to each big toe draw a smaller round toe on the top of the foot.
Step 5: Middle toes
Draw the next round toe along the top of each foot, a little smaller again.
Step 6: Fourth toes
Draw one more round toe on each foot, where the top edge starts to curve down.
Tip Each toe sits a little lower than the one before.
Step 7: Little toes
On the outside corner of each foot draw the smallest toe.
Tip Count them: 5 toes on each foot, like a row of peas.
Step 8: Rosy pads
Under the toes of each foot colour a wide pink oval for the soft pad.
Step 9: Rosy heels
Near the bottom of each foot colour a round pink spot for the heel.
Step 10: Peach feet
Colour both feet and all 10 toes peach, around the pink. Go over your lines.
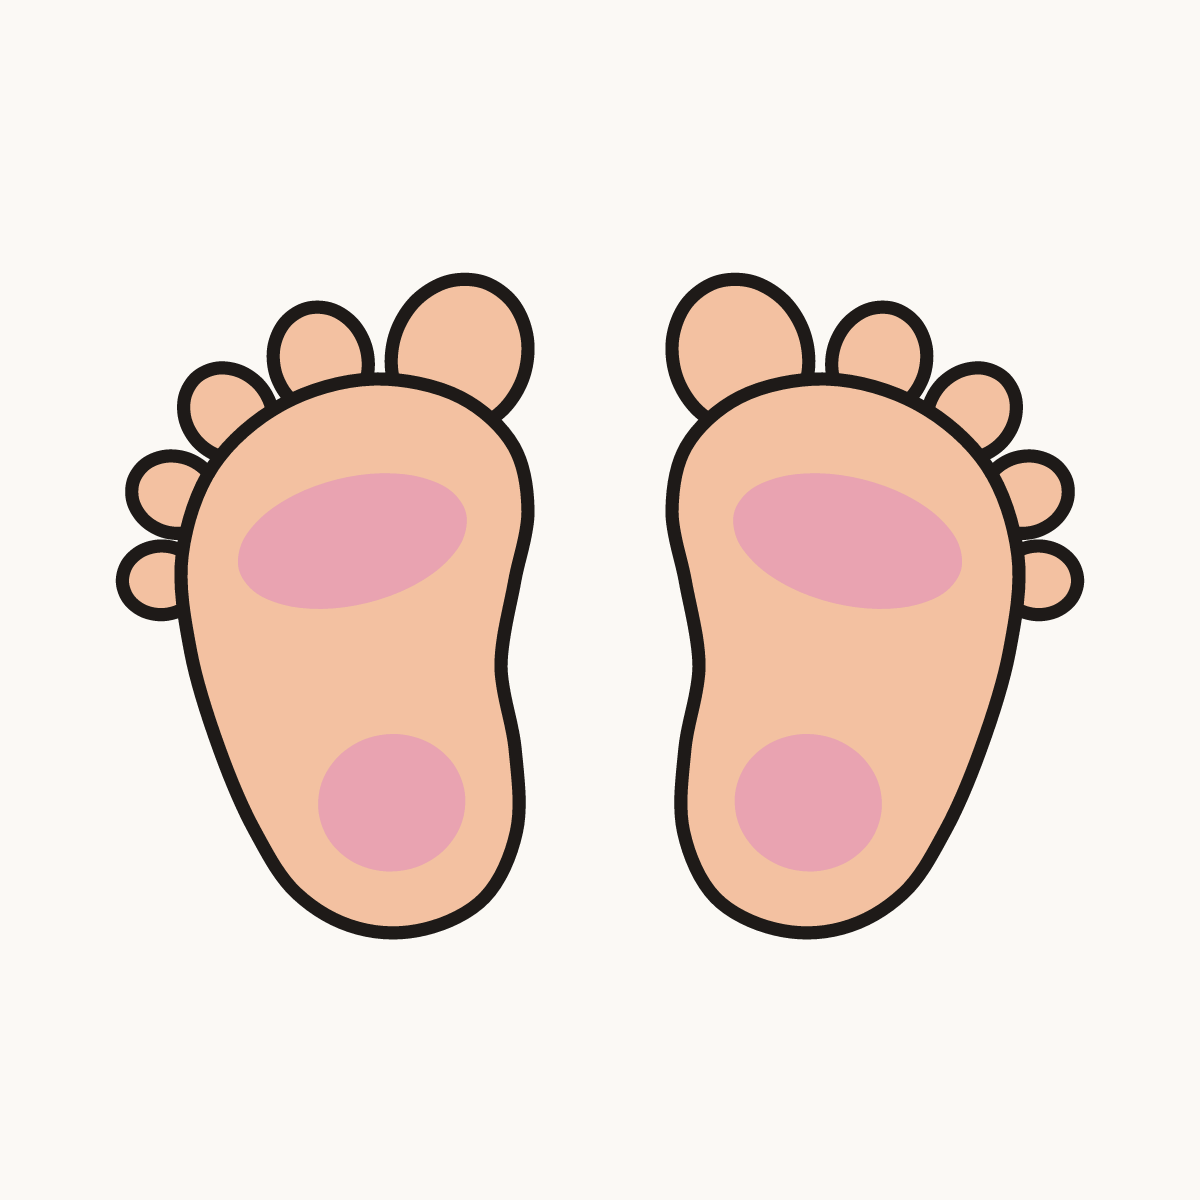
Your finished drawing
Follow the steps above and this is where you end up: baby feet, drawn by you.
Every step in one picture