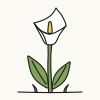
Watch it draw itself · tap to replay
How to Draw Baby’s Breath
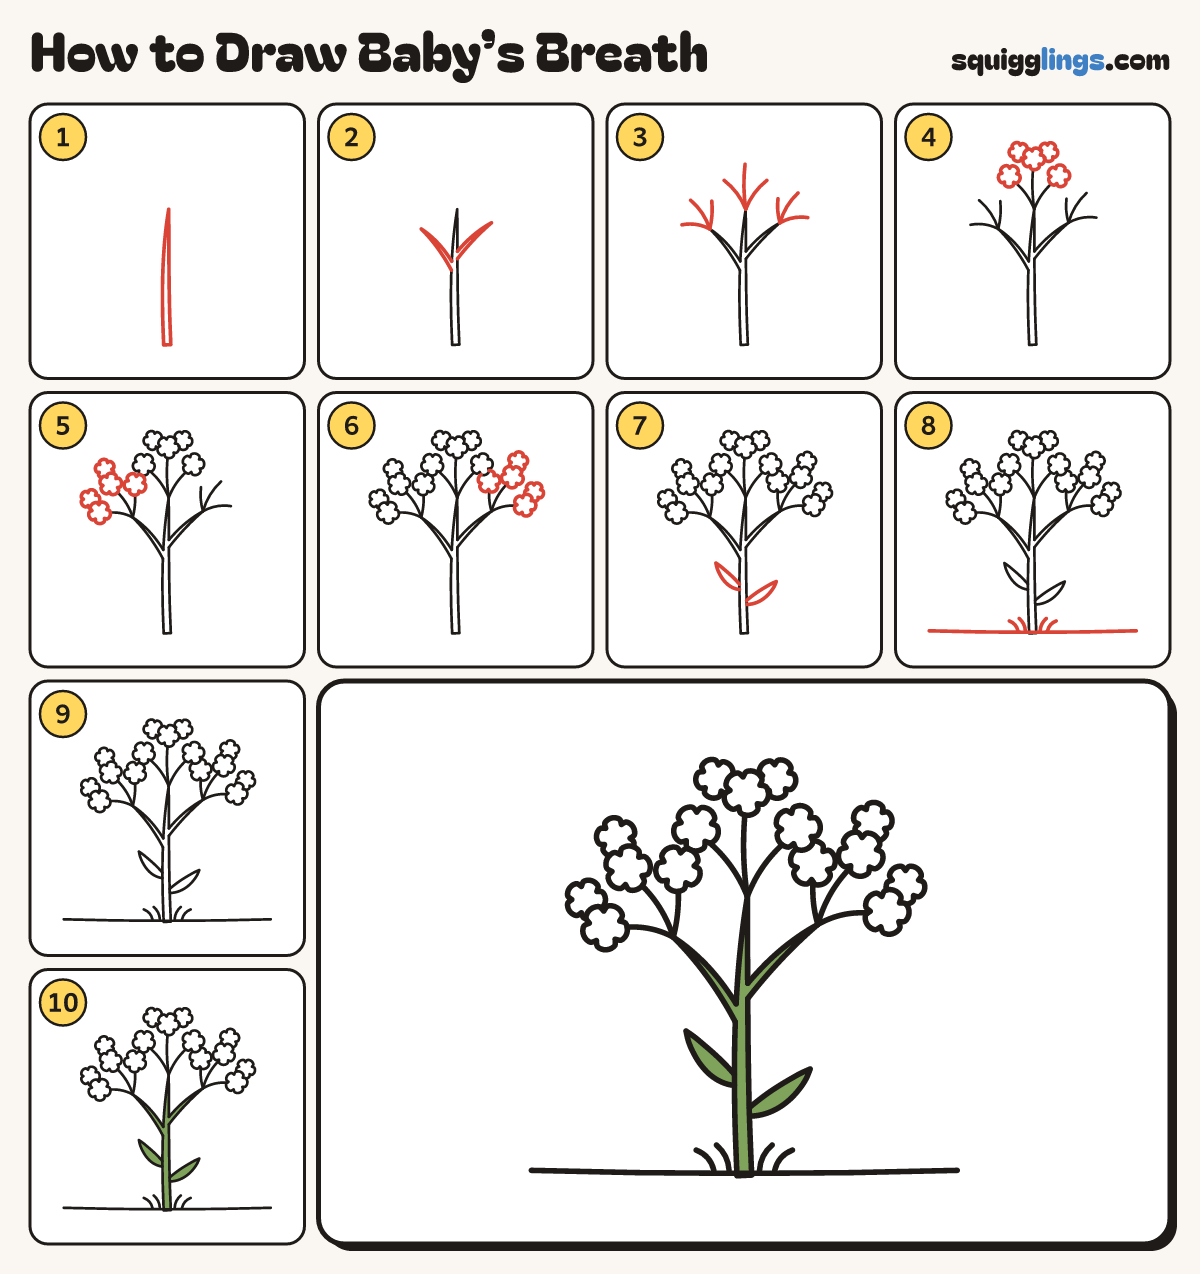
Draw baby’s breath in 10 easy steps, about 8 minutes. Free, with a printable worksheet.
Each picture adds one red line. Draw that line, then scroll to the next picture. Rub out any dashed helper lines at the end. First up: the stem.
Step 1: The stem
Start low in the middle. Draw a thin stem, 2 lines up to a point a third from the top.
Step 2: Two branches
Halfway up the stem draw a thin pointed branch curving up left. Draw a higher one curving up right.
Tip Rub out the bit of stem line between each branch's 2 lines, so the branch grows out of the stem.
Step 3: Little twigs
Start at the tip of each branch and the stem. Draw 3 thin twigs fanning out, stopping two fingers away.
Step 4: Top puffs
On each top twig end draw a little puff, a circle of soft bumps. Tuck 2 behind the top one.
Step 5: Left puffs
Draw a puff on the end of each left twig, then tuck 2 more puffs behind the outside ones.
Step 6: Right puffs
Now the same on the right: a puff on each right twig end, and 2 more tucked behind.
Step 7: Two little leaves
Low on the stem draw a narrow pointed leaf out to the left, and a lower one to the right.
Step 8: Ground and grass
Draw a soft ground line through the bottom of the stem, stopping short of both edges. Flick up some grass.
Step 9: White puffs
Go over your lines. Leave every little puff white, so the cloud of flowers looks soft and bright.
Step 10: Green stem and leaves
Colour the stem, both branches and the 2 leaves leaf green. Your baby's breath is done!
Your finished drawing
Follow the steps above and this is where you end up: baby’s breath, drawn by you.
Every step in one picture