Watch it draw itself · tap to replay
How to Draw an Armadillo
Draw an armadillo in 12 easy steps, about 9 minutes. Free, with a printable worksheet.
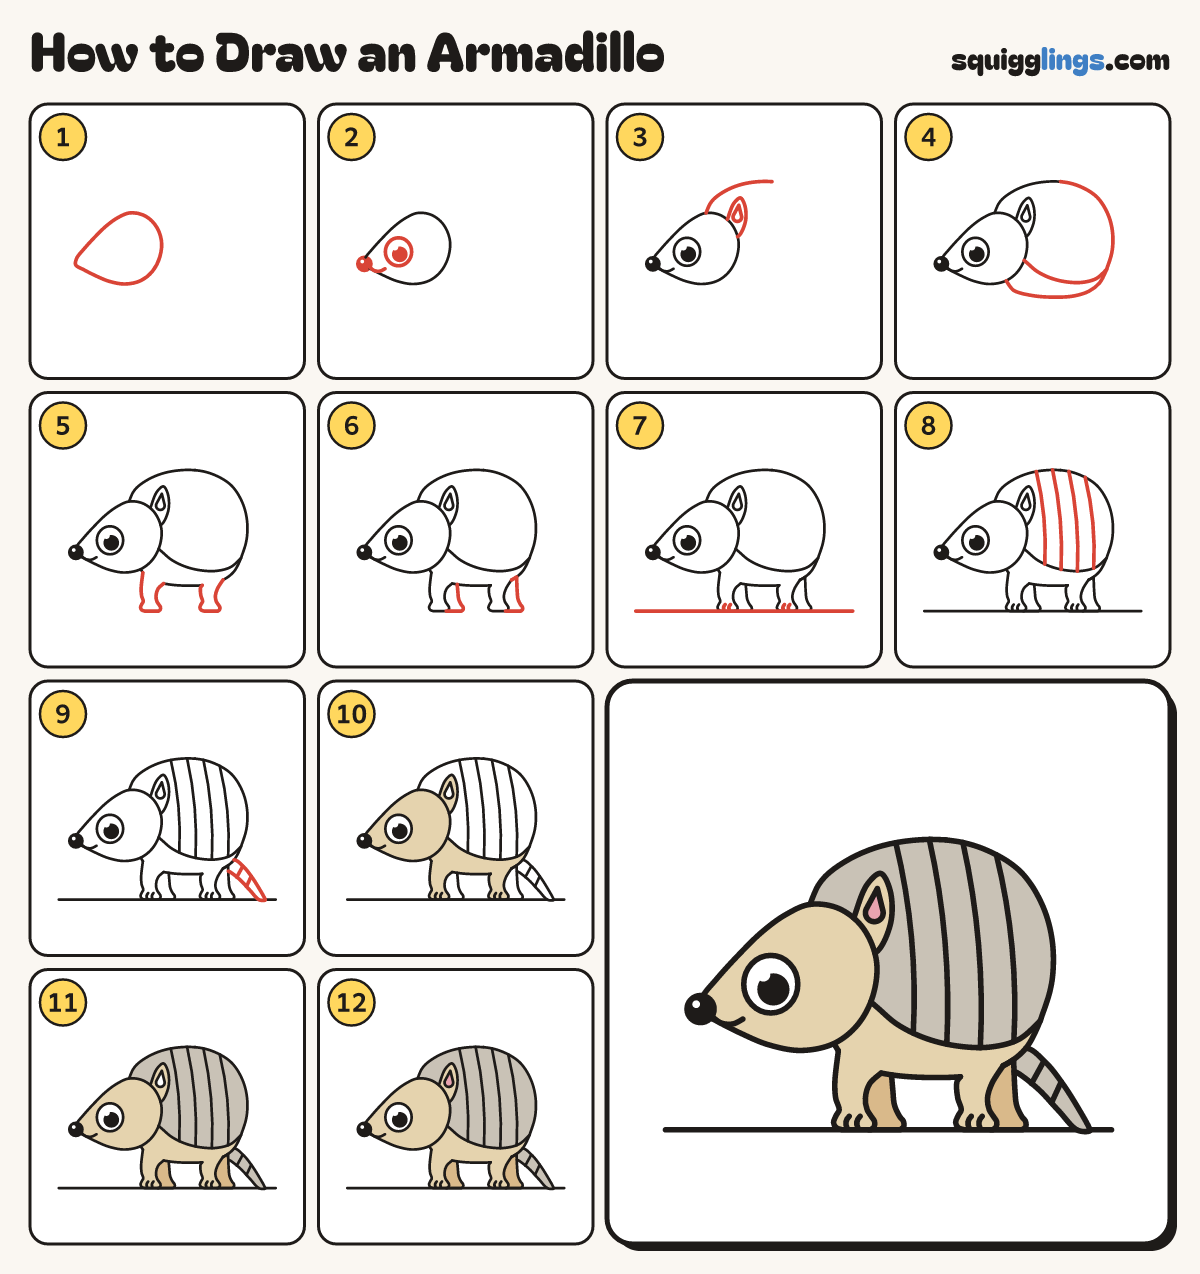
Each picture adds one red line. Draw that line, then scroll to the next picture. Rub out any dashed helper lines at the end. First up: pointy face.
Step 1: Pointy face
On the left of your paper, draw a big sideways teardrop for the face. The point is the snout.
Tip Leave room on the right for the shell.
Step 2: Nose, smile, eye
Put a black ball nose on the snout and a smile under it. Add a big round eye.
Step 3: Ear and crown
Start on the head, curve up and stop above the back. Add a tall ear with a teardrop inside.
Tip That curve is the front of the shell.
Step 4: Shell and tummy
From the curve's end, draw a dome down, under the tummy to the chin. Add a curved shell edge.
Step 5: Near legs
Start under the chin. Draw a short chunky leg and paw, back up to the tummy. Do another further back.
Tip Short legs! The front leg sits right under the head.
Step 6: Far legs
From behind each leg, draw a far leg peeking out, down to a flat paw and up to the body.
Step 7: Toes and ground
Give each near paw 2 short toe lines. Draw a long ground line under all 4 paws.
Step 8: Shell bands
Across the shell, draw 4 curved bands. Start each on top of the dome and stop on the shell edge.
Step 9: Long ringed tail
Start at the back. Draw a long pointy tail down to the ground and back. Add 2 ring lines.
Step 10: Sandy face and legs
Colour the face, ear, tummy and near legs sandy. Leave the eye and the ear teardrop white.
Step 11: Grey shell, tan legs
Colour the shell and tail light grey, and colour the 2 far legs tan.
Step 12: Pink ear
Colour the teardrop inside the ear pink.
Your finished drawing
Follow the steps above and this is where you end up: an armadillo, drawn by you.
Every step in one picture