Watch it draw itself · tap to replay
How to Draw an Acorn Squash
Draw an acorn squash in 11 easy steps, about 8 minutes. Free, with a printable worksheet.
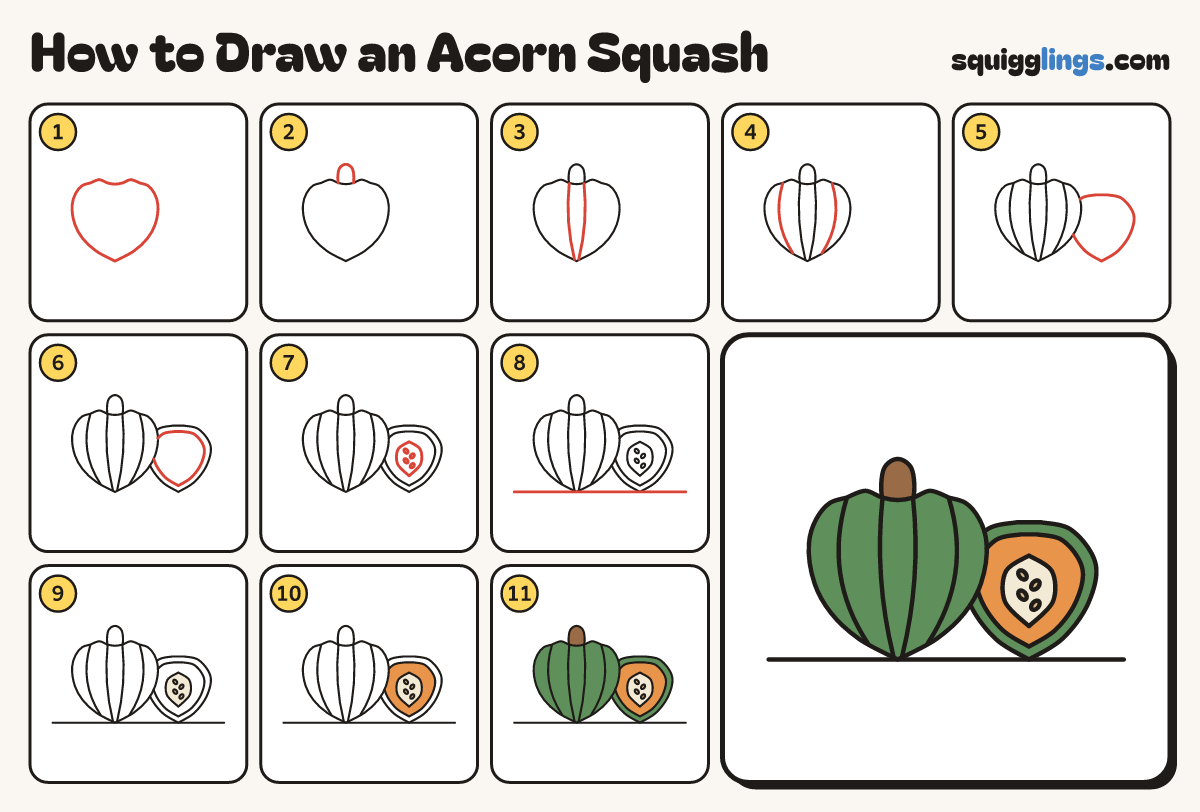
Each picture adds one red line. Draw that line, then scroll to the next picture. Rub out any dashed helper lines at the end. First up: the squash.
Step 1: The squash
Left of the middle draw a big acorn shape: a dip on top, bumpy shoulders, a point underneath.
Tip An acorn squash is shaped like a giant acorn: round on top, pointed underneath.
Step 2: A stubby stem
From the dip on top draw a short stubby stem going up to a flat rounded top.
Step 3: Two ridges
From each side of the stem draw a deep ridge curving down to meet the point at the bottom.
Step 4: Outer ridges
From each notch on the shoulders draw a ridge bowing out, then in, to meet the outline near the point.
Step 5: A cut half
To the right draw a half squash standing beside it, showing its inside: a smaller acorn shape, flat on top.
Step 6: The rind
Inside the half draw a second acorn shape a finger inside the first, all the way round, for the rind.
Step 7: The seed hollow
In the middle of the half draw a tall hollow like a small egg, with 4 little seeds zigzagging down.
Step 8: The ground
Draw a long ground line just touching the bottoms of both, lifting your pencil where it would cross them.
Step 9: Cream hollow, tan seeds
Go over your lines, then colour the seed hollow cream and the seeds tan.
Step 10: Orange flesh
Colour the flesh inside the rind orange, around the cream hollow.
Step 11: Dark green squash
Colour the squash and the rind of the half dark green, the stem brown, and your acorn squash is done!
Your finished drawing
Follow the steps above and this is where you end up: an acorn squash, drawn by you.
Every step in one picture