Watch it draw itself · tap to replay
How to Draw a Zipper
Draw a zipper in 11 easy steps, about 8 minutes. Free, with a printable worksheet.
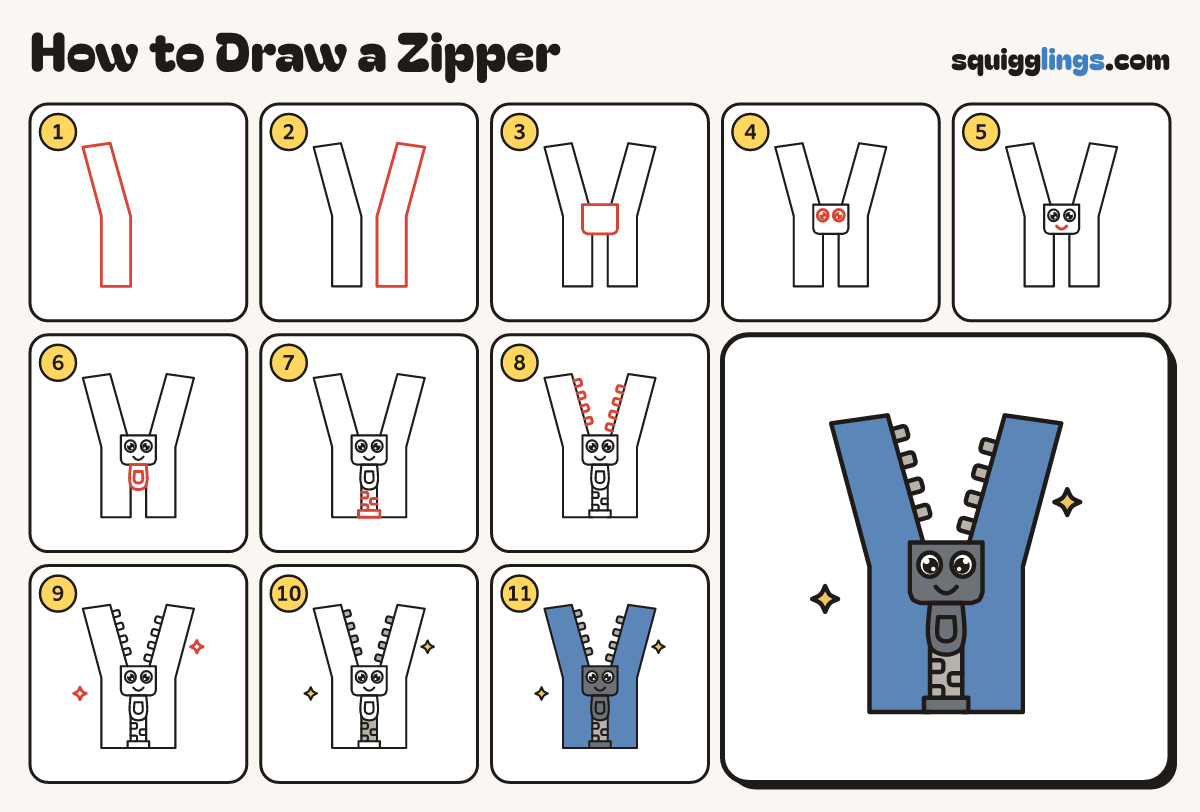
Each picture adds one red line. Draw that line, then scroll to the next picture. Rub out any dashed helper lines at the end. First up: left tape.
Step 1: Left tape
Left of the middle draw a tall thin strip, top to bottom. Above the middle, lean it out left.
Step 2: Right tape
Draw the same strip a finger to the right, leaning out right above the middle, to open like a V.
Step 3: The slider
Where the V opens, draw a wide box over the middle, a little wider than the gap.
Step 4: 2 big eyes
On the slider draw 2 big egg eyes side by side, close together. Colour a big black dot in each.
Step 5: A smile
Under the eyes draw a small U smile, from the left eye to the right eye.
Step 6: The pull
Under the slider draw a small rounded tab hanging down like a little tongue, with a slot inside.
Step 7: Teeth below
Draw a flat box at the bottom. Under the pull, add 3 blocks taking turns left and right.
Step 8: Teeth above
Above the slider, draw 4 little blocks on the inside edge of each tape, taking turns left and right.
Step 9: Sparkles
Draw a sparkle star on each side of the zipper, one low left and one higher right.
Step 10: Yellow and grey
Go over your lines. Colour the sparkles yellow and all the teeth grey.
Step 11: Blue and dark grey
Colour the tapes blue. Colour the slider, pull and stop dark grey, leaving the eyes white. Zip!
Your finished drawing
Follow the steps above and this is where you end up: a zipper, drawn by you.
Every step in one picture