Watch it draw itself · tap to replay
How to Draw a Wind Sock
Draw a wind sock in 11 easy steps, about 8 minutes. Free, with a printable worksheet.
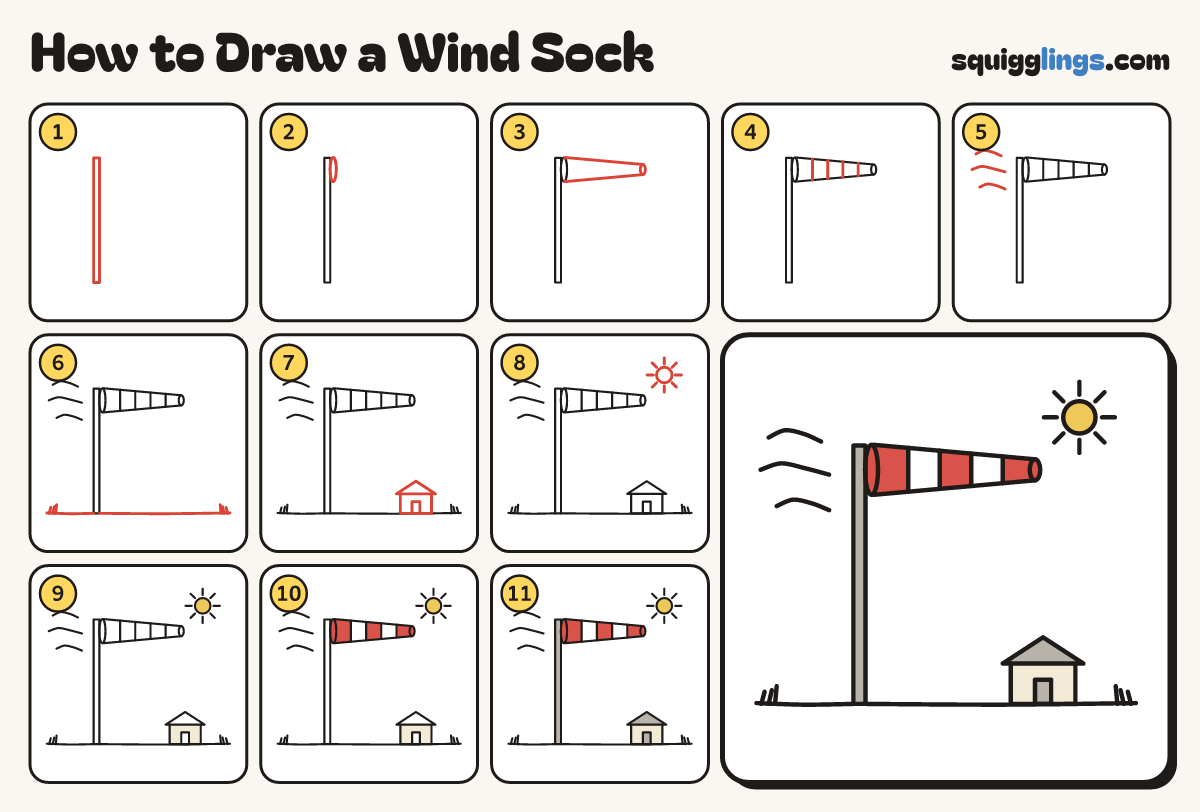
Each picture adds one red line. Draw that line, then scroll to the next picture. Rub out any dashed helper lines at the end. First up: the pole.
Step 1: The pole
On the left draw a tall thin pole standing on the ground, reaching high up.
Step 2: The ring
At the top of the pole draw a tall thin oval for the ring, touching the pole's right side.
Step 3: The sock
From the ring draw a long cone blowing right, narrowing to a small open oval at the end.
Tip The wind blows from the left, so the sock points right.
Step 4: Stripes
Draw 4 evenly spaced lines across the sock, from its top edge down to its bottom edge, for stripes.
Step 5: The wind
On the left draw 3 wavy gust lines blowing toward the sock.
Step 6: The ground
Draw the ground line from the pole's foot out to each edge of the paper, with a few grass blades.
Step 7: Little hut
On the right draw a small low box hut with a pointed roof and a door, standing on the ground.
Step 8: The sun
In the top right corner draw a small sun with 8 short rays, away from the sock and the edges.
Step 9: Yellow sun, cream hut
Colour the sun yellow and the hut walls cream, but not the door.
Step 10: Red and white stripes
Colour the sock in stripes from the ring: red, white, red, white, red. Colour the ring red too.
Step 11: Grey pole and roof
Colour the pole, the hut roof and the door grey. Go over your lines and your wind sock is done!
Your finished drawing
Follow the steps above and this is where you end up: a wind sock, drawn by you.
Every step in one picture